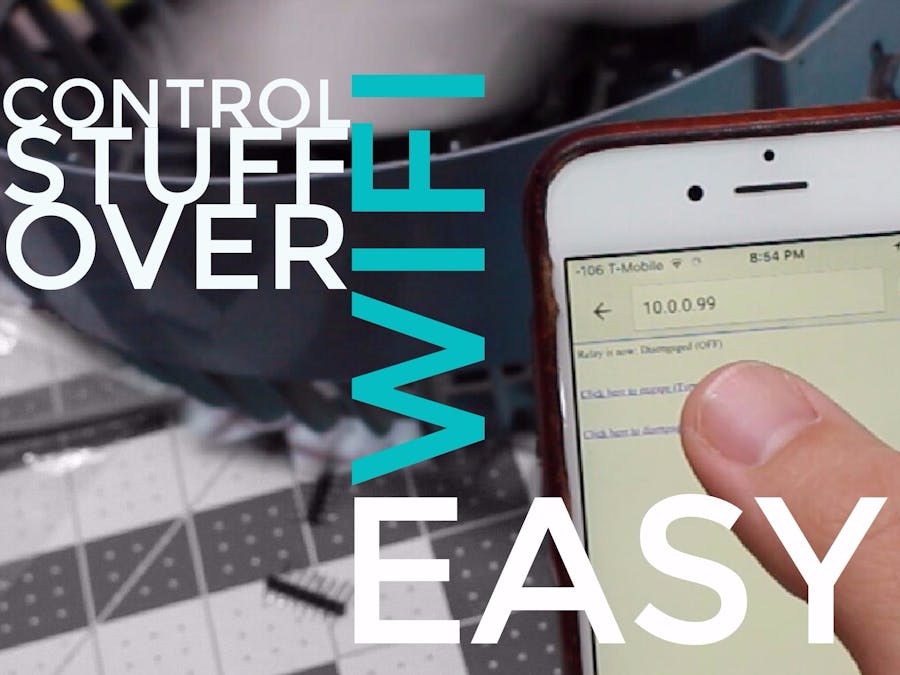
I wanted to explain how easy it was to get going with an internet-controlled device. This can be built with less than $10, even less than $5 if you source overseas and want to wait.
The video I put together is less than 10 minutes and will take you from getting started to controlling a fan through the browser on your phone.
If you are an extreme beginner you will find that this video may skip over some key points. However, I believe I left in enough information for anyone to be able to build this project. I put a few check points along they way so you won't get lost. You can also check out my other video/project about "getting started".
Step 1: What Is a RelayWhat is a Relay (extremely simple):
- A relay is an electrically operated switch.
- Most relays use and electromagnet to mechanically operate the switch.
- Since relays are switches, the terminology applied to switches is also applied to relays; a relay switches one or more poles, each of whose contacts can be thrown by energizing the coil.
- It is mainly used to control higher voltage circuits with lower voltage. The 'control' and 'controlled' circuits are electrically isolated from each other.
- Normally-Open(NO) : The circuit is disconnected i.e. open when the relay is inactive.
- Normally-Closed(NC) : The circuit is connected i.e. closed when the relay is inactive.
There are other relays, most notably a solid state relay. Relay are extremely common electronics and really easy to use.
Step 2: SolderingFor me, I soldered this relay shield with the females headers with long legs. This gives enough room to put a shield on top and connect it to the Wemos board below.
In the video you can see how I draw the solder from one side of the pad to the other. It is a really useful trick that I have picked up.
Step 3: Connecting Your BoardThe board should fit on top of the Wemos board no problem. It may take a little finesse to get it on there.
Step 4: Testing Your Board with Example CodeThe images will walk you though how to get this code.
Download the: https://github.com/wemos/D1_mini_Examples
Open the Arduino IDE, go to Sketch > Included Library > Add zip Library. This will prompt you to navigate to the zip file you just downloaded. Once you click opened you will see that it has installed.
Next you want to navigate to File > Example > Wemos D1 Mini Example > Shields > Relay Shields > BlinkWithoutDelay.
Open this example and load it onto your board. See the first part of the video for more details on the process.
Step 5: Connecting Your Board - Correctly*So...I had the shield installed incorrectly.
This is a perfect example of why you should start with code that you know works. I knew something was wrong with my board or my soldering, and it only took me a few seconds to realize I may have it installed backwards.
- The first picture is wrong.
- The second is correct.
I go over details of the code in the video. You can read through the code and see my comments. Let me now if you have any questions.


Comments
Please log in or sign up to comment.