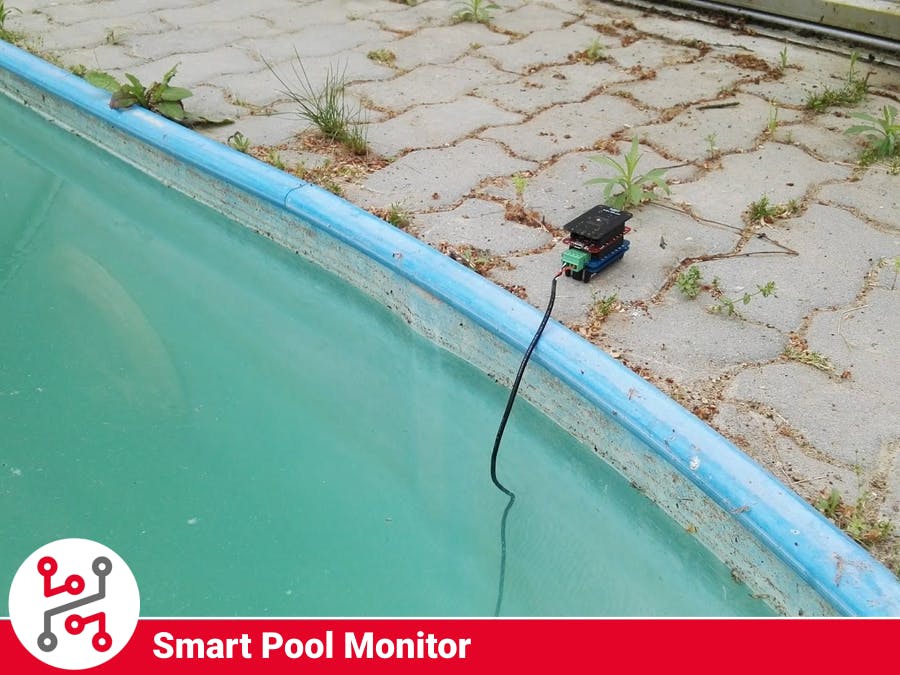
If you have some summer house with a pool or you have one in your house garden you can use this solution so you always know if it has the right temperature. You will also get information about the sunshine, humidity and outside temperature.
This device sends these data every few minutes to your dashboard. You can work with them, turn on some heater so the water in the pool will always have the right temperature when you want to get to it.
1. Build hardwareYou will need the Climate Module,Mini Battery Module, Sensor Module so you can connect external Temperature Sensor. and also a Core Module. It can run on batteries, you can use Mini or Standard version of the battery module.
Connect the temperature sensor to the sensor module. you can see how to do it on the upper image or on the one that is below this text
This is how it should look when you are finished with the assembly.
2. Flash firmware- Download HARDWARIO Playground,
- Flash firmware to the Core Module that was made for this project. You will find in the Playground by name: bcf-radio-pool-sensor
- How to flash firmware is shown in the documentation.
You need to pair the Core module with the Radio dongle that you are using, follow the instructions below to see how it is done.
- Connect your USB Radio Dongle to your computer.
- Open HARDWARIO Playground
- Click Start Pairing the LED on the dongle should start blinking
- Connect the device that you want to pair into your computer or insert the batteries.
- Wait for the device to appear in the table
- It should add the device with the Alias: radio-pool-sensor:0
- After you did all this you can unplug the device from the computer and insert the batteries. The next steps will be done on the computer, so you can leave the device and focus on the NODE-Red.
Open Node-RED in the Playground or Raspberry Pi and import this flow from the Attachments in the Menu -> Import -> Clipboard.
Do not forget to hit "Deploy" in the top right corner to apply the changes.
This flow will send all the data into the dashboard and visualize it through gauges and graphs. You can, of course, change it a little bit so it suits your needs.
You can scratch some values if you are not interested in them.
In the last node you will have to fill in the device address, this is the address of the external thermometer. You can check that in the Messages tab in the Playground, just copy it from there.
You can also do some integrations with other applications like Blynk or Grafana.
5. Test your devicePlace your device in some IP protected box next to your pool and sink the external temperature sensor into the water.
There is a slight issue with the light sensor in the box, but you can maybe put it under some roof or have some transparent box.
Device sends data every few minutes or if there are some major changes in the values.
SummaryAlways have informations about the conditions in your pool and around it so you know if it is worth it to go there or you should stay home instead.
You can make some adjustments to the code so it suits your needs and your machine needs.
Feel free to ask any questions about this project.
- Visit HARDWARIO page on hackster.io for more interesting projects or go directly to their website
- Go to HARDWARIO documentation to learn more about their modules and other possibilities of the platform.
- Try more firmware from HARDWARIO Playground or write your own, it is easy to start.
- Because everything is Open source you can get all firmware on GitHub, get some inspiration and try to make your own applications.
- Get your own HARDWARIO Hub to replace your computer in this project so you have always access to your applications.
- Check out more applications that can be used with HARDWARIO IoT Kit in Integrations section.


Comments
Please log in or sign up to comment.