


Hardware components | ||||||
 |
| × | 1 | |||
| × | 1 | ||||
| × | 1 | ||||
Software apps and online services | ||||||
 |
| |||||
| ||||||
Make sure you have a good power supply and a good microSD Card! I'm using my RPi 3 with a Raspberry Pi Touch display but any screen will do just fine.
You just need to follow this instruction from Microsoft: Install Windows 10 IoT
- Download and install the Insider Preview image
- Download and install the IoT Dashboard
- Set up Windows 10 IoT in your microSD card
In your RPi:
- Put the microSD, Keyboard and mouse
- Add Ethernet (not mandatory, you can use the Wifi)
- Connect the power
If everything went well the Windows will boot, and you get a screen with your IP address!
You will need an email account and Admin privileges in your Windows! Kalipso Studio is a RAD (Rapid Application Development) environment where you can create your own applications for Windows CE, Mobile, 10 Desktop, Mobile, IoT, and even Android.
Basically you have a Designer where you "design/program" your application and to run your application you need to run the KClient. It's like the launcher for your Application.
Let's install the Kalipso Studio:
- Press TRY KALIPSO
- Fill out the form and you will get an link to download Kalipso (about 300MB)
- Decompress the Kalipso.Zip and double click on Setup.exe
- Next, Next, waiiiit, DONE
Now you have your RPi running Windows 10 IoT and Kalipso Studio. You need to put the KClient in your Windows 10 IoT. Open your browser and go to: http:// (RPi_IP_ADDRESS) :8080/
Default user and password is: Administrator and p@ssw0rd
Please change the default user and pass!
Go to Apps
- App package
C:\MIS\Kalipso 4.0.0\Client\Install_Win10\KClientV40_Test\KClient_4.0.10.0_x86_x64_arm.appxbundle
- Certificate
C:\MIS\Kalipso 4.0.0\Client\Install_Win10\KClientV40_Test\KClient_4.0.14.0_x86_x64_arm.cer
- Dependency
- Microsoft.NET.Native.Framework.1.3.appx
C:\MIS\Kalipso 4.0.0\Client\Install_Win10\KClientV40_Test\Dependencies\ARM\Microsoft.NET.Native.Framework.1.3.appx
C:\MIS\Kalipso 4.0.0\Client\Install_Win10\KClientV40_Test\Dependencies\ARM\Microsoft.NET.Native.Runtime.1.3.appx
C:\MIS\Kalipso 4.0.0\Client\Install_Win10\KClientV40_Test\Dependencies\ARM\Microsoft.VCLibs.ARM.14.00.appx
Press GO! And to Launch Kalipso KClient you just need to press the Play Icon.
Lets make the first app. Open Kalipso:
- Create New Project
- Give a name to the project and select a similar device. I select: Generic Tablet Small
- Create a new folder for the project and Save
In Kalipso you have Forms and Controls. Forms it's like your App screen. Controls are all the things you can put inside (Buttons, Images, etc...).
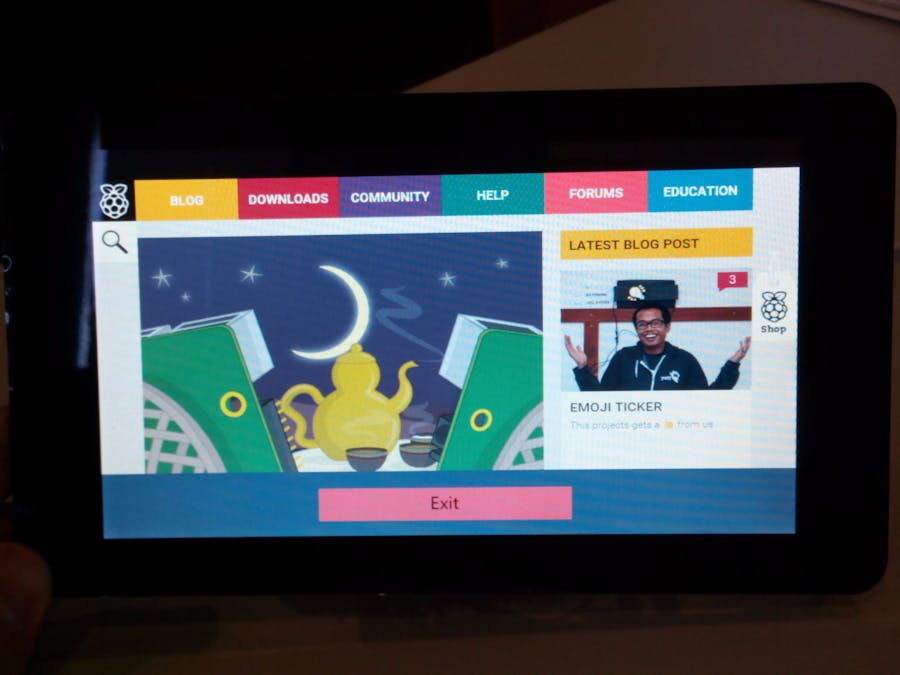
Lets create one form with a web page inside and a button to exit!
- Press From and Save
- Press Text Buttom
- Write Exit and then press Actions
- In Actions, select Form, select and drag "Close Form" to the action Click, and Save
- Put the button were you want
- Press HTML Viewer
- In Default Value put any website like: https://www.raspberrypi.org/
- Now resize the HTML Viewer the same way you resize an image.
Now we need to Deploy the App and put in KClient. Go to Deploy and click Create Update (F7). Select all the options and click generate.
Configure MIS CommunicatorWhat is MIS Communicator?
MIS is a small free program that Kalipso use to many things like, transfer files, communicate with any database using ODBC or OLEDB or SQLite, and update your app.
To update your app MIS will act like a small server.
- Open MIS (inside the Deploy)
- Click Connections
- If you don't have any connection, create one, probably you just need to put the name
- And confirm that you have the correct product (see image)
Now you can just press Start as Desktop Application
Open KClient in your RPi.
- Click Synchronize
- Server
- And configure you PC IP (check on MIS Communicator)
- Save
- Syncronize
- Exit and Open your App!
That's all folks! Now to update your app you just need:
- In Kalipso: Create Update (F7)
- In RPi: Open KClient and Synchronize!


Comments
Please log in or sign up to comment.