

Hardware components | ||||||
 |
| × | 2 | |||
 |
| × | 2 | |||
 |
| × | 1 | |||
 |
| × | 1 | |||
 |
| × | 1 | |||
| × | 6 | ||||
Software apps and online services | ||||||
| ||||||
 |
| |||||
 |
| |||||
| ||||||
This project is about controlling LED's for Lights in home by using Google Assistant Voice command or by using Bolt App.
Why did I decide to make it and how does it works??Let us imagine your new friend John. John is very busy in his life with his office work and tension. The lights which are ON in the night will stay like that only because John forgets to turn them OFF in the morning. When he reached to his office, then he remembers to turn OFF those. Though he cant go back to home, if he went so, he cant go to the office late. This made his life more expensive. So he installed Bolt and made home automation and connected it to google and bolt app. Now he can control it with Google Assistant Voice Command or by Bolt app at anytime and anywhere.
Demonstration Of ProjectI have divided the demonstration into 2 parts
a) using Google Assistant(Voice Command)
b)using Bolt APP
a) Using Google Assistantb) Using Bolt ApplicationCircuit Connection Explanation:
Interface in Bolt app:Look at the code section to learn about this interface.
Step 1: visit the website ifttt.com and signup into ifttt using Google account
NOTE: The Google account which has signup in ifttt should be same in mobile which is using google assistant.
Step 2: After signup click on create.
Step 3: Click on "+".
Step 4: Search for Google Assistant and click on it.
Step 5: Select trigger as shown in the picture.
Step 6: Fill the form as per your requirement and save it.
Step 7: Click on "+" and search for "Webhooks" and open it and select the first option in it.
Step 8: Fill the form and save it
use the URL provided in the code section and paste the URL in webooks
NOTE: Make sure that you have changed the url by placing your API key instead of "yourAPIKEY" and Bolt ID instead of "yourBOLTID" in the URL given
Finally that's it create the remaining Applets for all the condition.
NOTE:
As Webhooks accepts only one URL, for making both LED's ON or OFF at the same time we need to create 2 applets for ON and 2 applets for OFF, Finally 4 to make the dual operation make sure that you have give the same voice command for both ON and OFF. Follow the picture below.
I took may days to perform the dual operation after lot of research this made a result.
Clarification of saving files in Bolt cloud for google assistant project
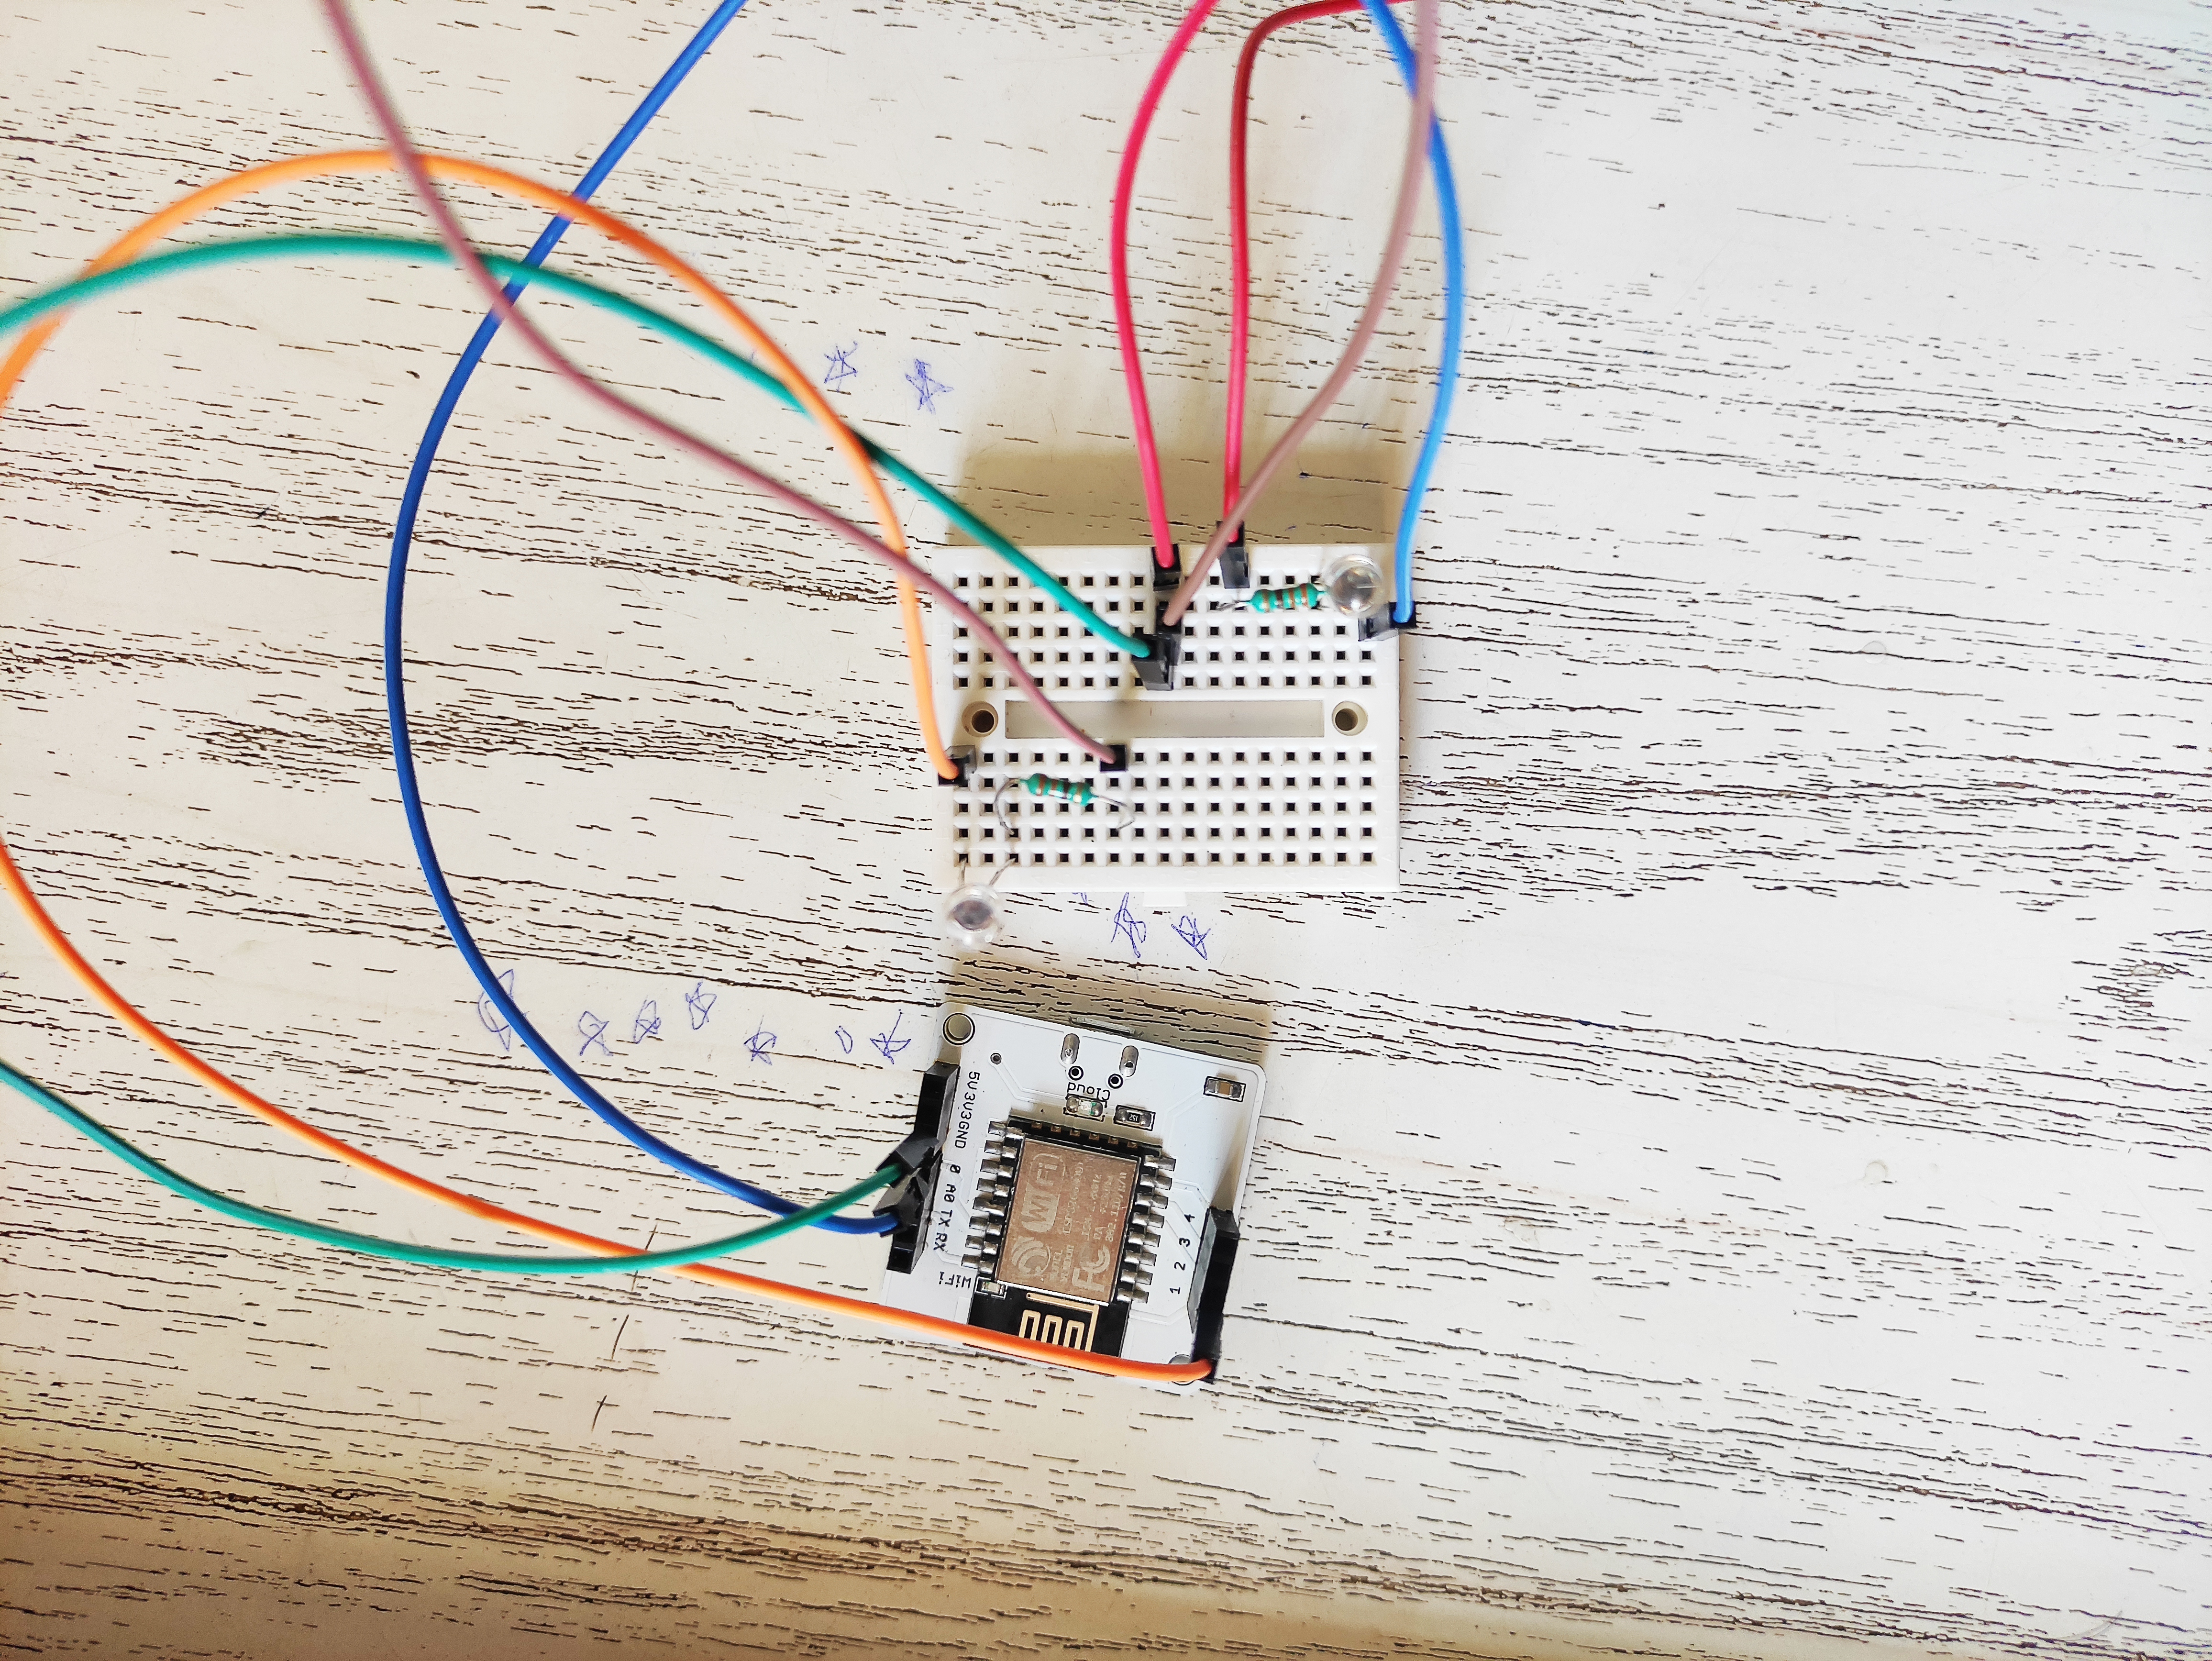
Connections:
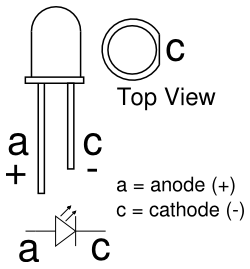
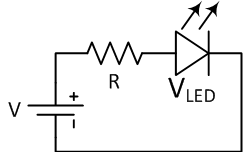
I have connected 2 LED's each naming room 1 and room 2. First LED of +ve pin is connected to pin 0 of GPIO and 2nd LED of +ve pin is connected to pin 1 of GPIO. Its a simple connection of LED's in serial. Each LED's -ve pin are connected to 330 ohm resistor and another pin of resistor is connected to GND


Comments