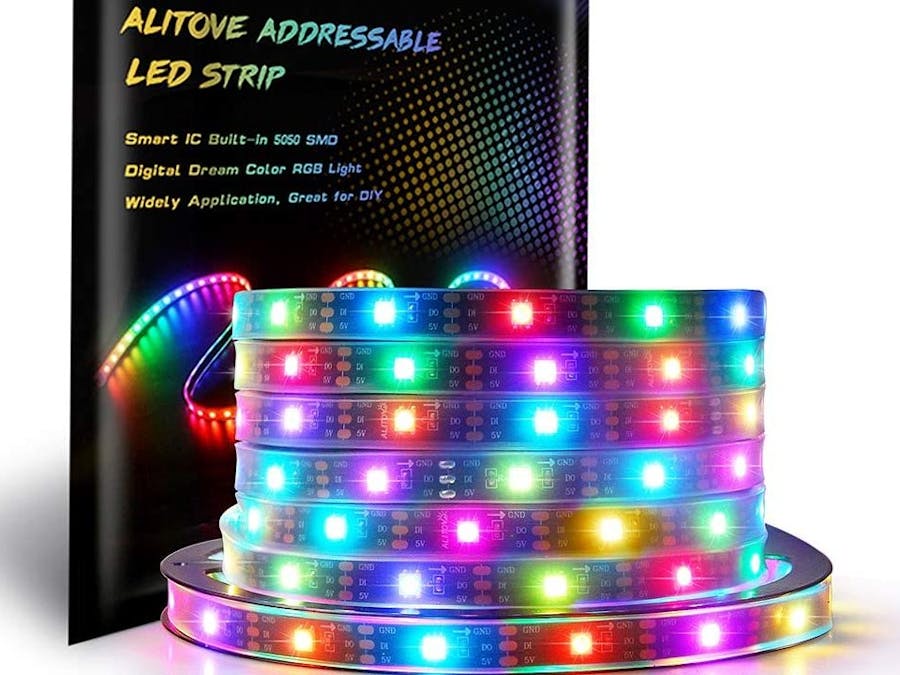
ESP-01 is such a fun little board. Taking an Espressif ESP-8266 and adding some EEPROM (1M) and bringing out the serial port and 2 IO ports, it's simple but still powerful. And there are a bunch of cool controllers will take the ESP-01 as their "brain". Such as the relay boards (that I used in the Clock Controller project), a DHT-11 (temperature/humidity) sensor board, and a WS2812B LED Strip interface board, which I'll be using here.
Serendipitously, I was starting to look into the controller board when my wife started putting out a light-based Christmas tree outside, so I thought I could supplement those lights with an animated LED strip (or two or more!)
Clone the github link listed to get all the code referenced here.https://github.com/jaslo/esp-pyledsIf you aren't already running an MQTT server, start one up -- I use Mosquitto set up on a Raspberry Pi.
First, to install micropython on the ESP-01 board, put the board into a USB Flash programmer.
Download the 1M image of the latest micropython firmware...for me, that was "esp8266-1m-20200902-v1.13.bin" from https://micropython.org/download/esp8266/
I use the python esptool.py to erase the memory and load the flash. Unfortunately, for the ESP-01s, the reset in between doesn't work right, so disconnect and reconnect the board after the erase.
esptool.py --port COM8 --baud 115200 --chip esp8266 erase_flashdisconnect the usb programmer and reconnect it, then:
esptool.py --port COM8 --baud 115200 --chip esp8266 write_flash --flash_size=detect 0 esp8266-1m-20200902-v1.13.binThe board should NOT be in "flashing" mode when copying the python code files onto the board -- it should just be connected to usb in "run" mode. Many flash programmers have a switch for doing this. For putting the python code onto the board, there is a nice remote shell for the board "mpfshell" or a full (limited) IDE "uPyCraft". I have used both, but I like GUI tools so I have been using uPyCraft. Or just use a serial terminal program to access the REPL!
I split out all the configuration-specific stuff into a file called "netconfig.py" that gets imported. It has the MQTT server address, the topics, and the WIFI network info. And the number of leds to use in the strip.
ssid = 'xxxxxxxx'
password = 'xxxxxxx'
topic = '/pattern'
iptopic= '/ipaddr'
mqid = 'pyled2'
mqhost = '192.168.0.137'
mqport = 1883
ledcount = 138
This file is imported into the boot.py and main.py files. All the other files in the git folder (except of course the.git directory) should be uploaded to the board (main.py, boot.py, lightEffects.py) along with the customized netconfig.py file.
You will need to add the mqtt module, which can be done from the upython REPL:
import upip
upip.install('micropython-umqtt.simple')
This will only work after the board connects to the Wifi network.
For the configuration above (where I set the mqid to "pyled2", the board will subscribe to MQTT topic /pyled2/pattern where you can post JSON "scripts" designated pattern(s) to run on the LEDs. It will also post its own IP address to /pyled2/ipaddr as an MQTT retained message, for debugging and remote (webrepl) access. To access webrepl, point a browser at http://www.micropython.org/webrepl and then fill in the ip of your board.
After uploading the code, take out the ESP-01 chip and put it into the WS2812B interface board which can be wired to the LED strip. Here is the interface board (with the ESP-01 not mounted on it yet) with power (5V) wired from a USB adapter board.
I use MQTT.fx as a tool for monitoring and generating MQTT messages in development, so after plugging in the ESP-01 to the board, connecting the board to the LED Strip and powering the board (5V), I published this MQTT message:
Topic: /pyled2/pattern
Message: {"method": "colorWipe",
"repeat":1,
"red":0,
"green":0,
"blue": 0,
"speedDelay":20}
The MQTT messages may take the form of a single "LightEffects" method call like the one above, or a series of calls encoded as a JSON array.
The LightEffects include some methods I translated from Arduino C++ from "AllEffects_Neopixel.ino" into python, as well as some methods I added and modified to do some more fun effects.
Each time a message is sent from MQTT to the board, the board writes it to a file on the SPIFFS file system where it is automatically started, if found, when the board starts up.
Here is the list of effects currently available in LightEffects:RGBLoop, cylonBounce, cylonBounceBG, cylonForwardBG, cylongBackwardBG, twinkle, twinkleRandom, twinkleRandom1 (turn on and off), sparkle (black background), sparkleBG, sparkleBGCount(more than one at a time), snowSparkle (white on color background), colorWipe, randomeWipe, rainbowCycle, theaterChase, theaterChaseBG, theaterChaseRainbow.
Look in the LightEffects.py file to find the method signatures to supply the named parameters in the MQTT messages. For example:
def theaterChaseBG(self, red, green, blue, bgred, bgblue, bggreen, speedDelay)called from JSON would look like this:
{"method":"theaterChaseBG", "red":64,"blue":128","green":0,"bgred":0,"bgblue":64,"bggreen":128,"speedDelay":40}would produce a cyan background with rotating "theater marquee" lights in magenta!
Within each method you can add a "repeat" parameter with a repeat count. And multiple method calls can be strung together in a JSON array. Here's the sequence that my lights are currently running:
[{
"method":"twinkleRandom1",
"repeat":10,
"count":500,
"speedDelay":20
},{
"method":"theaterChase",
"repeat":50,
"speedDelay":30,
"red":96,
"green":64,
"blue":0
},
{
"method":"colorWipe",
"red": 0,
"green": 0,
"blue":255,
"speedDelay":10
},
{
"method":"sparkleBG",
"repeat":1000,
"red":255,
"green":255,
"blue":255,
"bgred": 0,
"bggreen":0,
"bgblue":128,
"speedDelay":60
},
{
"method":"sparkleBGCount",
"repeat":1000,
"red":255,
"green":255,
"blue":255,
"bgred": 0,
"bggreen":0,
"bgblue":128,
"count":6,
"speedDelay":60
}
]
And here's a brief clip of some of these patterns:


Comments
Please log in or sign up to comment.