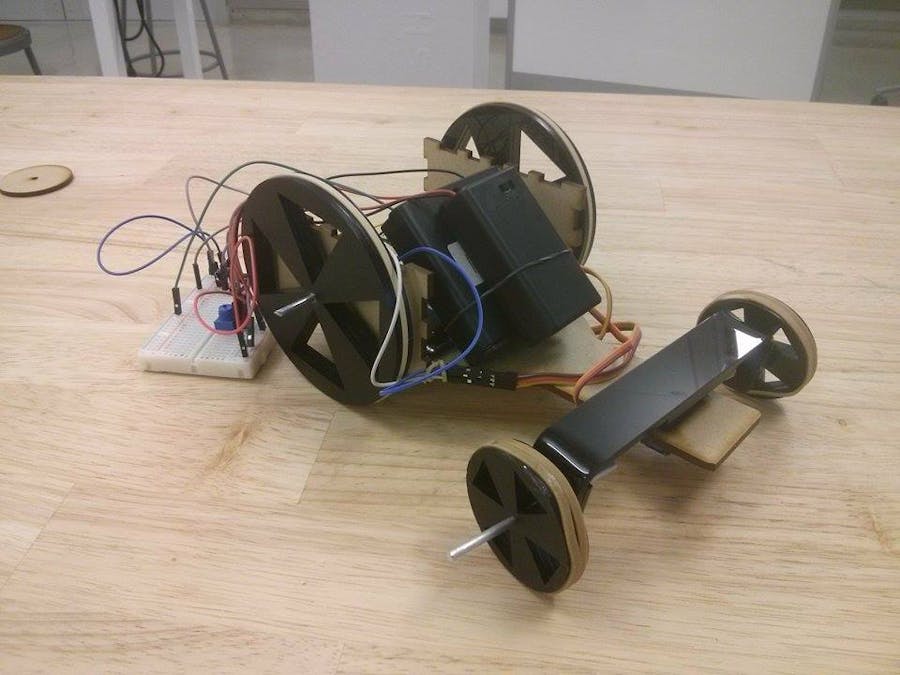
Project 2 Part 2 : Working Chassis
Out of the models from last week I chose Chassis #2. I wanted to be able to steer my robot easily using a mini servo in the front of my car to have better control.
Process
I began with drawing out more precise sketches to understand the mechanics behind my design. I would use a continuous servo motor and gears to rotate the wheels in the back of the car.
The first step I took was to figure out the circuitry and to get the motors working. I felt that this way I wouldn’t have a car that was built out but couldn’t operate. In retrospect maybe I should have just tried to operate the servo motor on a piece of cardboard but it would have been time consuming since my motor requires the wheels to be firmly secured on the axel which I can’t quickly do with an easily removable fastener such as zipties.
Once I got the circuitry working, I wanted to begin building starting from the wheels. I laser cut the base of the car and the two sides that would hold the axel which was initially a cake pop stick. I slipped the axel into the holes of the sides, along with the gears, and attached the two wheels to the axel. I used rubber bands to hold the wheels on to try out.
This is where I ran into a huge problem: The gears would work fine if there wasn’t that much weight on the car but they would start to slip once I placed my battery packs onto the base. I thought it was just a problem with the gears having too much slack so I spent an hour or two just to get the gears aligned with each other, and to nail the servo in place.
But the gears kept slipping...
I consulted Mitchell about this and thanks to him I was able to snatch a metal axel which turned out to work very very well.
Once I got my back wheels working I began to work on the steering mechanism. I laser cut a rectangle that would be glued on top of the servo wings and used an acrylic bender on the sides of the rectangle to make a 90 degree angle. These two bent arms would hold two smaller axels together which would hold the steering wheels. I laser cut a rounded rectangular piece which was roughly the shape of the servo wing. I noticed there was some slack in the axels so I tried out different sizes of holes until I found one that fit the axel perfectly. Unfortunately there is still some slack...
Lastly, I screwed my Arduino board onto the base.
And here is the final design...
And a demo
Conclusion
When I tested out my car, it seemed that it wasn’t steering well. I still have to fix this issue but I reckon that it may be because there is not enough weight in the front of the car to hold the wheels to the ground. I also noticed that my gears were wearing out very quickly because the tiny little gears are what are driving the car forward and there is so much pressure on them. I also have to find a way to secure my wheels without using rubber bands or super glue. Lastly, I’m probably going to end up turning my servo upside down and using one wheel in the front of the car instead of two since there is no reason to use two—it just adds extra weight and causes more problems.


Comments
Please log in or sign up to comment.