


Hardware components | ||||||
_PnKPri8a6q.jpg?auto=compress%2Cformat&w=48&h=48&fit=fill&bg=ffffff) |
| × | 1 | |||
| × | 1 | ||||
If you play an instrument you will sooner or later want to play along some tracks, some kind of drum machine or metronome, flip pages of your score and finally start a recording. (I'm using Transcribe!, Audacity and Hydrogen.) Starting, stopping, looping the song, switching the software or change BPM by tapping a key is usually done by keyboard commands. With your hands holding your instrument you need one or more foot switches, emulating certain keyboard commands.
There are a lot more situations where you could use a foot switch.
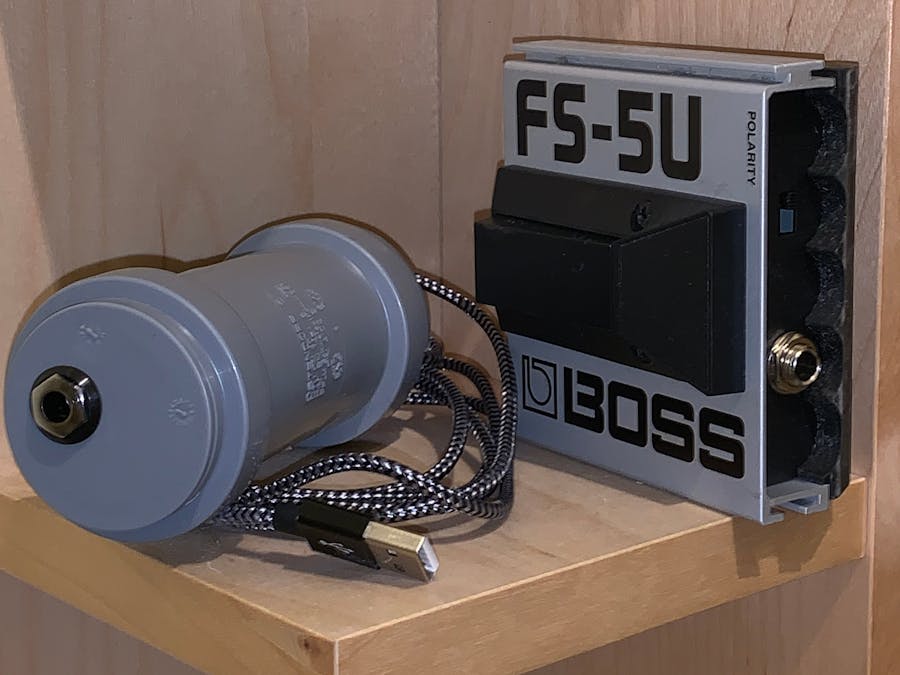
To my surprise there are almost no cheap, robust and programmable usb-foot switches avilable. But most musicians (at least e-guitar and e-bass players) will know or even own a jack plug foot switch for their amps or effects. Probably the most common is the BOSS FS-5U or FS-6U (double switch). Of course any other open/close push-button will do. Using instrument cables between your footswitch and this device can help to cover long distances which might be difficult with usb cables. Plus you don't have to modify the original switch.
So I wanted to make a small device that can be connected to these switches by a jack plug (mono or stero), could handle one or two switches, could handle "tap" and "hold" commands and could send keyboard commands through USB to my computer. And I wanted a real world product, not some fragile concept study. Anyone should be able to build it in less that an hour for less than 15€, and to get all required components easily.
Let's assume you know how a switch works (a push-button to be more precise because the contact opens when you remove your foot). We are dealing with two different type of cables, mono (two wires, ground and tip) and stereo (three wires, ground, ring and tip)
When you are planning to use just one switch a mono cable is ok and you can use any jack (socket?) for our little project. If you want to use two switches you can either use a Y-cable (2 mono plugs, one for each switch and one stereo plug on the other end), or a double switch (e.g. FS 6U) with a stereo jack output.
On the Micro board the three contact are are wired like this:
- Ground contact of jack -> PIN ground
- Tip contact of jack -> PIN 7 (I used PIN 5 at first, but switched to PIN 7 because this an interrupt pin). Decide for yourself and adopt the value of Pin_Tip in the script)
- Ring contact of jack -> PIN 2
Make sure that you don't connect the pins during soldering. Just skip Pin 2 if you don't need stereo cables. The other ends of these three wires are conncted to the jack. As there are a variety of types this picture ist only an example.
Make sure to select the correct contacts as described above. And yes, I am a world class solderer.
That's all.
Now drill the two holes in the two caps...:
... and we are ready for finay assembly. Be careful not to break the connection of the usb-socket. I lost one board during assembly.
I have used a small cable strap as a tension relief and a piece of foam to fix everything inside the tube. By the way, here in Germany theses tubes are called HT-Rohre (High Temperature Tubes). They are used for waste water, the smallest size is 32mm in diameter (I have used 40mm). They are available at any construction market. Price for a double socket and two end caps is 2€.
Done. Connect the device to your computer, start the Arduino IDE, load the script listed in the software section of this project.
When using the device make sure that you first connect the switch(es) and then the usb plug. This is because the device performs a testing routine at startup whether stereo or mono cables are used. When the device is connected to your switches and the computer before the computer is powered up (the standard situation), everything works fine.
In the software you can define the keyboard commands for each footswitch. Actually there are two commands for each switch. One for a short tap, and another one for a long step on the button. The second one is applied when you release the button after a time longer than LongPressTime (0.7sec).
I use "Space" (Play/Stop, Flip page) and "Left Alt+Tab" (Switch to previous App) on one switch, and "," (Tap BPM, Pause) on the other switch (don't need a hold command here).
As there are more pins available on the board, you could connect multiple jacks and serve more than two switches with one devices.
One last thing: The script assumes that your hardware switch closes the contact between tip/ground or ring/ground when operated. There are other switches which open the contact when activated. The FS-5U allows to toggle the mode by a so called polarity switch at the rear. So make sure to choose the correct setting.
I will add bluetooth in the near future.
Have fun.


Comments
Please log in or sign up to comment.