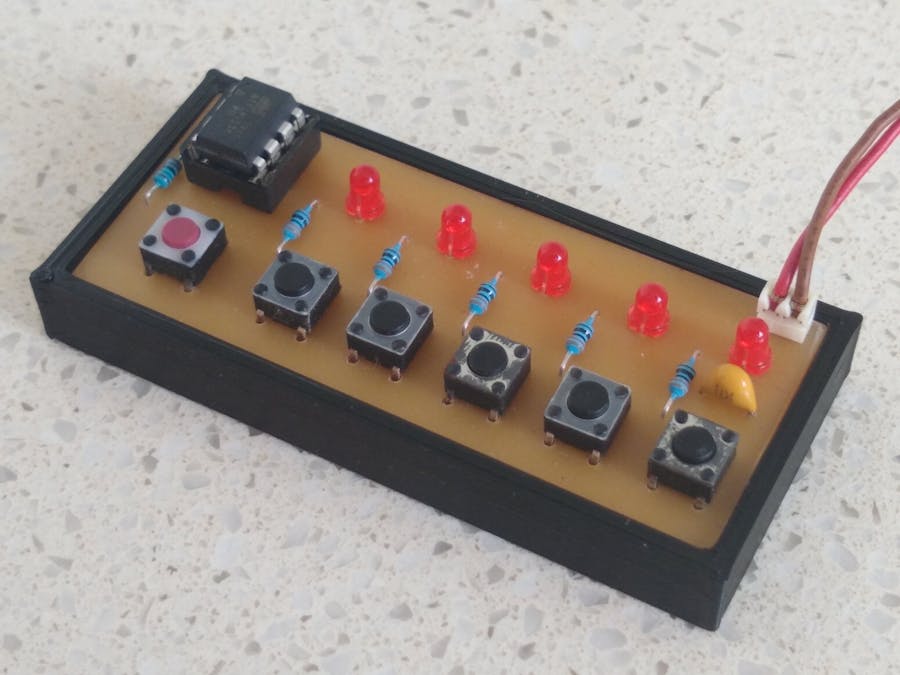
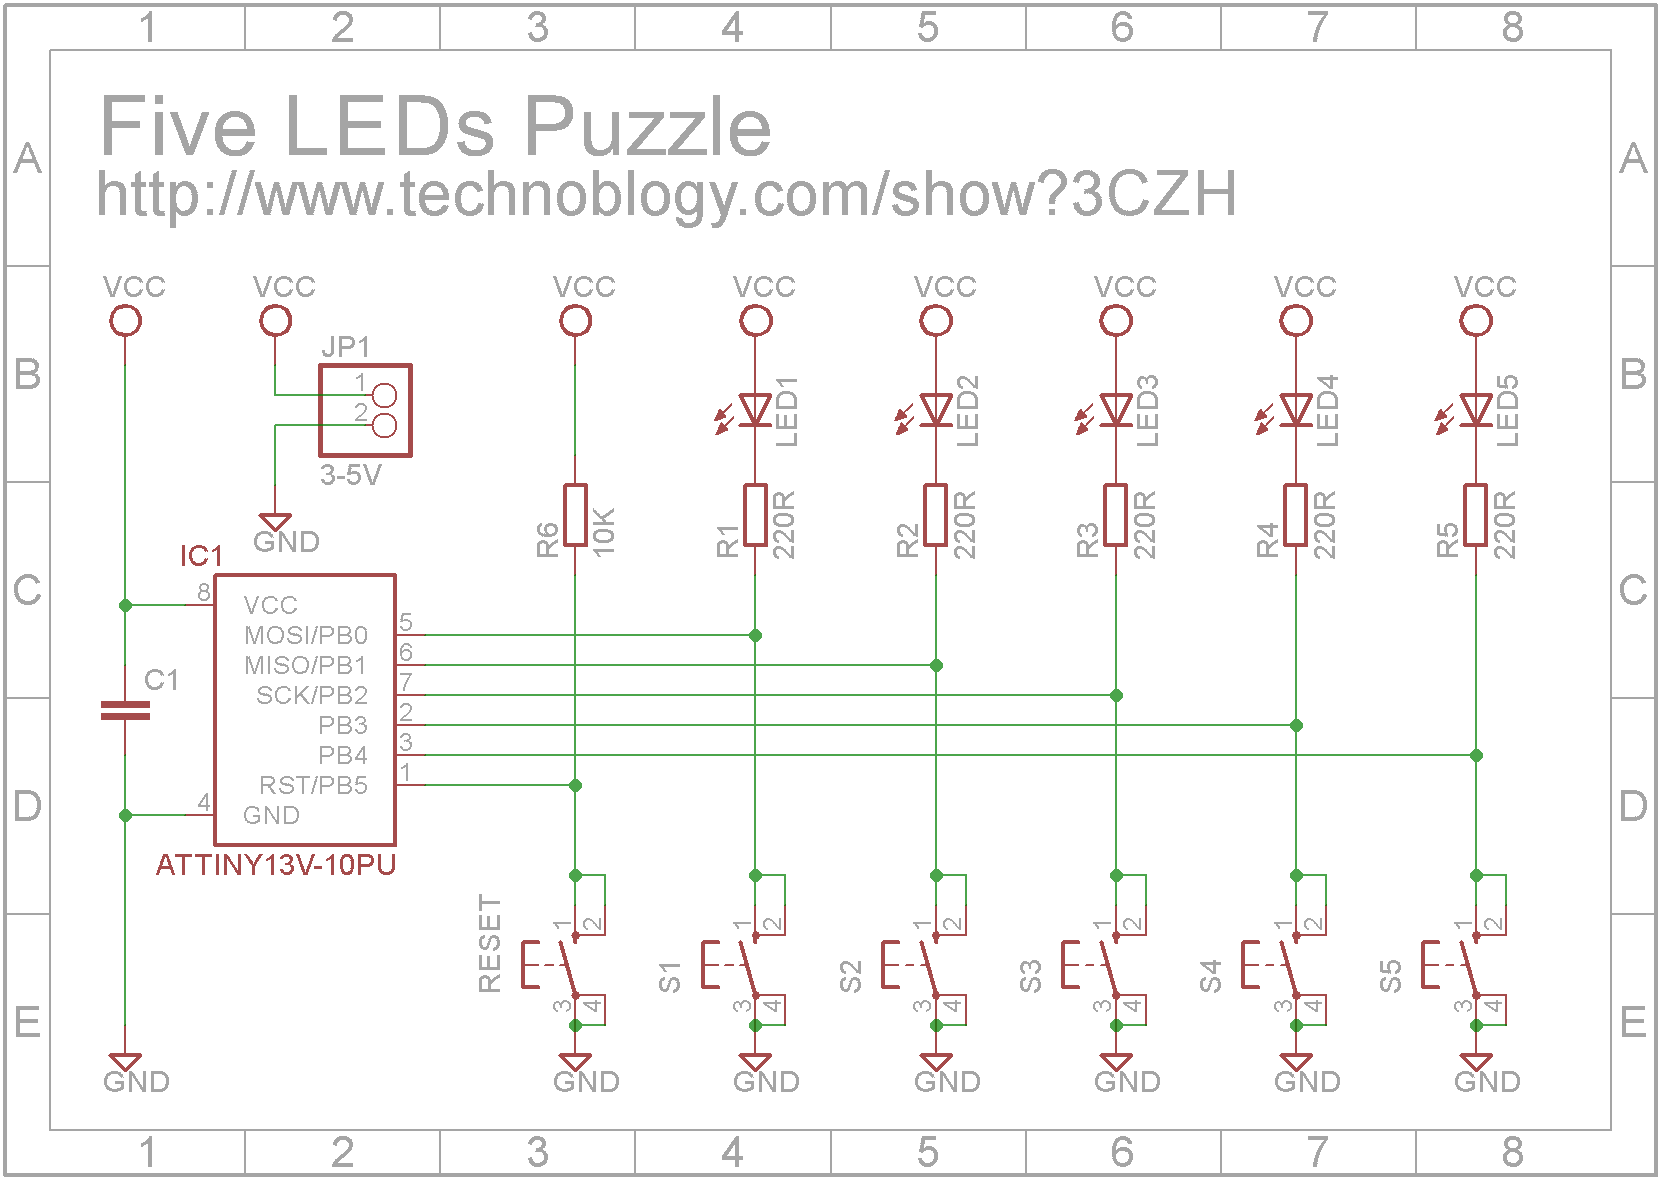
On the Technoblogy website, there is a project called the "Five LEDs Puzzle". Basically the challenge is to work out what sequence of switches need to be pressed to light up five LEDs. Although I think I figured out the sequence by following the code, I really needed to build it to see if it was correct.
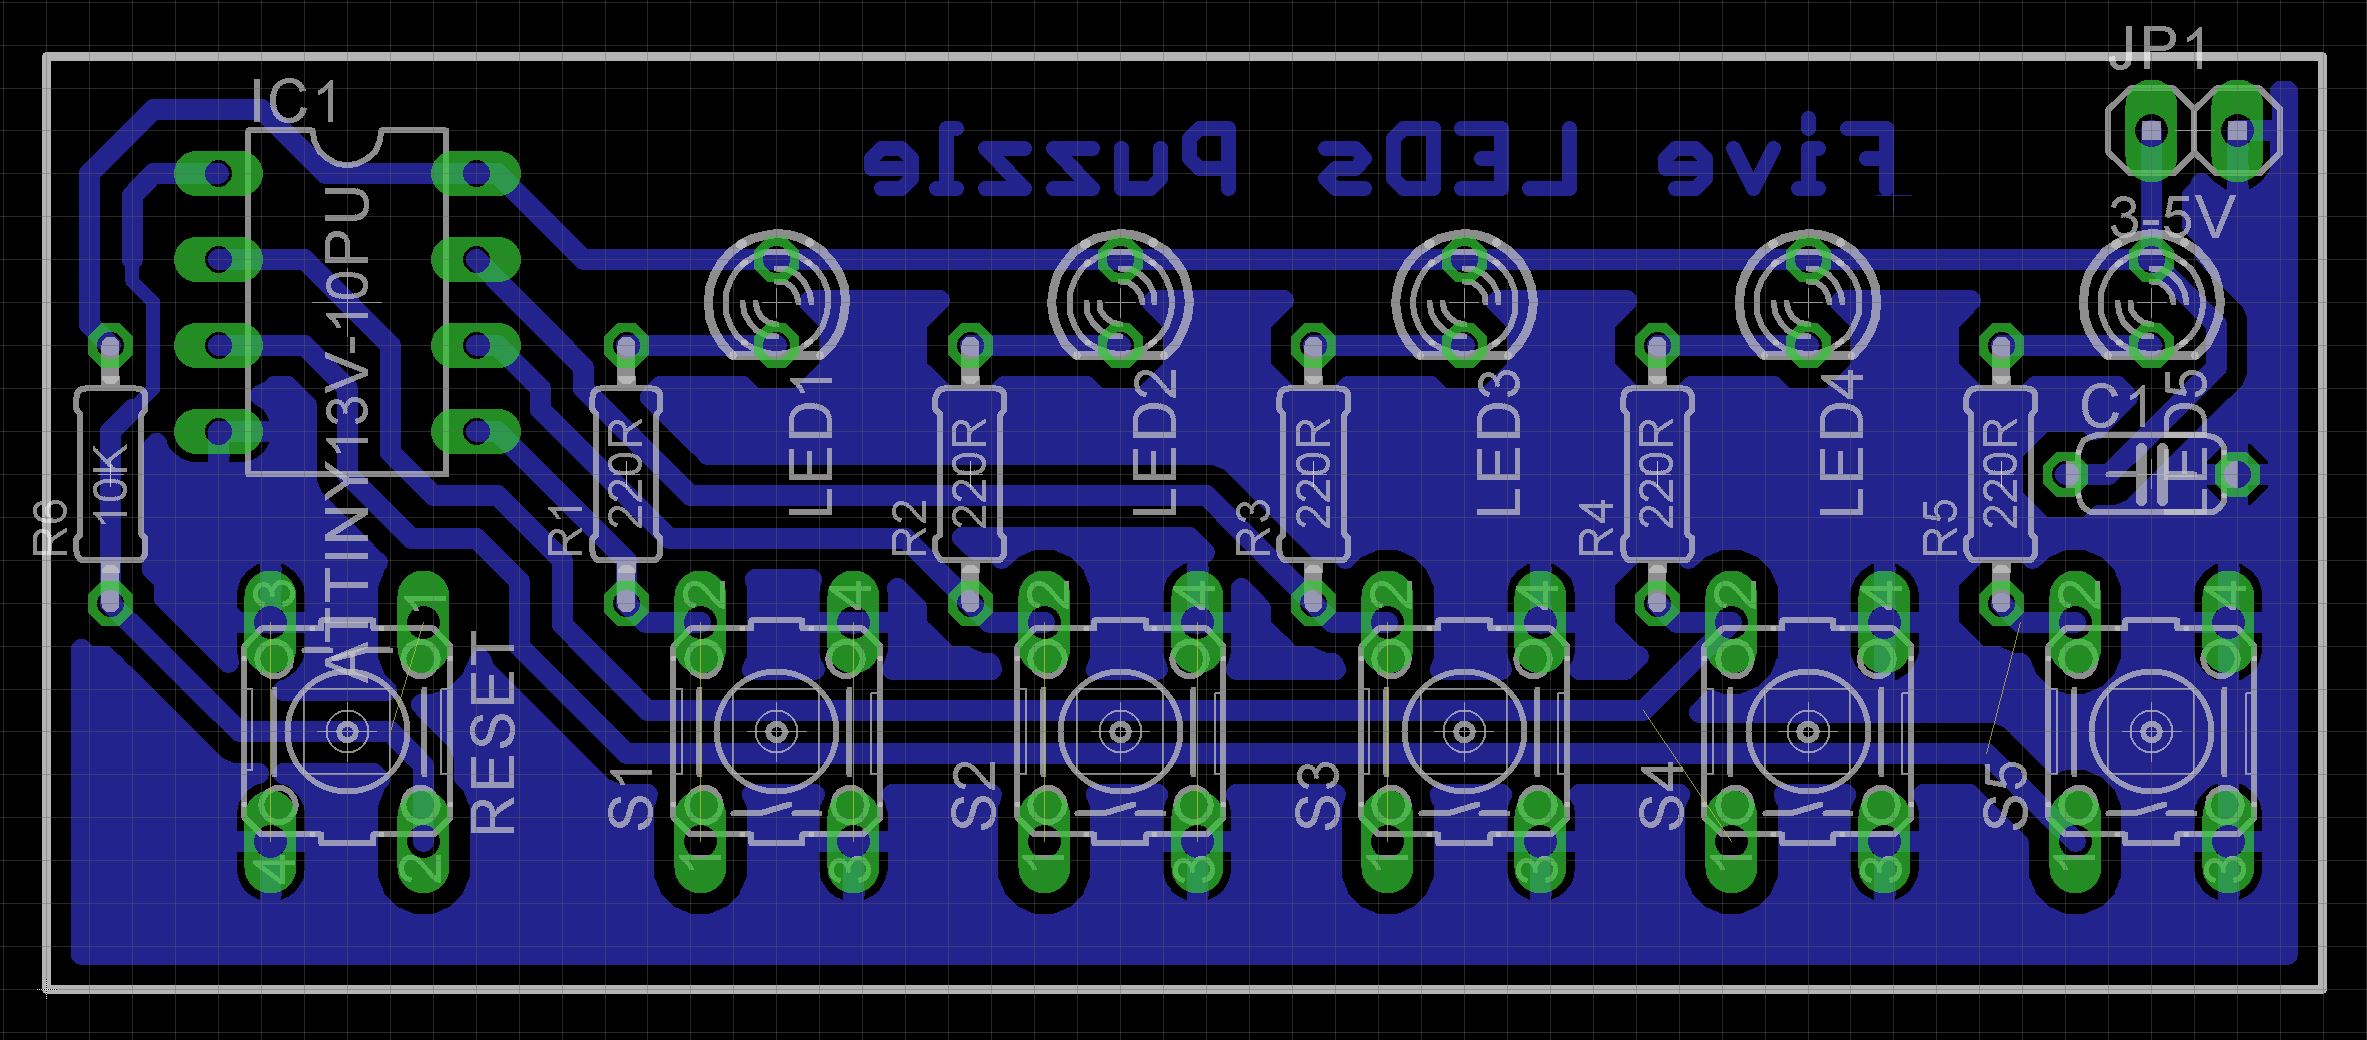
I decided to use a cheaper ATtiny13A microprocessor since the ATtiny85 seemed a bit of an overkill for this project. I prefer to make my own circuit boards rather than use protoboard or breadboards. The Eagle files have been included should you wish to get the board commercially made or do as I did and make it yourself. I used the Toner method.
I also 3D printed a simple bumper to hold the board (mainly so I could fix it to my desktop with double-sided tape to take the solution video).
ATtiny13 programmingIn the Arduino IDE
1. OpenArduino IDE -> File -> Preferences go to Additional Boards Manager URLs and copy this:
https://mcudude.github.io/MicroCore/package_MCUdude_MicroCore_index.jsonPress Ok.
2. Open Arduino IDE -> Tools -> Board -> Boards manager. Find MicroCore and click Install
3. I used my AVR ISP Programmer to program the ATtiny13A but can also do it using an Arduino Uno (See Programming ATtiny13 with Arduino Uno) - For my programmer, select Tools -> Programmer -> USBtinyISP (MicroCore)
4. Load the Sketch
5. Select Tools -> Board -> MicroCore -> ATtiny13
6. Upload code by selecting Sketch -> Upload Using Programmer
Solution


Comments
Please log in or sign up to comment.