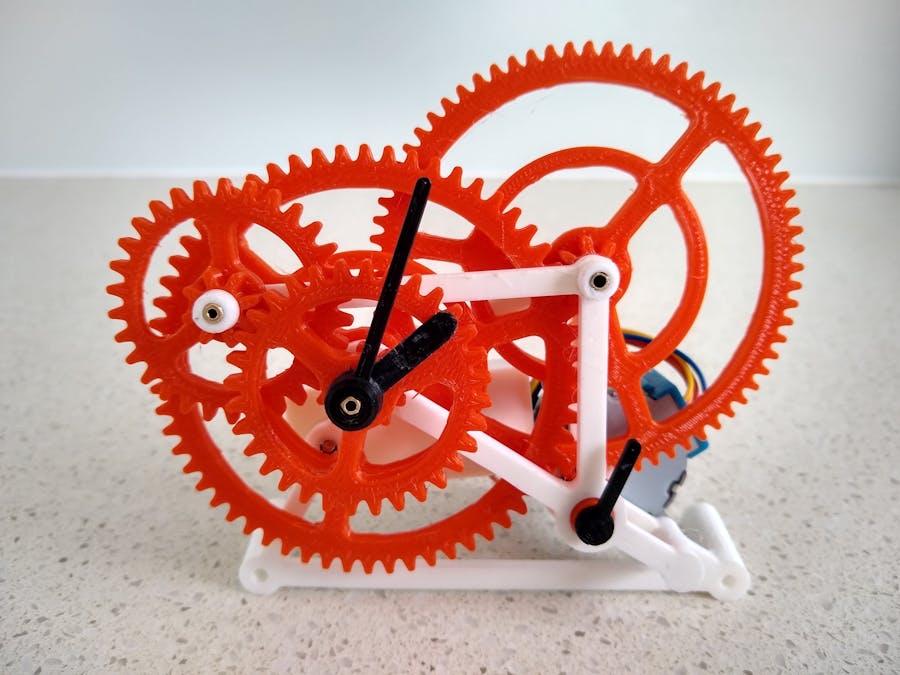
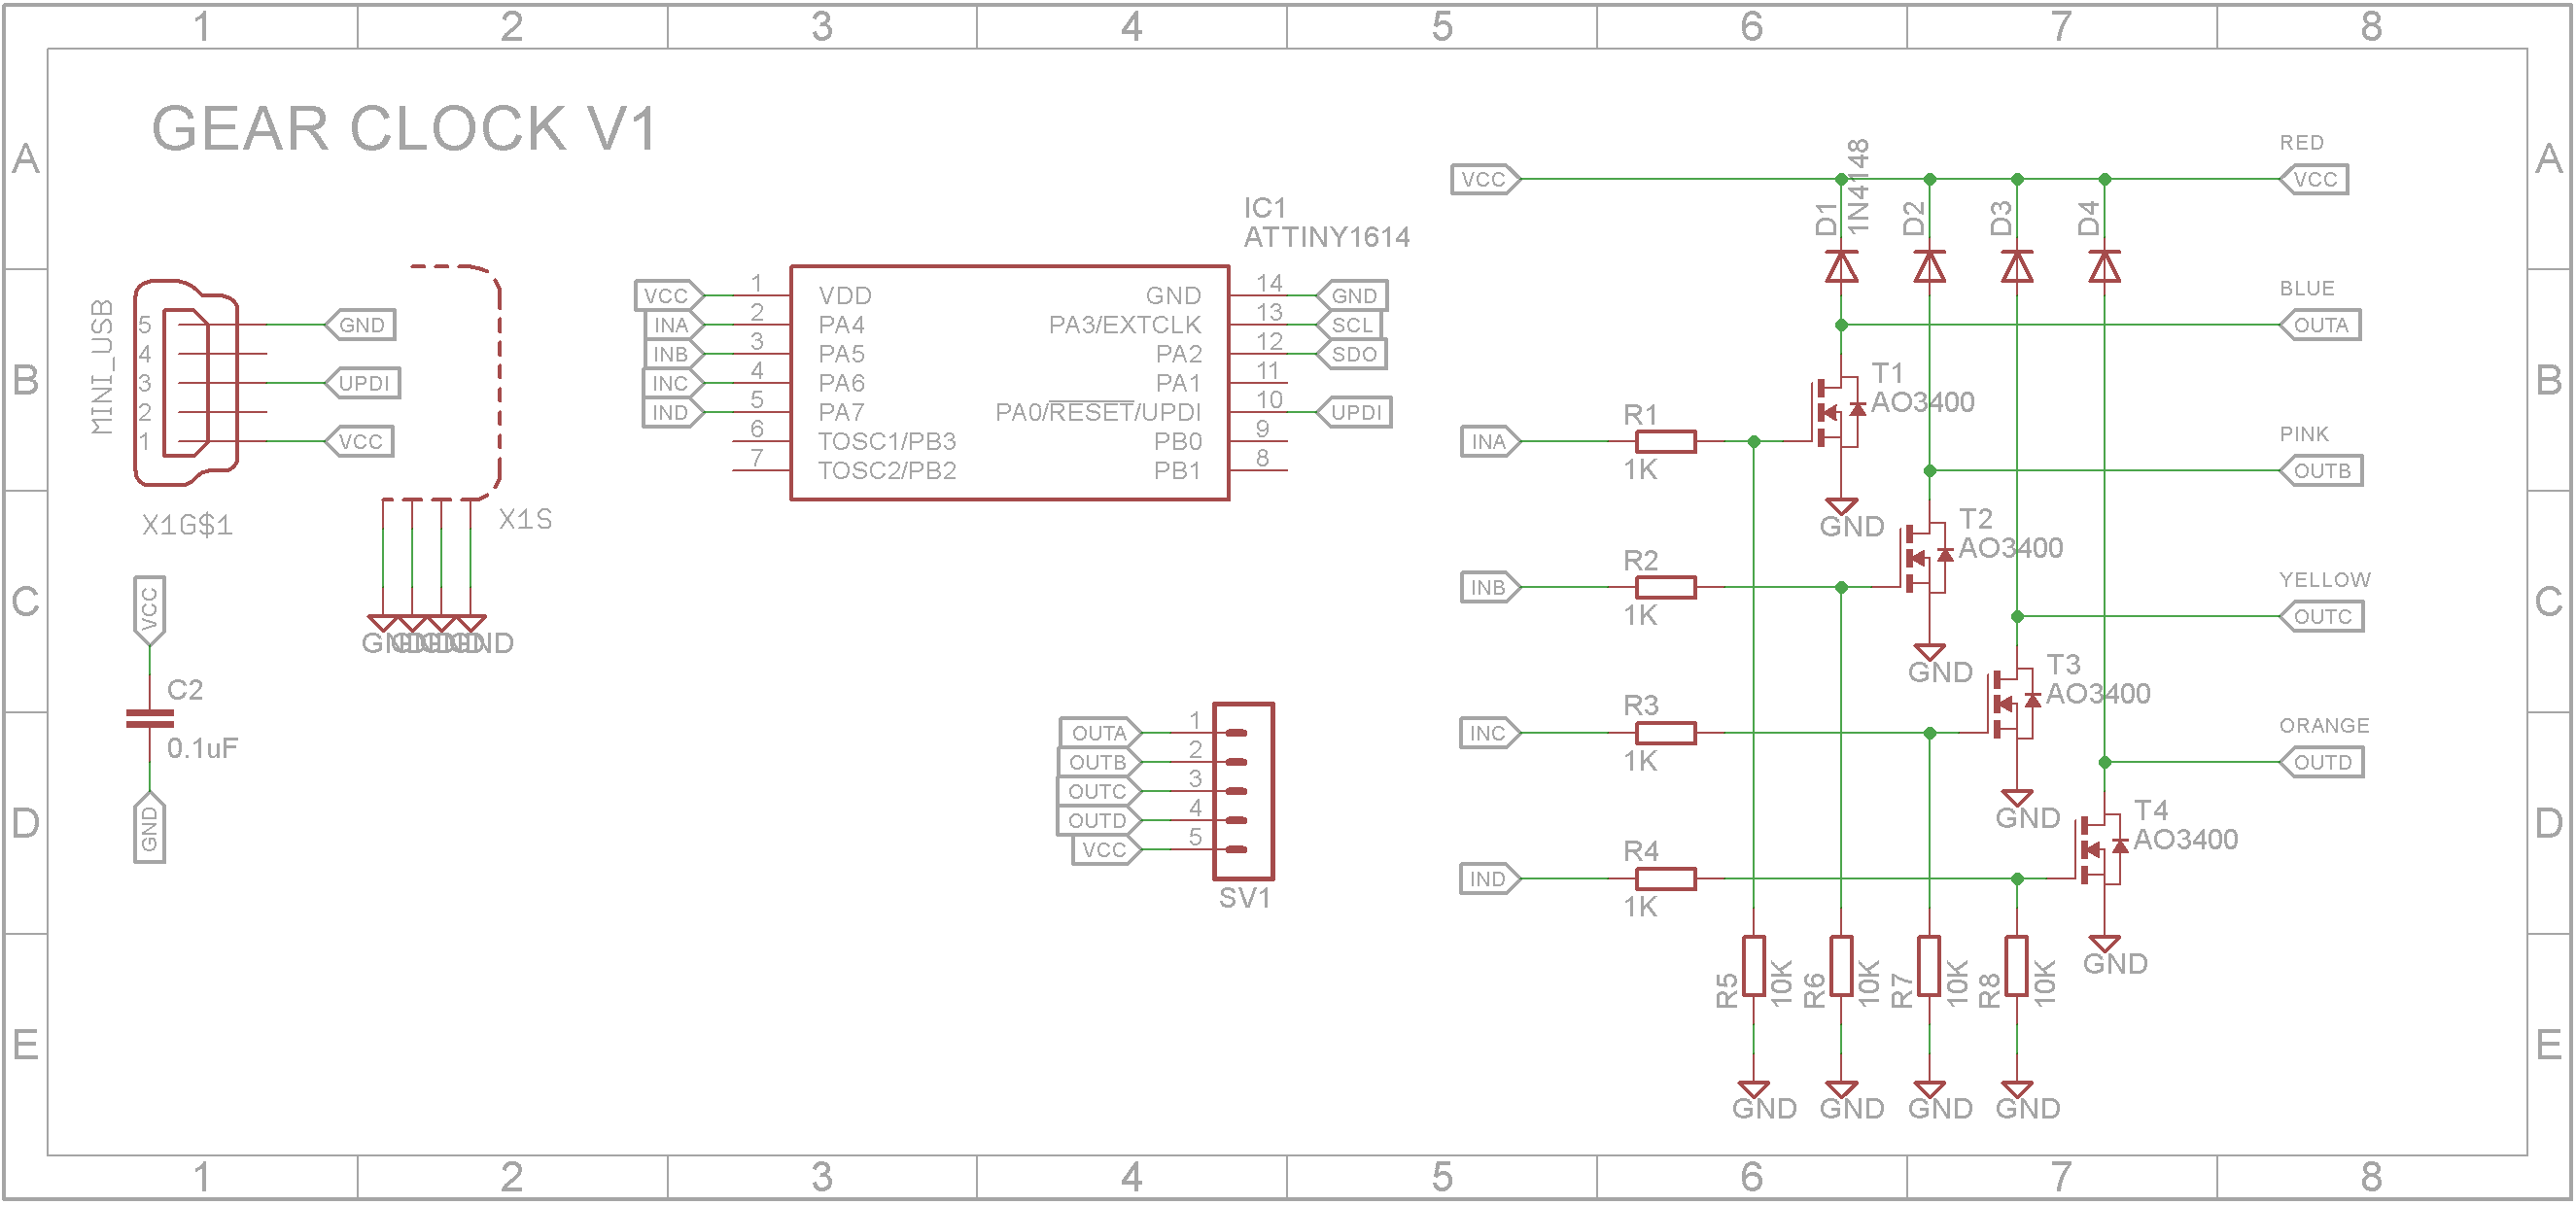
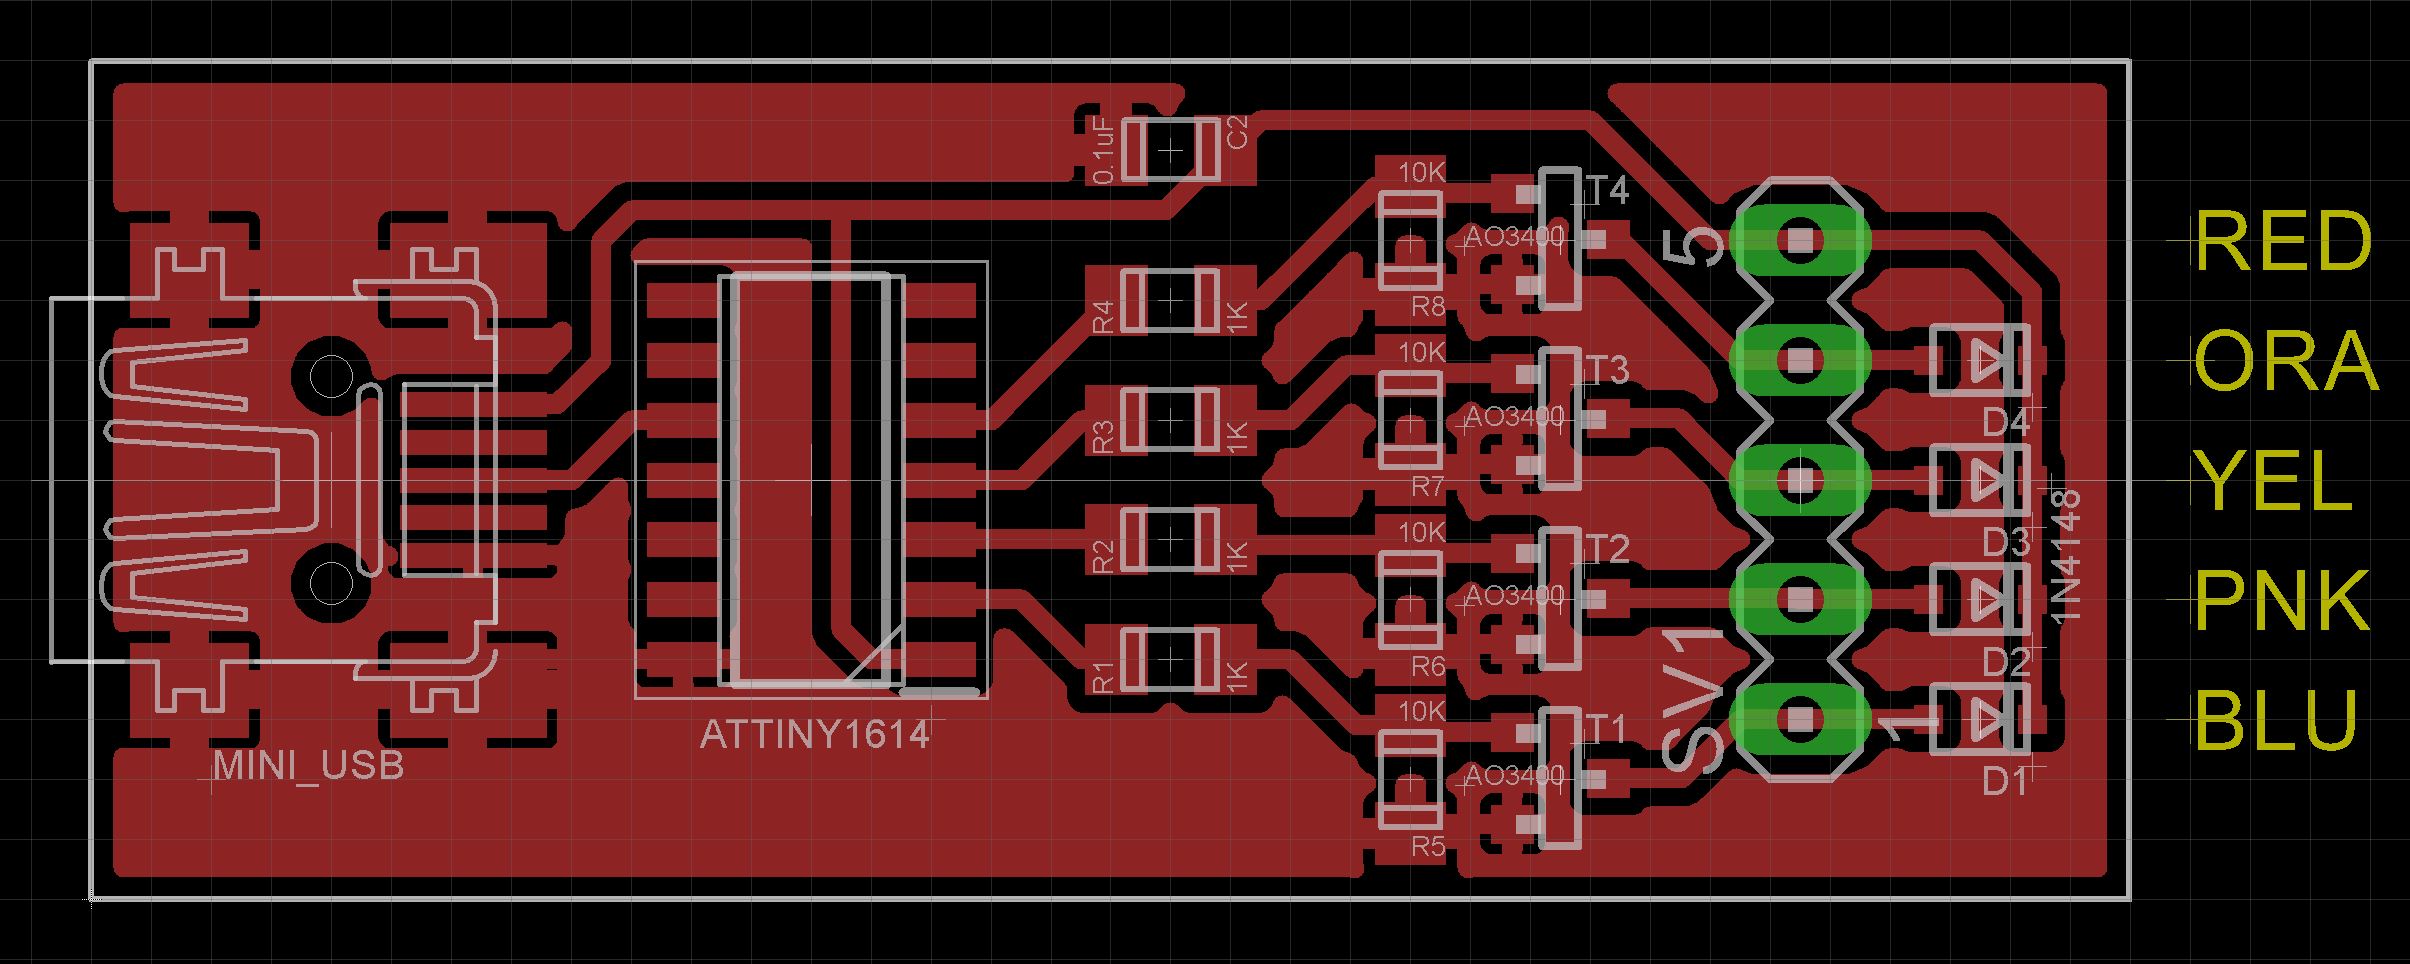
This build replaces the electronics used in the Arduino Gear Clock by Tada3. The Arduino Nano module and ULN2003A stepper motor driver module has been replaced with a ATtiny1614 microprocessor and 4 MOSFETs. All components are surface mount and fit on a board with the same form factor as the Arduino Nano module.
Video3D PrintingThere are no changes to the STL files provided by Tada3. You can obtain the files from Thingiverse. Gears that sit on the build plate should be printed on a raft otherwise the first few layers may be bigger than normal due to the heated build plate.
Follow Tada3's instructions and diagrams on how to assemble the clock. You won't need to add the two M3 x 4mm insert nuts for the holder that holds the ULN2003 board that comes with the stepper motor. All the electronics on that board have been replicated on the microprocessor board.
PCBThe Eagle Files have been included should you wish to get the board commercially made or you can make it yourself. I used the Toner method to make mine.
I find it easier to use solder paste rather than use solder from a reel when soldering SMD components.
If your board is single sided, see my Roman Numeral Clock build for the method I use to add pin headers to the copper side of single sided boards.
The ATtiny1614 is part of the new breed of ATtiny microprocessors. Unlike the earlier series such as the ATtiny85, the new breed use the RESET pin to program the CPU. To program it you need a UPDI programmer. I made one using a Arduino Nano. You can find complete build instructions at Create Your Own UPDI Programmer. It also contains the instructions for adding the megaTinyCore boards to your IDE.
The USB socket provides power to the clock (5V). The UPDI pin of the ATtiny1614 processor is connected the D+ pin on the USB socket. This allows the programming of the ATtiny1614 using a custom cable. USB Mini plugs are available on eBay or you can cutup an old USB Mini cable.
I cut the wires from the stepper motor and added a 5 pin female pin header. The PCB should be a tight fit into the holder that originally took the Arduino Nano board.
As a clock, it works but unlike a digital clock with a RTC chip and backup battery, it will stop working when the power is cut. As a project, it was a pleasant and rewarding build. Thanks Tada3 👍👍👍


Comments
Please log in or sign up to comment.