


Hardware components | ||||||
_ztBMuBhMHo.jpg?auto=compress%2Cformat&w=48&h=48&fit=fill&bg=ffffff) |
| × | 1 | |||
| × | 1 | ||||
 |
| × | 1 | |||
Software apps and online services | ||||||
 |
| |||||
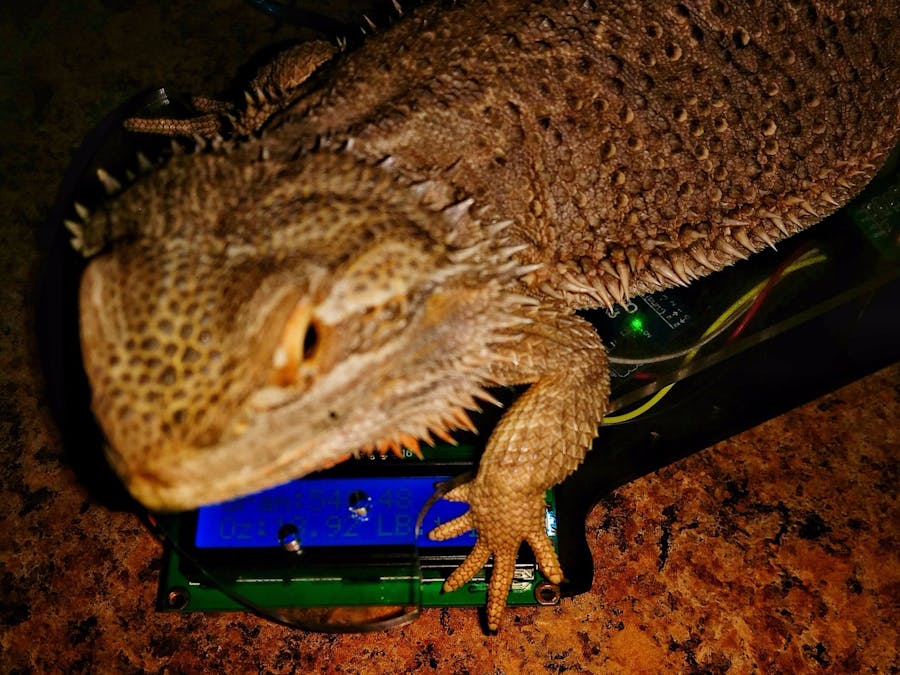
So... the latest member of our family, a bearded dragon named DaVinci had a stomach bug which was really messing with his appetite, etc. We needed a scale with a resolution in the grams/oz. range but with a big enough base to hold him in his entirety so we could make sure he was on the rebound to health with his diet. Gotta eat those BUGS BUDDY BOY! Arduino and HX711 Load Cell weight scale to the rescue. Read on to build one for your reptile family members, or for whatever you need to weigh.
Any reference to merchants and particular parts is just that, reference. Caveat Emptor.
- 5kg Load Cell and HX711 Combo Pack Kit - Amazon
- NOTE for the kit above: One side both holes tapped M4 thread, the other side both holes tapped M5 thread.
- Arduino UNO - Amazon
- Precision Steel Scale Calibration Weight Kit - Amazon
- For Parts: 4 wheel 2 layer Robot Smart Car Chassis Kit Amazon (I used the acrylic bases and standoffs from a previous project I had built, so parts were already present for me)
- LCD 1602 w/I2C Serial Backpack - Amazon
- Jumpers, USB Cable
Assumptions:
- Knowledge of Arduino IDE.
- Knowledge on installing and utilizing Arduino libraries.
- Knowledge of obtaining libraries from GITHub.
Libraries:
- Obtain and install the HX711 library from Git: HX711 Library
- Obtain and install the LiquidCrystal_I2C library from Git: LiquidCrystal_I2C library
Final Arduino Sketch:
- See attached.
YouTube Resource I Used:
- Ralph Bacon's Videos and Downloads I used for this project. Ralph Bacon
This is where YOU need to get creative based on what you have on hand for building the scale frame. Whether it's like mine or if you just want to use some Popsicle sticks and 2X4's... it's your call.
Regardless of how you assemble it, just pay close attention to connection locations and jumper cable lengths you'll be using.
Power Up and TEST your connections once, or twice, before you put it all together.
IMPORTANT NOTE: Make sure all solder joints are completely and solidly soldered on the HX711. It is very sensitive to external EMF. One of my connections was off just a little and the numbers went haywire! I would wave my hand 3 foot above the rig and it would stop dead in it's tracks. Crazy!
Wiring:Arduino LCD HX711 LOAD CELL
- Arduino 5v--------------------5v LCD
- Arduino 3v--------------------3v HX711
- Arduino Grnd----------------Grnd LCD
- Arduino Grnd----------------Grnd HX711
- Arduino 10--------------------Clck HX711
- Arduino 11-------------------- Data HX711
- Arduino A4--------------------Data LCD
- Arduino A5--------------------Clck LCD
- HX711 E+-----------------------LOAD CELL RED
- HX711 E- -----------------------LOAD CELL BLACK
- HX711 A- -----------------------LOAD CELL GREEN
- HX711 A+-----------------------LOAD CELL WHITE
DO NOT CONNECT B+ B-
4: Final Step - Home Stretch:This final step of steps may seem a little chaotic, so jump around at your own pace.
- In the Arduino sketch, if you are you using I2C for the LCD, you may need to change it's address to match your device. If you don't know it's address, you can download the I2C Scanning Tool from here to track it down. It is named ESP32_Wemos_I2C_Scanner but will work on any Arduino compatible with the Wire.h library.
- Refer to the Bogde GIT page for tips in the Readme.
- Calibration Time!! Once you have tested all, and assembled, calibrate your scale....even if you calibrated earlier, do it again now.
- The HX711 will work on other controllers like the ESP8266 and ESP32. You may need to adjust processor speed though. Refer to Andreas Speiss's page for tips on that.


Comments
Please log in or sign up to comment.