


Using a TinyScreen and Accelerometer TinyShield, you can create an electronic version of the classic "Magic 8-Ball" toy. This is a great project to get started with using the TinyScreen or the TinyCircuits ecosystem in general.
You're going to need a TinyDuino processor board (coin or LiPo battery), USB TinyShield, Accelerometer TinyShield, and TinyScreen. You won't need the USB shield in the final product, just to program it.
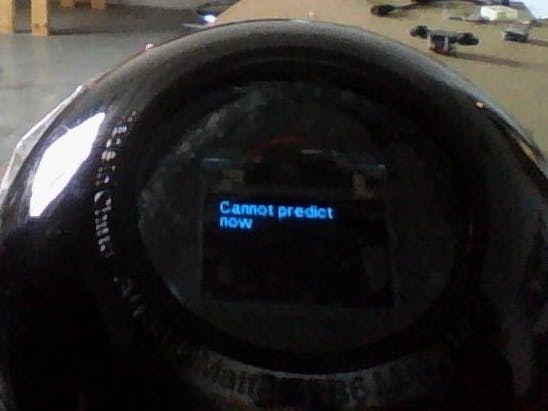
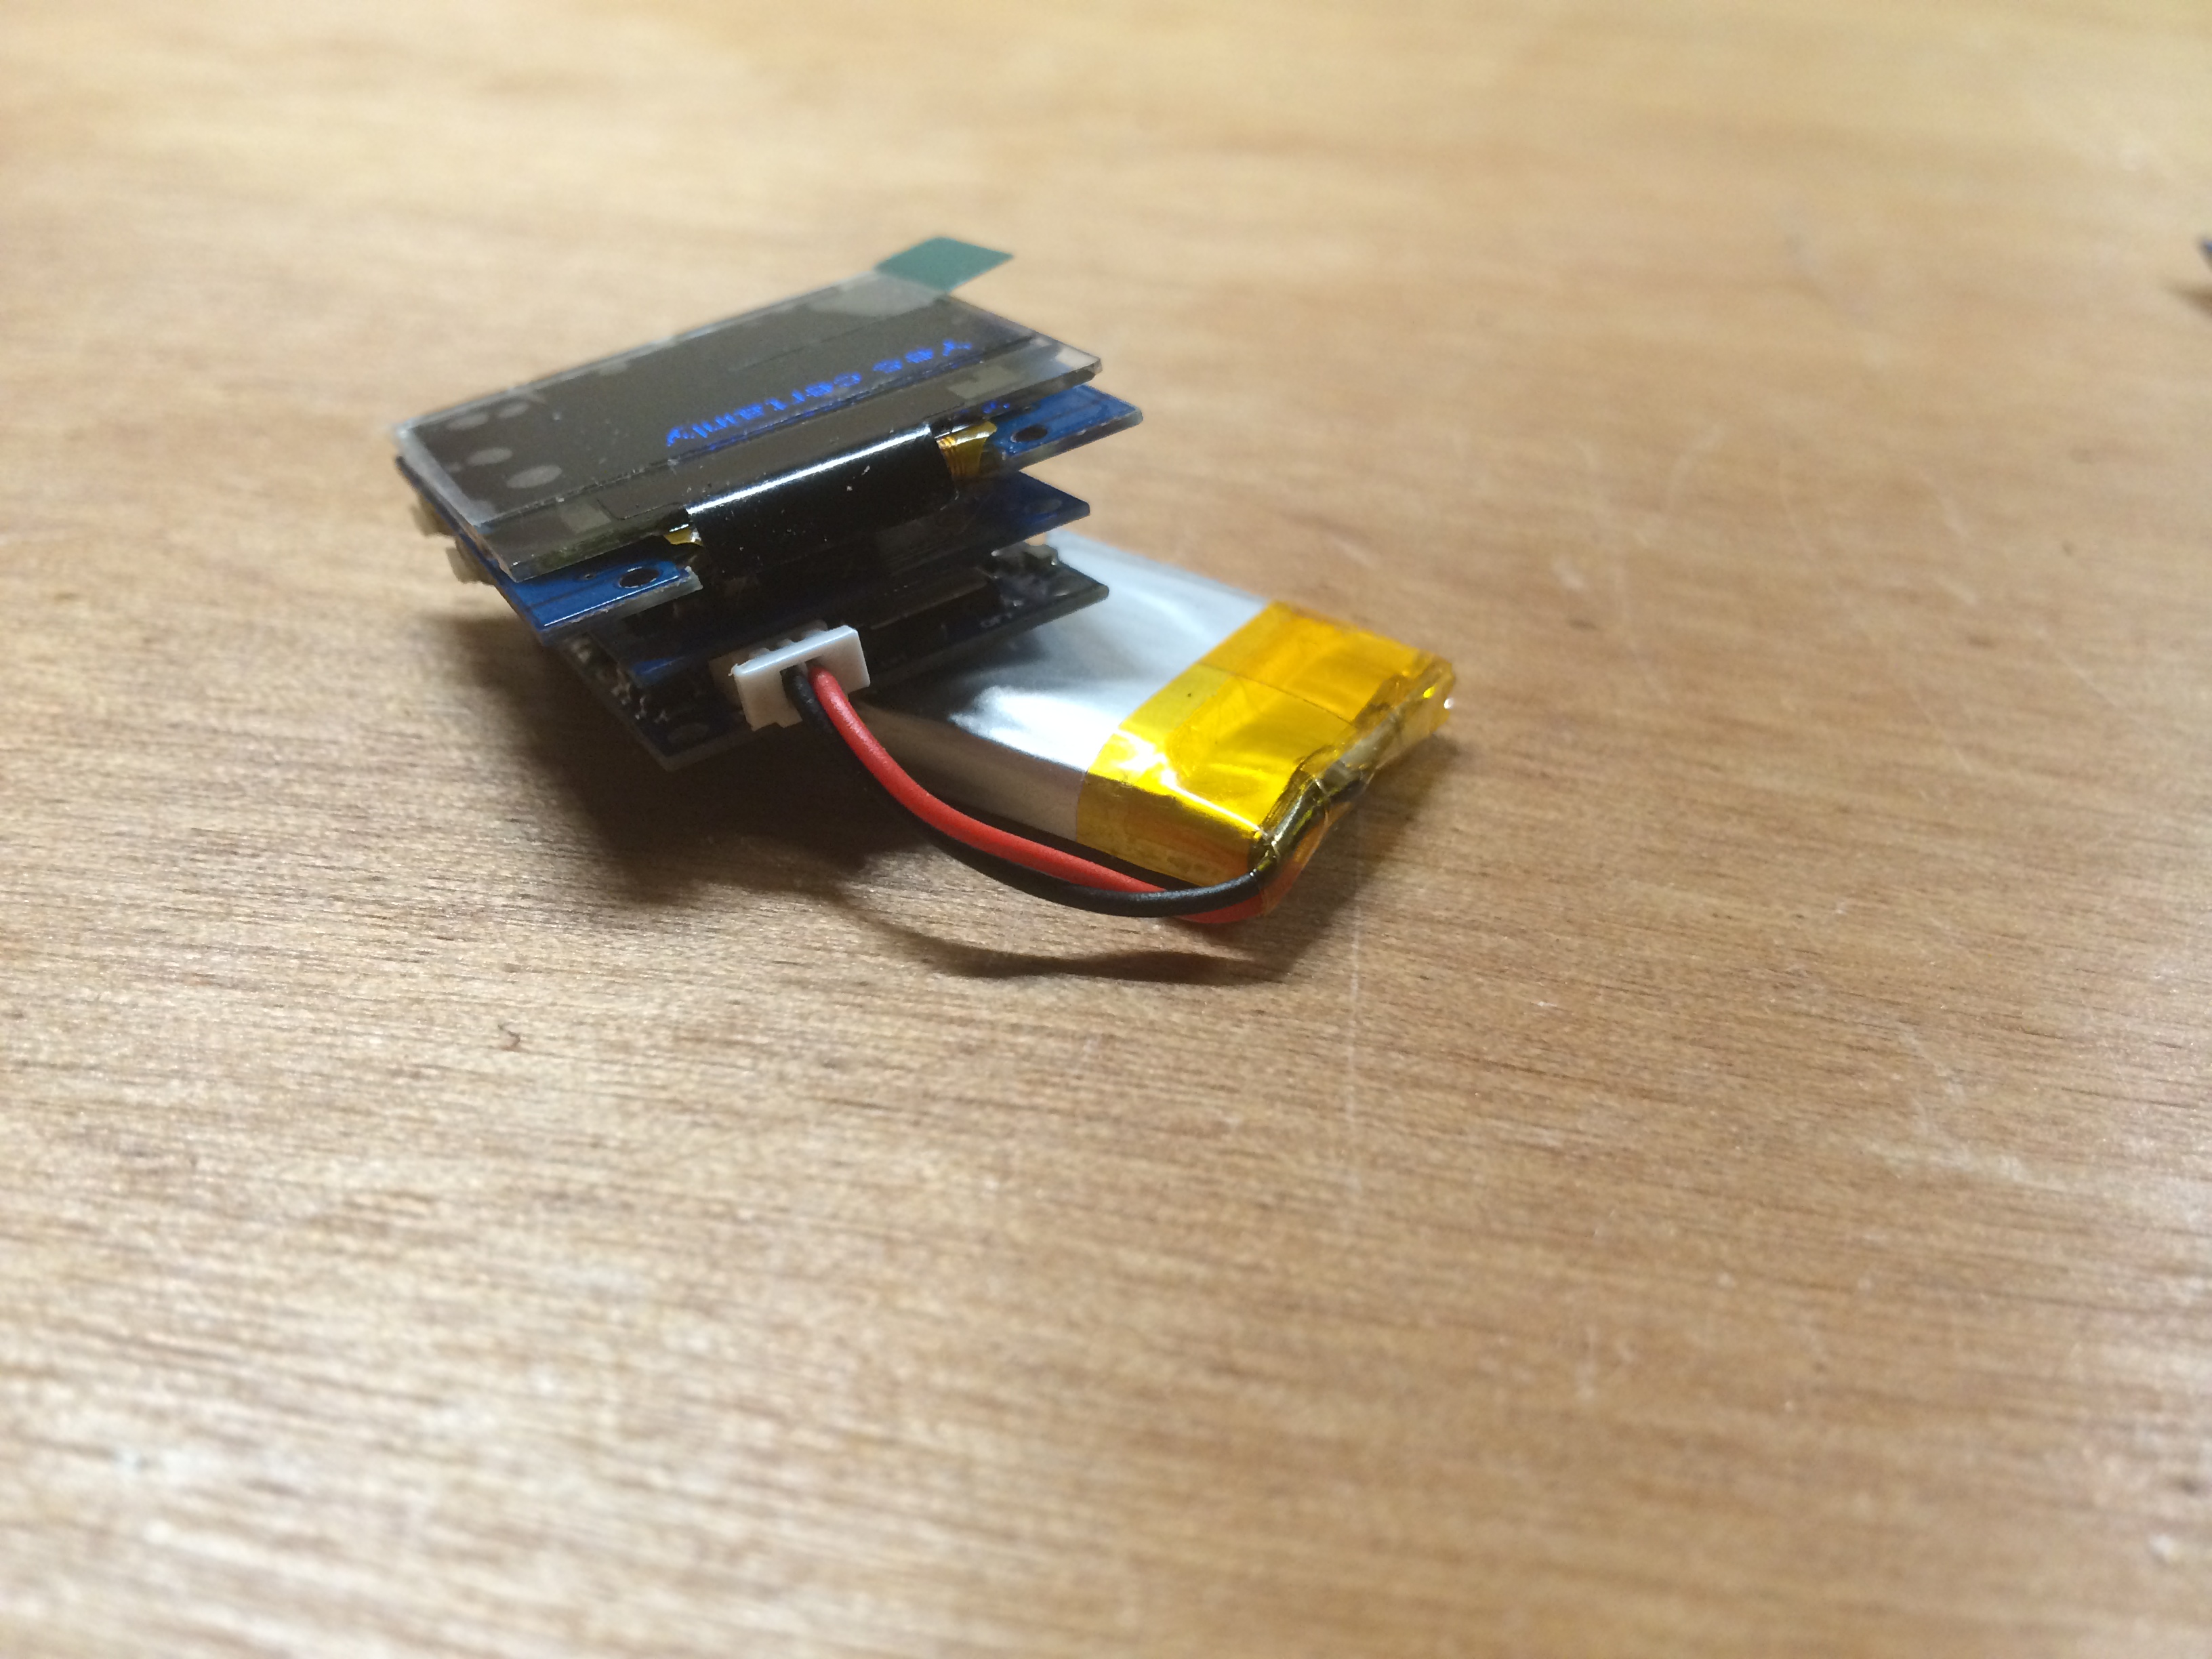
Step 1: Stack up your boards. Processor on the bottom, followed by USB, then Accelerometer, and finally the Screen. Load the 8 Ball program (see below) on your TinyDuino. It works like a traditional 8-Ball: hold it upside down, with the screen facing the floor, and ask a yes-or-no question. Flip it over and see your suitably magical answer.
Step 2: I used a Magic 8-Ball from Walmart, but you can get one from wherever (3D printed version coming soon). I scored it along the center seam using a Dremel with cutting wheel, and pried it apart with a utility knife and screwdriver. You have to cut off the plastic piece holding the blue liquid and empty the blue liquid and tetrahedral die out.
After you empty the liquid, dry the insides well. Avoid washing it out, as the top half of the 8-Ball fills with liquid which then drips back in the clear cylinder. I then used a craft knife to cut off any sharp edges or plastic bits that were in the way.
Step 3: Place the finished electronics in the cylinder, and secure it with a piece of clear packing tape over the opening. I put the ball back together, and secured the 2 halves with a strip of clear tape. It works!
I will be providing a few more versions (including 3D printed) of the 8-Ball soon, and hopefully even more features! Stay tuned.


Comments
Please log in or sign up to comment.