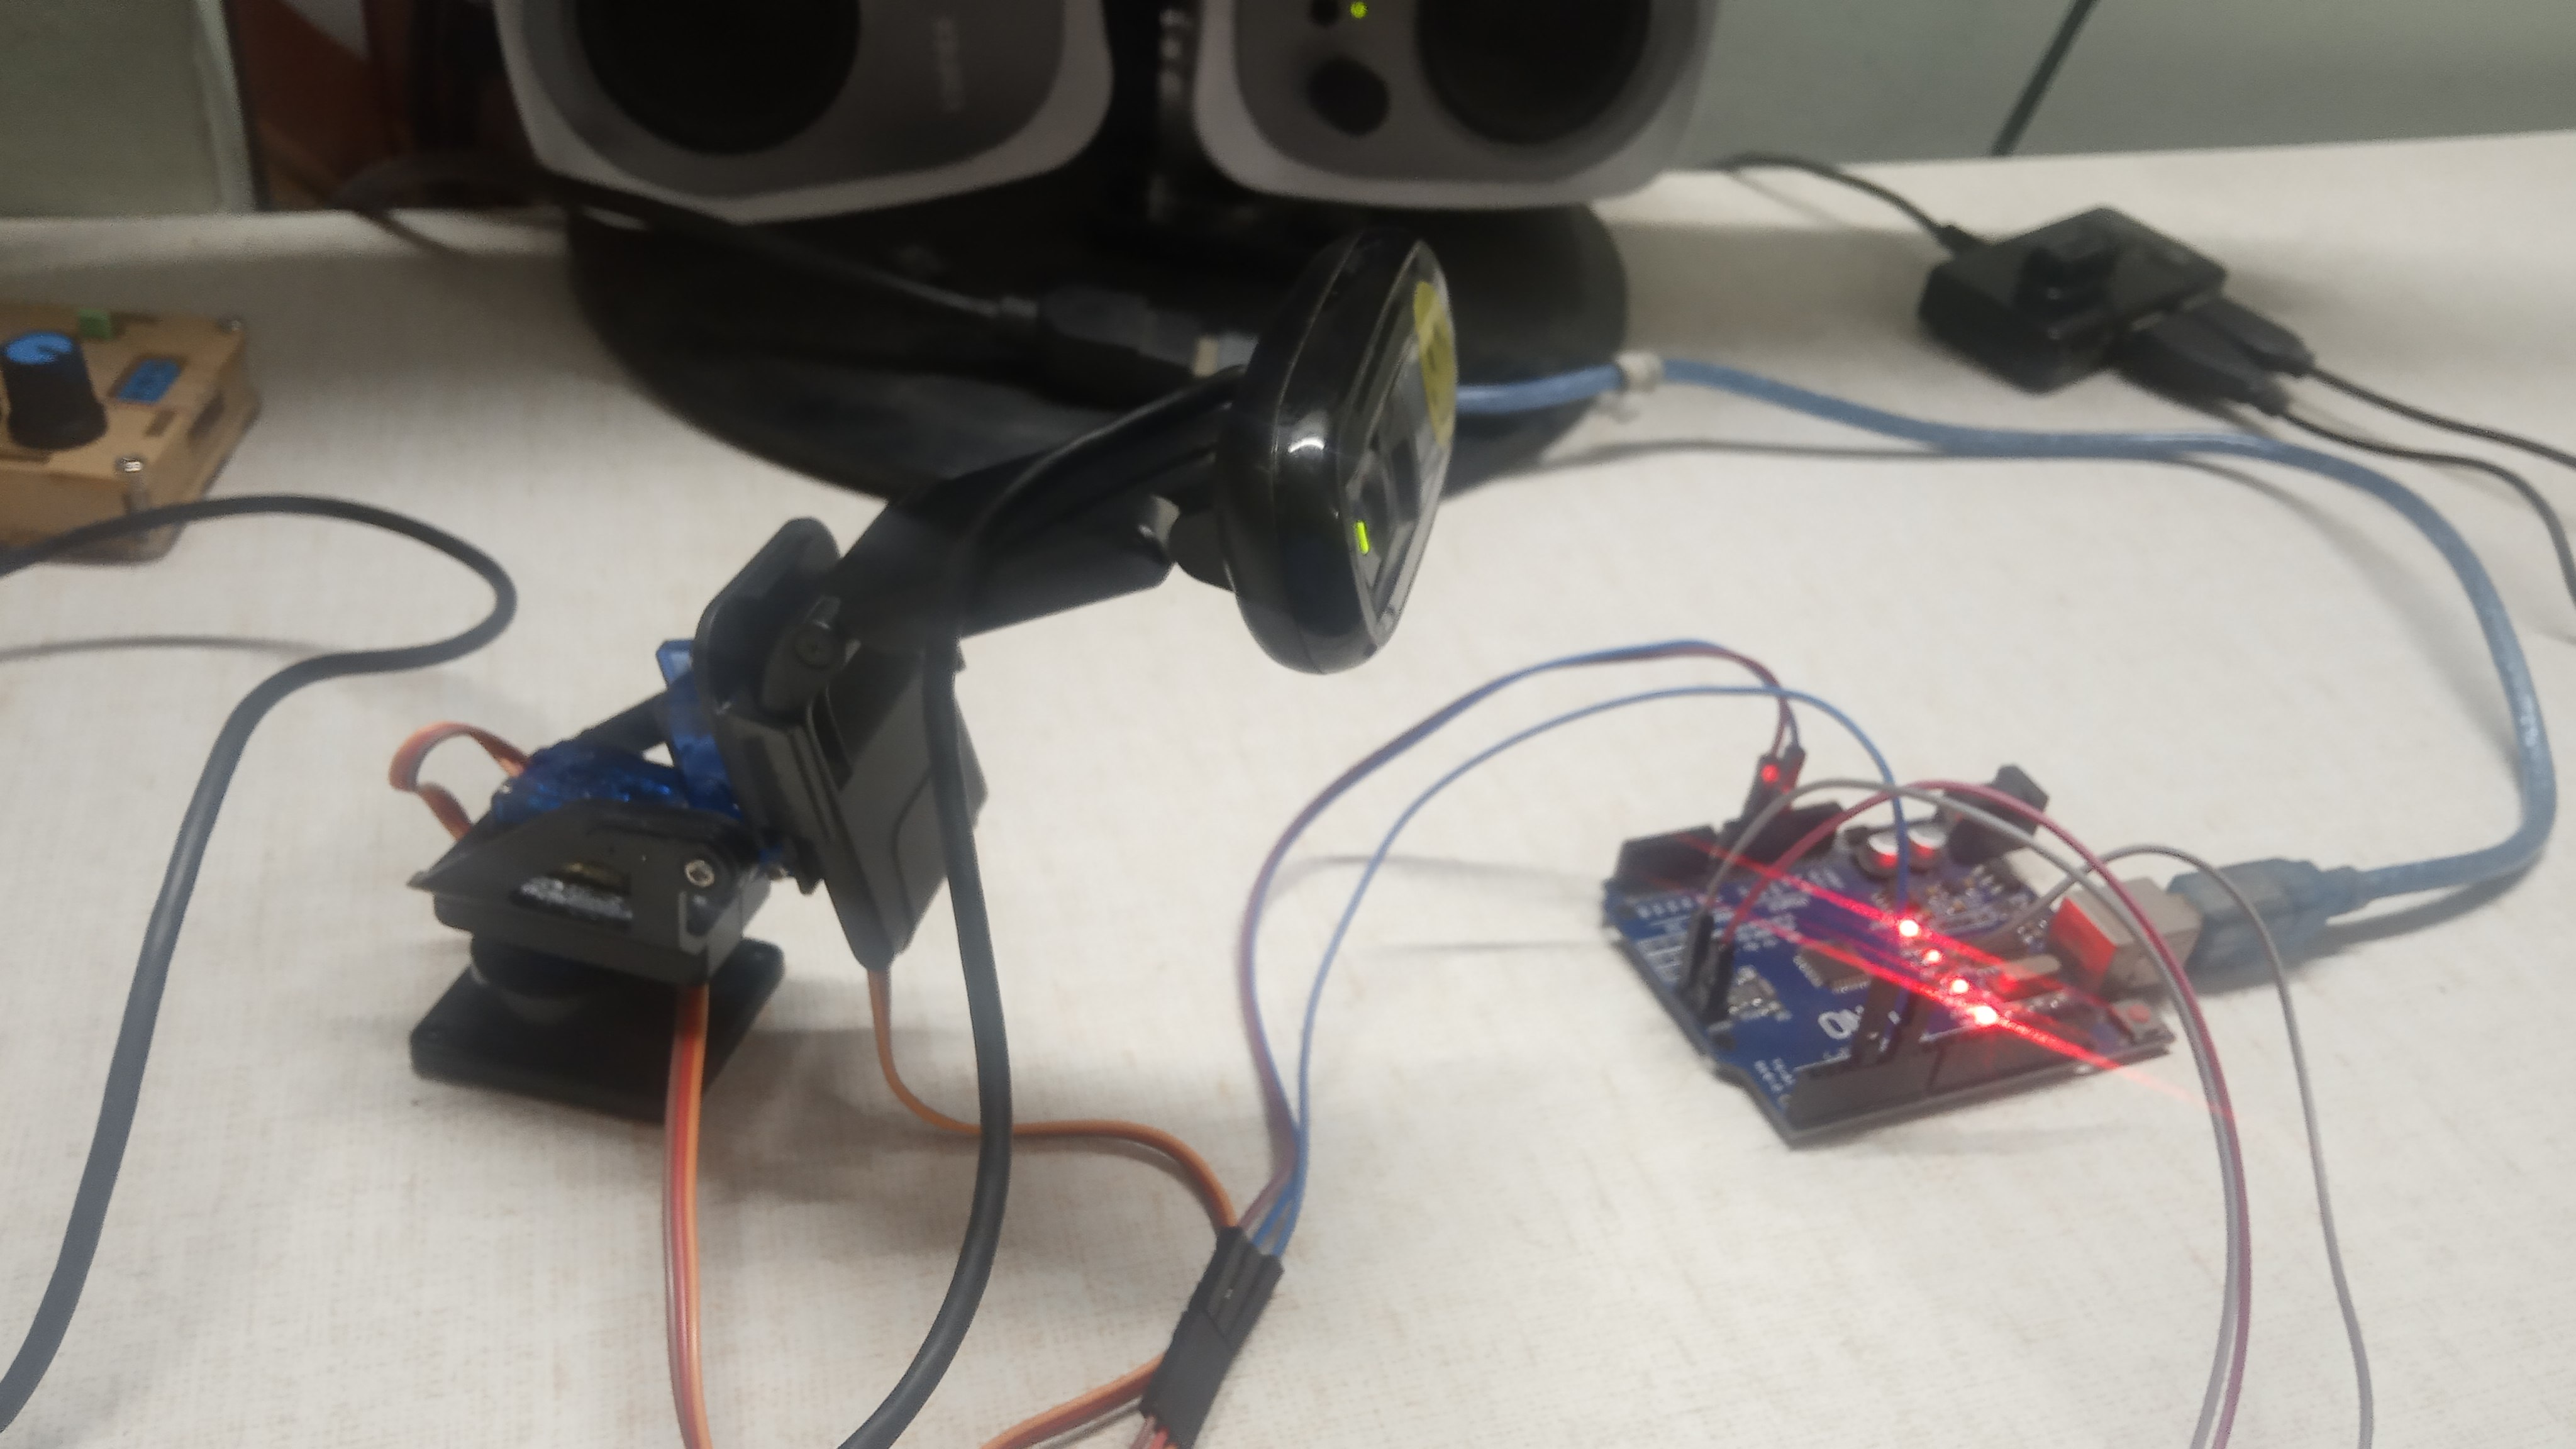
A USB camera is fitted on a 2-axis servo assembly. The 2-axis servo assembly enables pan and tilt control of the USB camera. This entire assembly is used to track any object that is seen by the camera by controlling the pan and tilt servos from the host PC through Arduino Uno.
The USB camera connected to the host PC is used to capture live images and send them to the PC. A software that is running on the host PC detects the object and outputs suitable control commands to Arduino Uno to control the servos inline with the movement of the object.
How it works
This project uses model based simulation software tool called CASP. Two projects are developed in CASP. One runs on Arduino Uno and another runs on host PC (native target).
The project that runs on Arduino Uno (see above figure) performs following logic
1. It receives serial data (serial block) from the host PC as a stream of 16 bytes.
2. Extracts first two 4 byte data from the serial data stream and converts to two 32 bit floating point data. The two float data has values between -1.0 to +1.0. range.
3. These are then feed to the two servo blocks that converts the float data to suitable PWM signals that drives the servos at pin 3 and pin 5.
The project that runs on host PC (see above figure) performs the following
1. It captures the live video from the USB camera connected to the USB port with the camera block.
2. The live video images are then feed to an image tracker block where it detects the object and outputs x and y coordinates (between -1.0 and +1.0 with center 0.0) of the object w.r.t the image frame.
3. The x, y output values are then feed to the independent PID controller blocks through the error blocks (subtraction block). The output of the two PID blocks are then send to the Arduino Uno board via serial port data stream with the help of servo_x and servo_y blocks.
4. The error blocks before and after PID controller blocks are useful when the camera has an offset with respect to the servo center angles. User can set suitable values by trail and error method.
5. Other supporting blocks are used for displaying and plotting required signals.
Step by step procedure
1. Download and install CASP software https://aadhuniklabs.com/?page_id=550
2. Check these videos on how to install CASP https://aadhuniklabs.com/?page_id=554
3. Download files from Gitlab repository https://gitlab.com/tul.ishwa/projects And extract all zip files.
4. Build the camera assembly and Arduino Uno connection diagram as shown in schematics section.
5. Adjust the camera to match with the center angle of both the servos.
6. Connect Arduino Uno and USB camera to the PC USB ports.
7. Run CASP, open the project from arduino_model directory (from the extracted file in step-3) and open workspace file wsp0.wsp.
8. Open Setup Simulation Parameters and set the hardware programmer port to the serial port to which Arduino Uno is connected.
9. Build the model and program Arduino Uno.
10. After the board is programmed, the on-board led should blink at around 2Hz frequency.
11. Close the project and open the native project from native_model directory.
12. Open workspace file wsp0.wsp.from the project
13. Open 'Simulation->Configure Simulation IO' window and replace COM14 (by double clicking on it) with the serial port to which Arduino Uno is connected. Press 'Connect Device' button to establish connection with the board. After successful connection press 'Save' button to save the configuration and close the window. Please go through this video on how to configure Simulation IO before building the model https://youtu.be/WOROwWSP6gw.
14. Build and run the model. A simulation panel window opens up and shows the camera view.
15. Take an object towards the camera and try to move it. Camera should move along with the object. The detected object area is shown in a rectangle.
16. Try to adjust the PID controller block parameters if slow response is desired.
17. If any offset errors are encountered try to set suitable offsets to offset_x and offset_y blocks.
18. Please note that model on Arduino Uno will run only for finite time (may be 10 minutes or less based the license) as we are using free version of CASP. Just press reset button on Arduino Uno and restart simulation on native PC to resume.
19. For any queries and suggestions please write to me at tul.ishwa@gmail.com


_ztBMuBhMHo.jpg?auto=compress%2Cformat&w=48&h=48&fit=fill&bg=ffffff)


Comments
Please log in or sign up to comment.