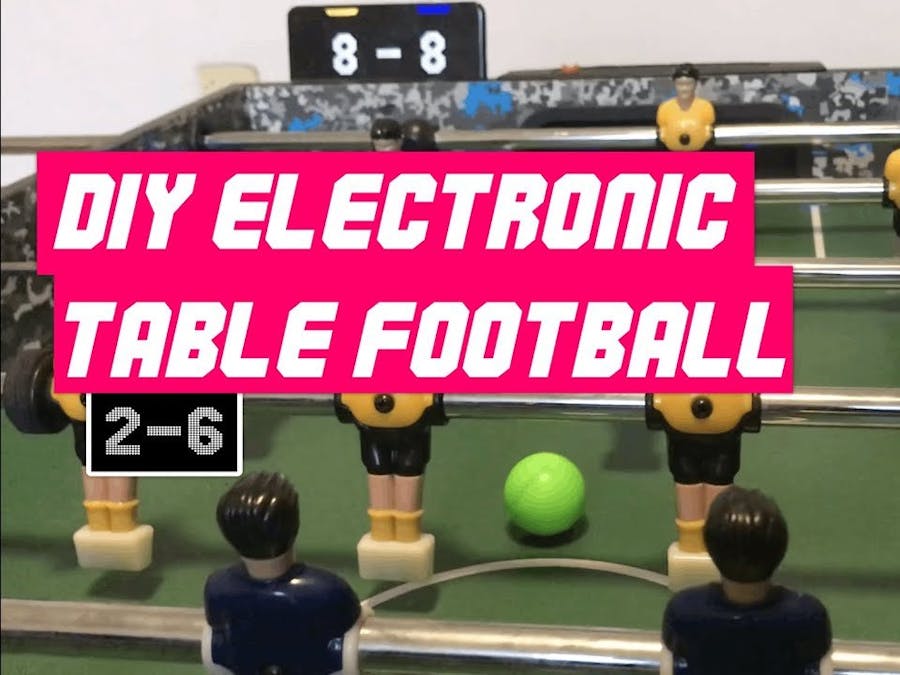
I’ve been stuck at home for a month now with a lot of free time and I came up with this fun little project. It’s an electronic football table that uses some cheap electronic components to detect when someone scores a goal and shows it on a scoreboard!
PrototypingThe core part is that we have to detect when the ball rolls into the goal. Luckily on my table the ball always ends up at the same place as you can see. First I thought about implementing some kind of pressure sensor on that spot but after doing some research on similar projects I saw that most of them were using photo-resistors.
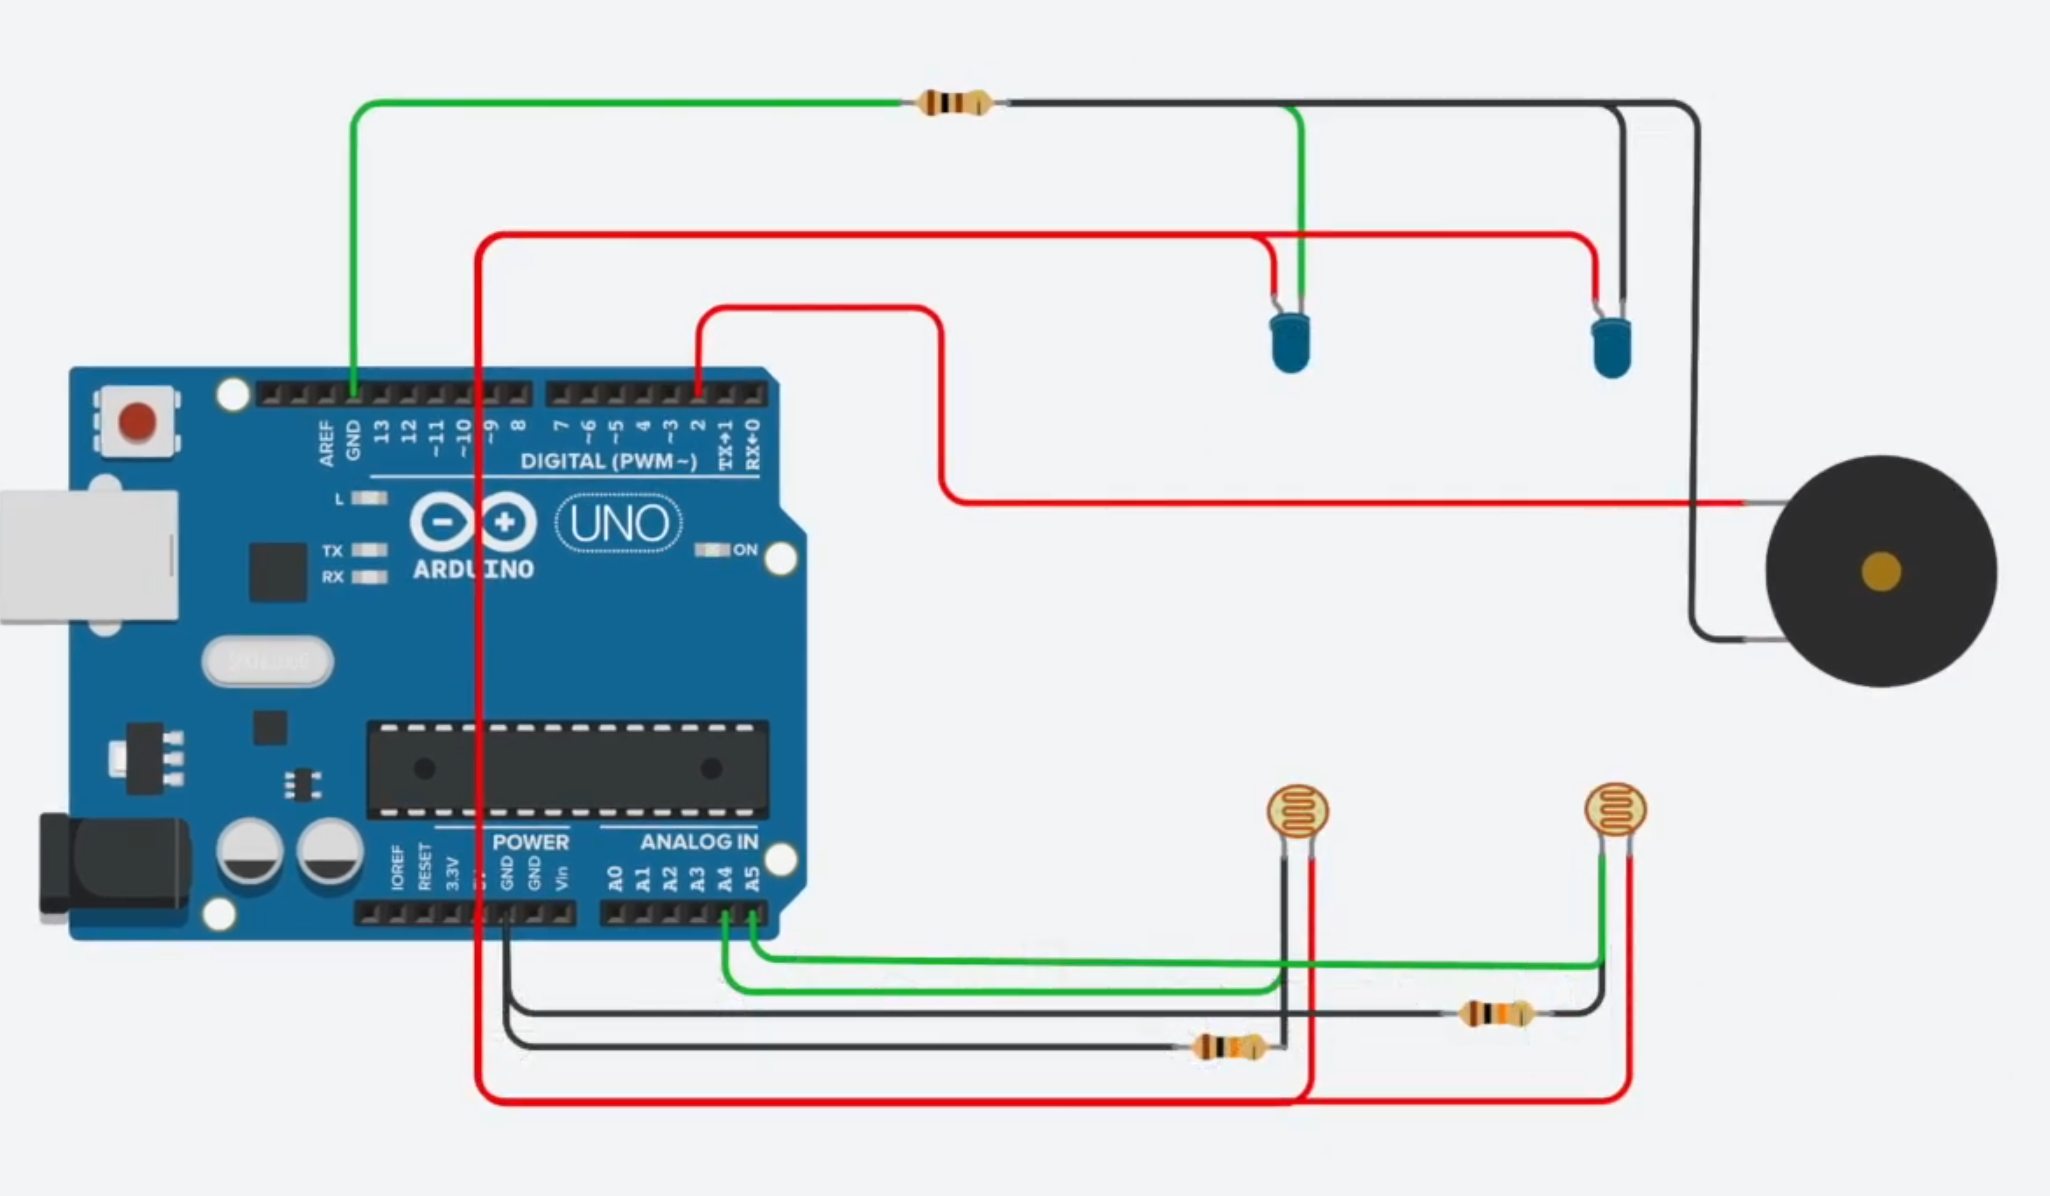
I happened to have a bunch of them lying around as well as some LEDs so I started testing! At first I wanted to use some IR LEDs that I had but it turned out the photo-resistor was not sensitive to Infrared light so then I did some testing with different coloured LEDs. I went with blue LEDs because they seemed to work best, causing a bigger difference in voltage than the others colors.
So what you will need for this project is 2 LDRs, 2 10k resistors, 2 100ohm resistors, 2 LEDs and an Arduino Nano or similar Arduino board. We need two of each because there are 2 goals and of course we’ll also need a football table.
CodeI used Tinkercad Circuits to simulate the circuit and write the code for the arduino. The code is pretty simple. It reads the analog pins continuously in a loop. The more light the higher the value will be. What we want to do is detect when the light decreases so we can check what the previous value was and compare it to the current one. If we see a significant decrease we can count that as a goal. Additionally I added a cool down period so it doesn’t count more than one goal and it gives you time to pick up the ball and start playing again.
AssemblyWith the electronics and the code sorted out it was time to move everything into a more compact format. I soldered the circuit into one of these prototype boards, exposing 4 pins for each goal for easy cabling. This soldering process was probably the hardest part as I am not really good at soldering. The end result looked a bit messy but surprisingly it worked!
Then I cut an old USB cable in half to connect our new board to the LEDs and LDRs on each side of the table. USB cables are perfect for this because they have 4 cables inside. I then soldered female connectors to each end of the 4 cables and everything was ready to be connected!
To hold the LEDs and LDRs in place I 3D printed these supports that clip on to the goal. We then glued the LEDs and LDRs on to the supports.
Scoreboard web appBut wait aren’t we missing something? Where’s the scoreboard? Well initially I thought I would use some 16x2 LCDs that I had lying around but they require a lot of cabling so it would complicate things quite a lot. Instead I thought that we could put a phone mount on each side of the table and have player leave their phones there to display the scores.
To send the live score data I thought the best way was to do it through WiFi. So we’d need to serve a webpage that the smartphone will connect to and that will display the live score. To do this I used an Orange Pi Zero SBC that I’ve had for some time and that costs around 10€. This is similar to a Raspberry Pi. It runs linux and it has 256mb of ram which is enough for this use case.
The setup works by connecting the Arduino to the OrangePi via usb and running a python web server on the Orange Pi. The Arduino transmits it’s data to the Pi through Serial. It’s simply transmitting a “1” or a “2” depending in which side detects a goal. Then the server keeps track of the score and sends live updates to a client web page via web-sockets.
Any device connected to the same wifi network can then access this website and see the live score. I also included a reset score and shutdown buttons on the client for easy access.
ConclusionsAs you can see I had a lot of fun with this project! We’ve been playing a lot with it with my dad and it works perfectly! There are still some improvements to be made. We could improve the webapp to save statistics and to be able to host tournaments with friends!
All the code for it is in the description so feel free to modify it for your needs and build your own table! See you next time!
LinksCheckout the video here for more info: https://www.youtube.com/watch?v=unXU5m7EqaU
Source code is here: https://github.com/s6joui/electronic-table-footbal
Resourceshttps://en.wikipedia.org/wiki/Photoresistor
https://www.arduino.cc/reference/en/language/functions/analog-io/analogread/
https://create.arduino.cc/projecthub/Ayeon0122/reading-a-photoresistor-1e705e


Comments
Please log in or sign up to comment.