


Hardware components | ||||||
 |
| × | 1 | |||
 |
| × | 1 | |||
| × | 1 | ||||
| × | 1 | ||||
| × | 1 | ||||
Software apps and online services | ||||||
 |
| |||||
| ||||||
Hand tools and fabrication machines | ||||||
 |
| |||||
 |
| |||||
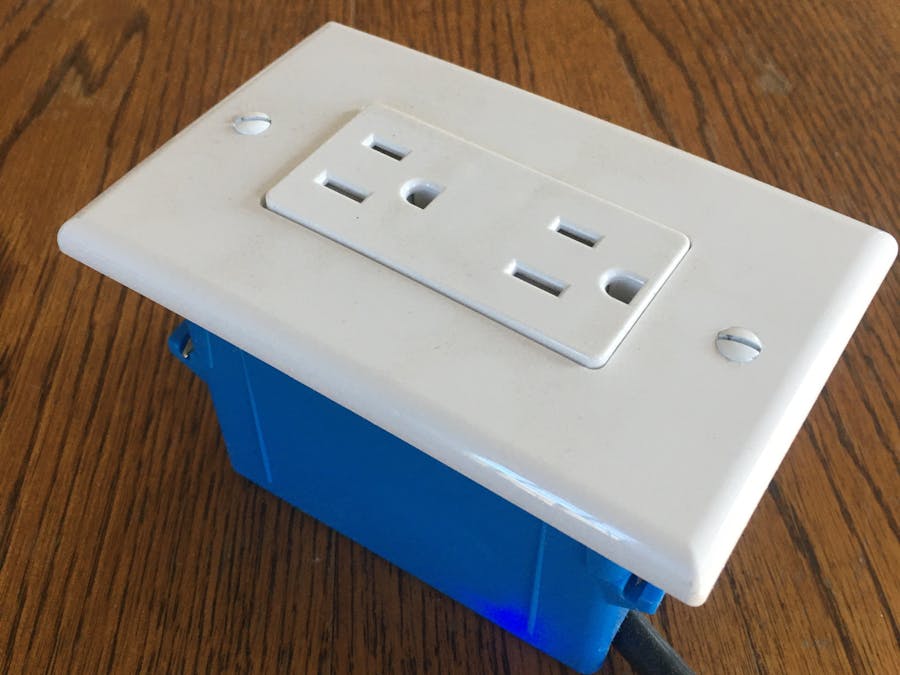
This project is a perfect beginner project that doesn't need very many parts. You will need a ESP8266, a relay, 3 male - female jumper wires, a spare plugin wire, and an outlet box with an outlet and outlet cover.
First, connect the relay to the ESP8266 as shown below.
ESP - Relay
+5V - +
GND - --
D4 - Signal
Make sure signal is connected to D4.
If you need help with using an ESP8266 with Arduino IDE, use this other tutorial.
#define BLYNK_PRINT Serial

#include <ESP8266WiFi.h>
#include <BlynkSimpleEsp8266.h>
Including Blynk libraries.
char auth[] = "your_auth";
char ssid[] = "your_ssid";
char pass[] = "your_pass";

#define relay 2 //GPIO2, D4
Blynk info and relay pin.
int state;

BLYNK_WRITE(V0){
  state = param.asInt();
}
Blynk input saved to state variable.
void setup() {
  Serial.begin(9600);
  Blynk.begin(auth, ssid, pass);
  pinMode(relay, OUTPUT);
}
In setup, we start the serial, Blynk and setup the pin mode.
void loop() {
  digitalWrite(relay, state);
  Blynk.run();
}
Turn the relay on or off with the state variable and use Blynk.run(); to stay connected to the Blynk server.
Wrapping Up
If you have any questions, please post them in the comments.
Check out my other tutorials!
and my website


Comments
Please log in or sign up to comment.