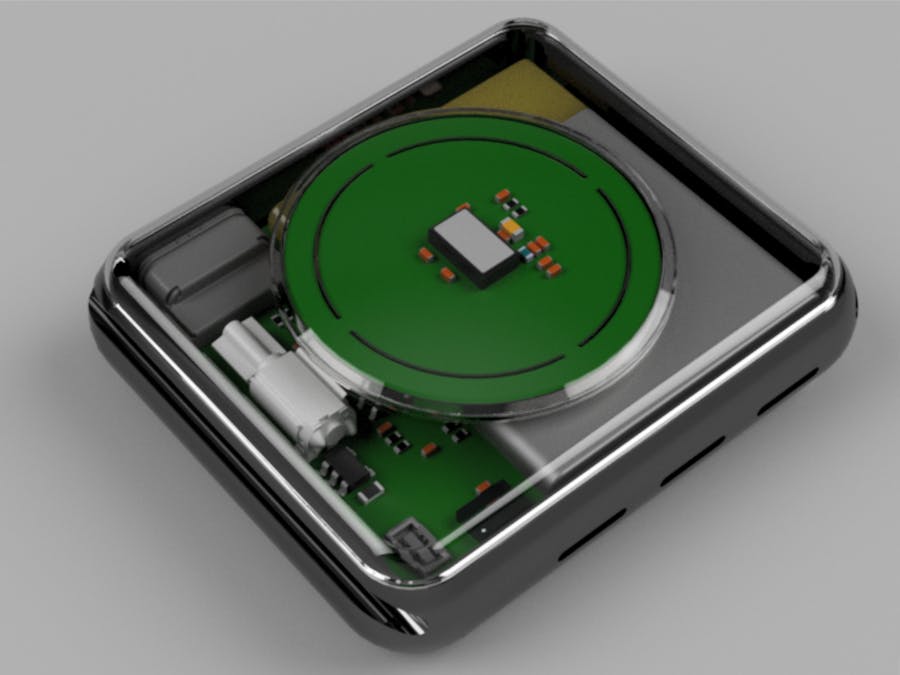
Me, a non-apple guy, recently bought all the apple devices a man can get. Most inspiring was the apple watch, the sleek design and marvels of engineering made me think about making my own. Here is this week's project, an nRF53 version of the apple watch with some sensors I would like on my watch.
Makingthe ultimate wearable tech
We would need all the cool features that are on the apple watch. Wireless charging, bio sensing for blood O2 levels, and EKG sensing. I'm often feeling tired after being in the office day in and out, and are curious about the CO2 levels I'm being exposed to. An advantage to the CO2 sensor is that it also measures total volatile organic gasses, so it should in theory detect odors that shouldn't be in a workplace :) The most useful function on the apple watch, is getting notifications. Its super easy to miss out on important notifications such as meetings or other calendar specific arrangements. Pairing the nRF53 over bluetooth to your phone integrates all these features into one package. Now all that's missing is a microphone to detect sound levels, and a barometer for hill climbing activities.
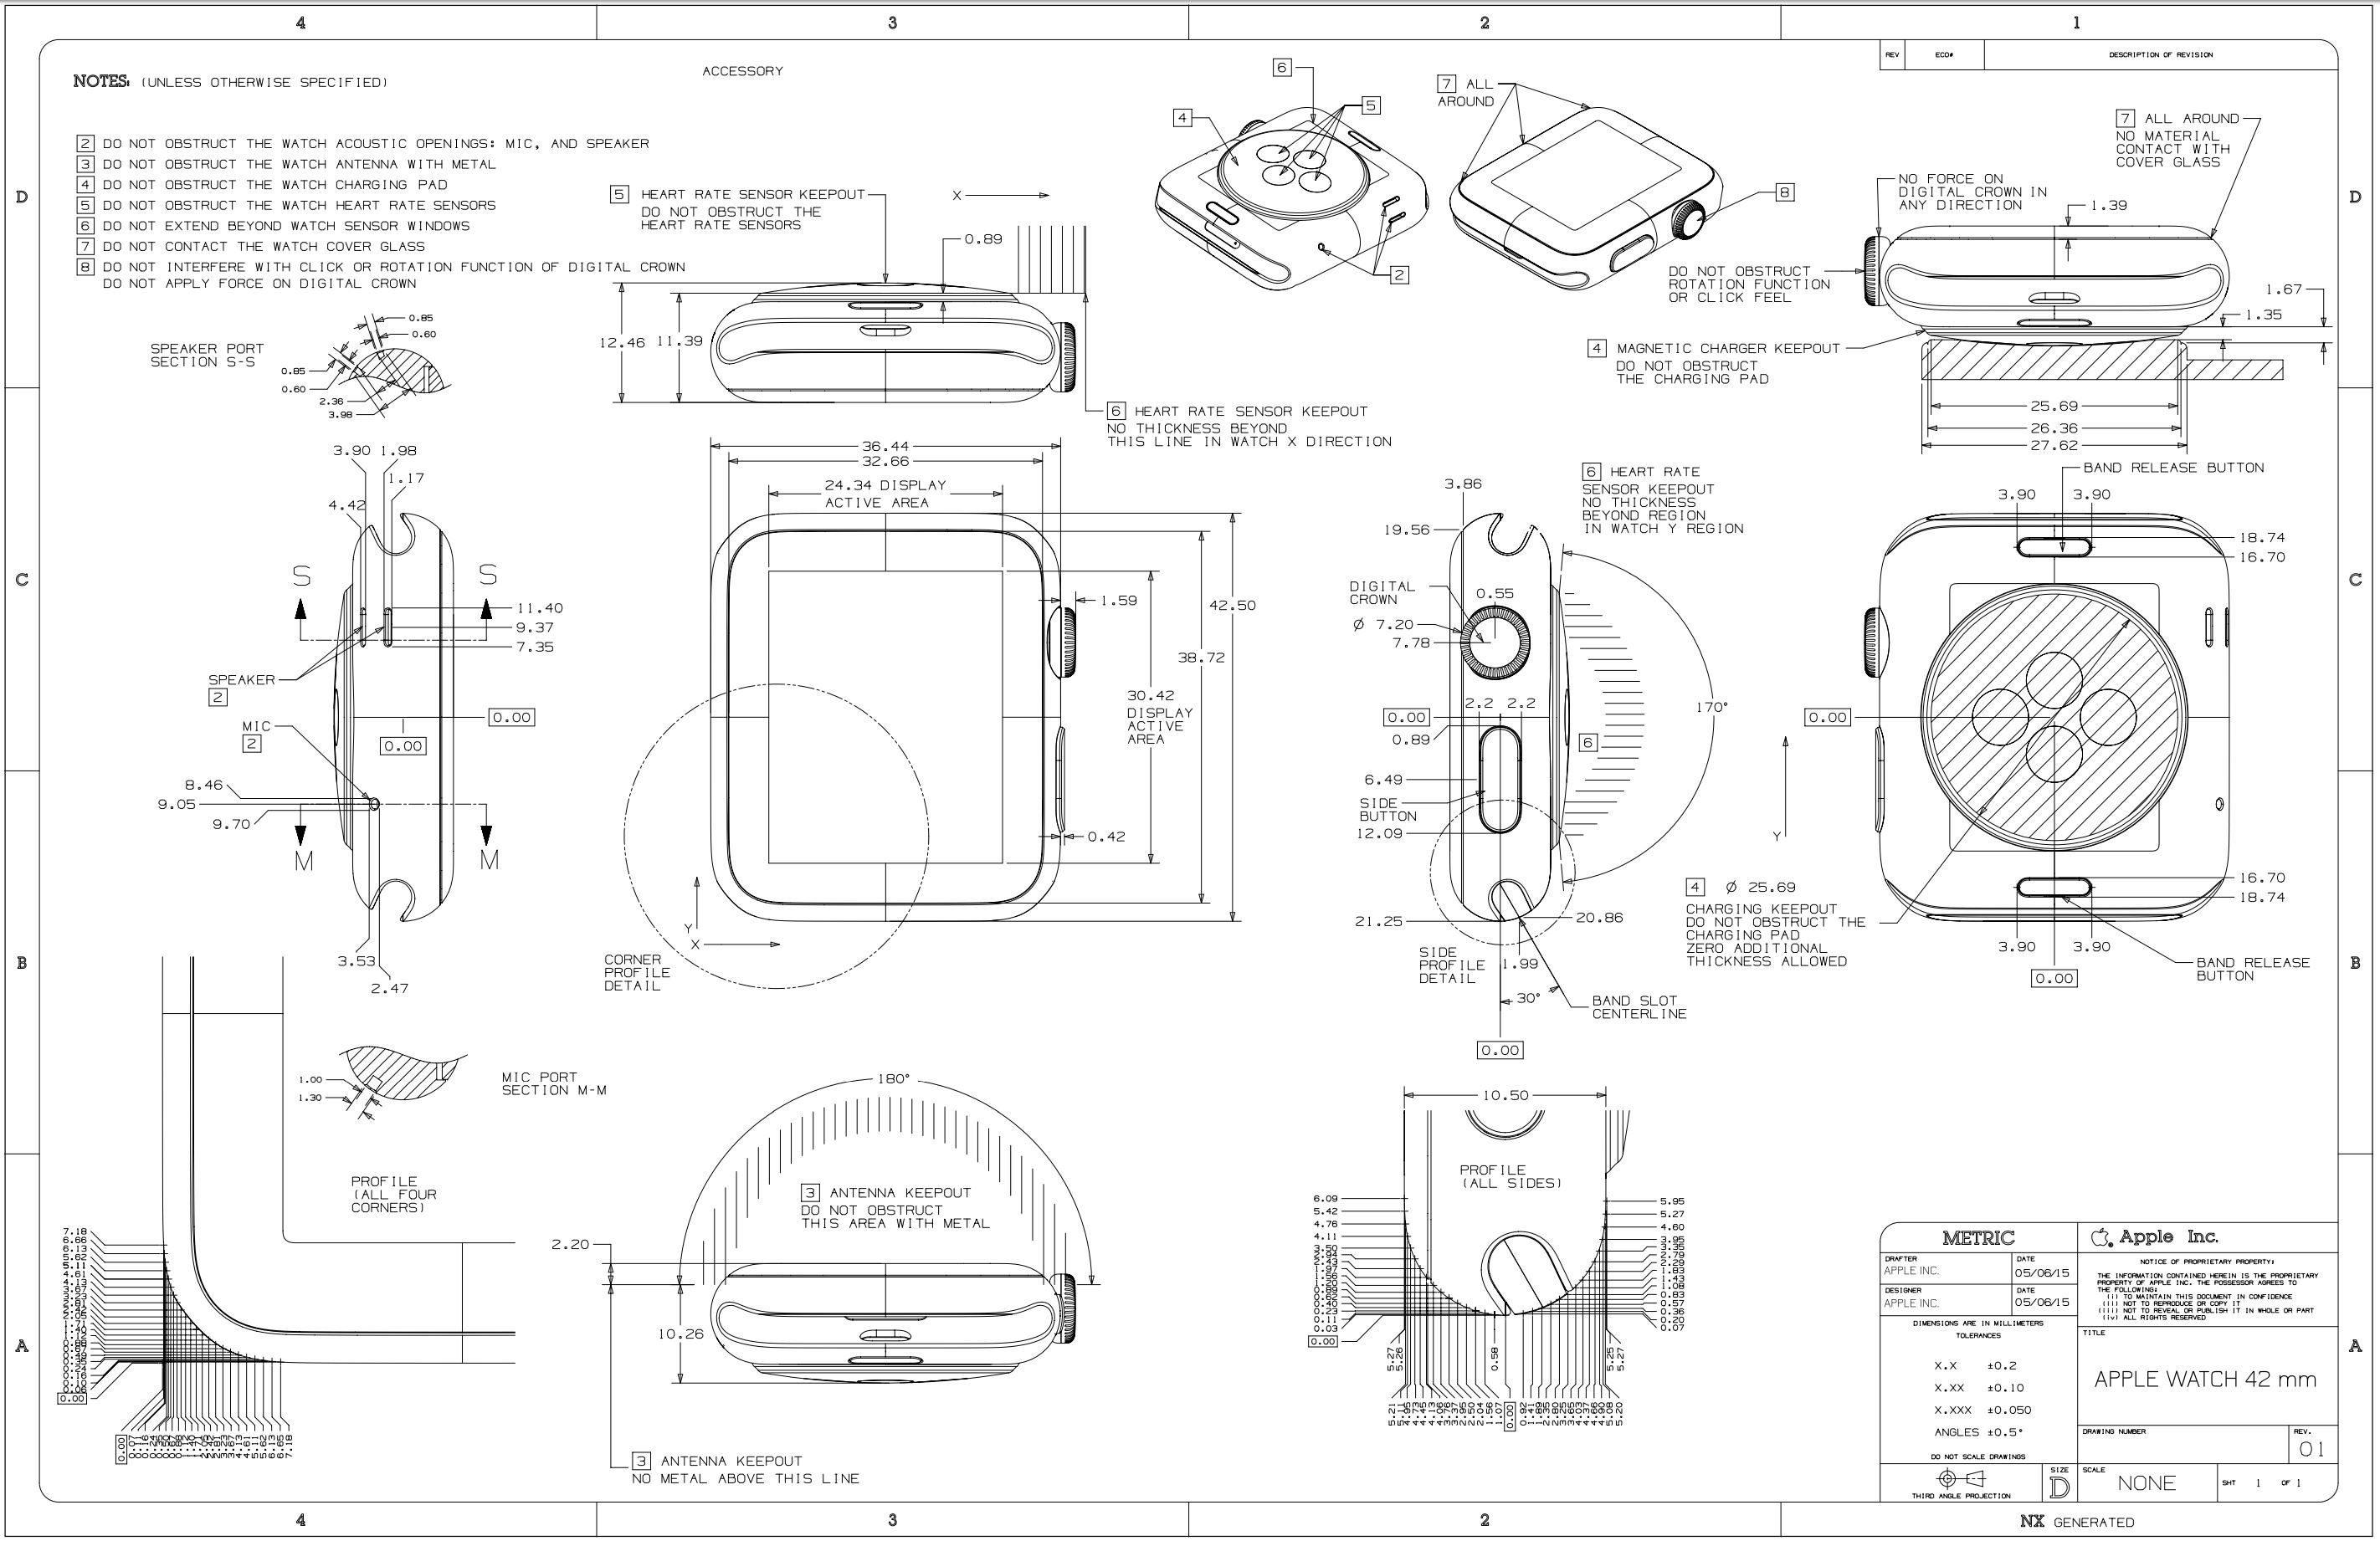
The design itself is based on the Apple watch 6, and should be compatible with apple accessories.
One thing that's missing is an USB-C port on all Apple’s devices. This would also speed up the development process
On the other side, it has holes for the environmental sensors inside
The environmental sensor is placed on the edge of the pcb. Ideally these should be on a separate flex pcb inside the casing itself, but already on day 6 of this one week project, flex pcbs will have to wait until next time. Same with the interconnectors that need a flex pcb to connect the 2 units together. The Microphone will have absolutely garbage sound quality, but should work fine on detecting sound levels, ideally a microphone with the sound input on the top side should have been used. For the C02 + VOC + Pressure sensor, having them inside the enclosure like this, will create a “buffer” that kinda shields the sensor for value spikes. E.g a gush of wind hitting the pressure sensor. You could probably add more fun sensors on this masterpiece, so if you have any suggestions to sensors, please leave a comment
Having the possibility of adding both an IPS and an E-INK display is pretty cool in my opinion. The E-INK will provide super low power draw, and the IPS display will have vibrant colours. Alternatively an PMOLED could have been used, but that would need to be for next time. The idea was to use a touch screen on the E-INK, but it was too much effort to get a hold of the datasheet from the chinese lads.
Why have the option of the IPS screen, in a low power competition you might ask. Well of course it's for getting doom to run on this bad boy.
Eink with touch
IPS screen
Wireless charger:After reading the zombie apocalypse application note from TI, I was sold on incorporating wireless charging:
Guide for making your own receiver coil
https://www.mouser.com/pdfDocs/TI-Designing-a-Qi-compliant-receiver-coil.pdf
After extensive research, I was sure I couldn't get away with just a pcb coil, since the coil requires ferrite shielding.
To increase the efficiency of the wireless charger, a ferrite plate needs to cover the antenna, on most pcb antennas you can get on digikey, it's just a plate covering the top part. Apple’s approach is to make an enclosure with the copper wires inside it. On the left, is a pcb coil with shielding plate on the backside.
Antenna shielding in ferrite material
The sensor is as close to the glass as possible
Wireless charger coil consists of 6 turns on 4 layers.
It is rated to handle 250 mA to have a temperature raise of 20 Deg Celsius.
Alternative off the shelf coil: https://eu.mouser.com/ProductDetail/TDK/WR222230-26M8-G?qs=dApJwNzDUnyv9xXkWGdSxQ%3D%3D
nRF53 ControllerPersonally I dislike doing 0201 designs, but for this project it is quite difficult not to use 0201 components, so I yoloed it, and managed a layout without 0201 components :) Take that Nordic reference design guys!
The layout was a bit harder than the 52 series, but it's totally worth it for the dual core MCU. Im using the internal regulators in this design for powering the mcu. There is also an external switching supply that powers the sensors and 1.8V parts. The ADP5360 also contains the battery management system and sends the telemetry over I2C.
For the antenna layout, I used an Chip antenna, with a low profile layout
At Least I tried :)
Layer stackup to get that sweet 50 Ohm impedance. I used blind vias from top layer to layer 1 on this design, and totally forgot to screenshot that
Fitting the battery looks quite nice. It has a capacity of 925mWh, thats comparable to the apple watch. Unfortunately I don't have the time to test this project before the Advanced wearables competition expires, but I can do an estimate of the battery life.
https://www.aliexpress.com/item/1705593514.html?spm=2114.12010612.8148356.11.15f62af030M1b7
You can get insane low power consumption from the nRF53, all the way down to a couple uA in sleep mode. Maximum power draw is 15.5mA. If we have a concervative estimate, that the mcu is on all the time and medium computing from RAM, we can expect around 8mAh power consumption. That should be enough for 115 days or almost 5 days of operation.
The motor operates at peaks of 200mA but only in short bursts. The different sensors have maximum peaks of 10mA, and only a few uA when idling. Changing the sampling rates can affect the life time significantly. Since I don't have a useful datasheet from the displays, its quite hard to calculate the battery life. However I am expecting well over a day, and it should be comparable to the Apple watch’s battery time if not more with some good code.
https://infocenter.nordicsemi.com/index.jsp?topic=%2Fstruct_nrf53%2Fstruct%2Fnrf5340.html
Having designators makes it easier for the pick and place guy, in addition to having silk screen designators, I also have designators on one of the mechanical layers. The silk screen designators can be confusing, and hard to work with on HDI designs
Well, at least for smaller components, some places.. I can definitely do some upgrades on my component library found at github: https://github.com/kattemjau/Altium-Lib
And as always, have a great day
Stay tuned for next weeks project!


_t9PF3orMPd.png?auto=compress%2Cformat&w=40&h=40&fit=fillmax&bg=fff&dpr=2)


Comments
Please log in or sign up to comment.