


Hardware components | ||||||
 |
| × | 1 | |||
_wzec989qrF.jpg?auto=compress%2Cformat&w=48&h=48&fit=fill&bg=ffffff) |
| × | 1 | |||
Software apps and online services | ||||||
 |
| |||||
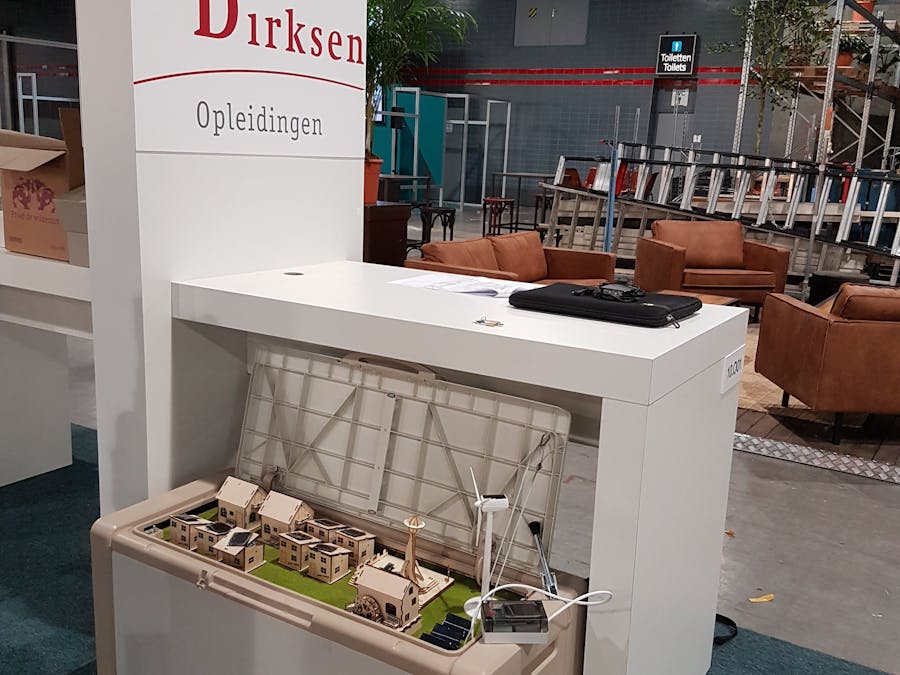
Last week, we discussed the hardware of our “Energy Transition in Miniature” demo. This week we will be covering the software.For those of you who've followed my previous projects, you will probably know that I tend to focus on the pedagogical side of things, and not so much on code efficiency. With an Arduino Mega this usually isn't a big issue anyway. As a result, I tend to use C++ objects only to split the code up in functional modules, as is depicted below for this project:
Most of these modules will have a setup() and a loop() function, which are taken up in the setup() and loop() of the modules higher up the hierarchy. The top level (energy) demonstrates this approach:
...
#include "Wizard.h"
#include "Interrupts.h"
#include "Model.h"
...
static Interrupts interrupt;
static Wizard wizard;
static Model model;
...
void setup() {
 Serial.begin(9600);
 Serial.println(F("SETUP ENERGY TRANSITION DEMO"));
 interrupt.setup();
 model.setup();
 wizard.setup();
 ...
}
void loop() {
 wizard.loop();
 if ( interrupt.getSecondsFlank()) {
   interrupt.clear();
   ...
   switch ( balance ) {
     case 0:
       wizard.update();
       break;
     case 1:
       ...
       break;
     default:
       break;
   }
 }
}
It may become clear that this architecture roughly follows a Model-View-Controller (MVC) pattern, with a wizard that is used by the 2.8” LCD Screen from Adafruit. I'll cover that part in the next blog.
For now we'll concentrate on the model; the interrupts are mainly used to create a stable timer of 0.1 seconds (and seconds and minutes), which is used to give a stable PWM-like output to the motors, as these are connected to a multiplexer, and not directly to the outputs of the Arduino.
 //Activate interrupt Timer2 (0.1 sec)
ISR(TIMER2_COMPA_vect) {
 loopCounter++;
 motors.handleInterrupt(200);
 lights.handleInterrupt();
 interrupt.flank = true;
 if ( interrupt.getLock() )
   return;
 int_counter++;
 int_counter %= SECONDS;
 if ( int_counter == 0 )
   interrupt.sec_flank = true;
 else
   return;
 interrupt.min_flank = false;
 interrupt.tensec_flank = false;
 min_counter++;
 interrupt.checkInitialisation();
 min_counter %= MINUTES;
 if ( min_counter == 0)
   interrupt.min_flank = true;
 if (( min_counter % TEN_SEC ) == 0)
   interrupt.tensec_flank = true;
}
Roughly speaking, the model consists of three types of modules:
- Environment, which includes simulators for time (Calendar) and weather
- In- and output, which reads the solar panels and controls the LEDs and motors
- Park Layout, which recalculates the in- and output to figures that make sense for an actual solar park.
Most of these modules are fairly straight forward, so I will not delve to deeply in the code itself. The only thing that may require some attention are the two 16 channel analog/digital multiplexers from SparkFun, one for inputs (the solar panels) and one for outputs (LEDS and motors). The multiplexer works great for inputs, so the code for the solar panels are fairly straightforward:
 Solar::Solar() {}
void Solar::setup( int smpl) {
 pinMode(A15, INPUT);
 for ( int i = 0; i < 3; i++) {
   pinMode(SS0 + i, OUTPUT);
   digitalWrite(SS0 + i, LOW);
 }
 samples = smpl;
 counter = 0;
}
uint16_t Solar::read(byte number) {
 switch ( number ) {
   case 0:
     digitalWrite(SS0, LOW);
     digitalWrite(SS1, LOW);
     digitalWrite(SS2, LOW);
     digitalWrite(SS3, LOW);
     break;
   case 1:
     digitalWrite(SS0, HIGH);
     digitalWrite(SS1, LOW);
     digitalWrite(SS2, LOW);
     digitalWrite(SS3, LOW);
     break;
   case 2:
     digitalWrite(SS0, LOW);
     digitalWrite(SS1, HIGH);
     digitalWrite(SS2, LOW);
     digitalWrite(SS3, LOW);
     break;
   case 3:
     digitalWrite(SS0, HIGH);
     digitalWrite(SS1, HIGH);
     digitalWrite(SS2, LOW);
     digitalWrite(SS3, LOW);
     break;
   case 4:
     digitalWrite(SS0, LOW);
     digitalWrite(SS1, LOW);
     digitalWrite(SS2, HIGH);
     digitalWrite(SS3, LOW);
     break;
   case 5:
     digitalWrite(SS0, HIGH);
     digitalWrite(SS1, LOW);
     digitalWrite(SS2, HIGH);
     digitalWrite(SS3, LOW);
     break;
   case 6:
     digitalWrite(SS0, LOW);
     digitalWrite(SS1, HIGH);
     digitalWrite(SS2, HIGH);
     digitalWrite(SS3, LOW);
     break;
   case 7:
     digitalWrite(SS0, HIGH);
     digitalWrite(SS1, HIGH);
     digitalWrite(SS2, HIGH);
     digitalWrite(SS3, LOW);
     break;
   case 8:
     digitalWrite(SS0, LOW);
     digitalWrite(SS1, LOW);
     digitalWrite(SS2, LOW);
     digitalWrite(SS3, HIGH);
     break;
   case 15:
     digitalWrite(SS0, HIGH);
     digitalWrite(SS1, HIGH);
     digitalWrite(SS2, HIGH);
     digitalWrite(SS3, HIGH);
     break;
   default:
     digitalWrite(A15, LOW);
     digitalWrite(SS0, LOW);
     digitalWrite(SS1, LOW);
     digitalWrite(SS2, LOW);
     digitalWrite(SS3, LOW);
     break;
 }
 int result = 0;
 for ( int i = 0; i < samples; i++) {
   delay( READ_DELAY );
   result += analogRead(A15);
 }
 values[number]=result/samples;
 return values[number];
}
uint16_t Solar::get(byte number) {
 return values[number];
}
void Solar::loop() {
 read( counter++ );
 counter%=NR_OF_PANELS;
}
Sadly these multiplexers do not have a latch function, so they are less suited for outputs, at least in the way we use them here. Basically they can only control one output at a time, so combining multiple outputs requires you to iterate through them very fast, and accepting that the more outputs you desire, the maximum output will have to be shared over all of them. For the motors this isn't a big problem, as they have to turn slowly anyway, and the inertia of the attached masses allow for a somewhat pulse-width modulation (PWM) kind of approach, where the various motors divide their desired output over a total time (one second). This needs to be controlled by the interrupt handler (also see the above code):
void Motors::handleInterrupt( uint16_t total ) {
 if (!enable)
   return;
 uint16_t results[3];
 calcSpeed( results, total );
 if ( counter < results[0]) {
   if ( results[0] > 0 ) {
     motor(WALRUS, HIGH);
   }
 } else if ( counter < results[0] + results[1] ) {
   if ( results[1] > 0 ) {
     motor(WATERMILL, HIGH);
   }
 } else if ( counter < results[0] + results[1] + results[2]) {
   if ( results[2] > 0 ) {
     motor(WINDMILL, HIGH);
   }
 }
 if ( counter >= total ) {
   motor(WALRUS, LOW);
   motor(WATERMILL, LOW);
   motor(WINDMILL, LOW);
   counter = 0;
 } else {
   counter++;
 }
}
Due to these limitations, it was decided to operate the LEDS only if the motors were off, and not too many simultaneously. These are controlled by a 16-bit mask:
 void Lights::handleInterrupt() {
 if (!enable)
   return;
 uint16_t shift = 1;
 if ( mask == 0 ) {
   led(15, LOW);
 } else {
   for (int i = 0; i < 7; i++) {
     bool result = shift & mask;
     if ( result )
       led(i, result);
     shift <<= 1;
   }
 }
}
With these modules in order, we can start to implement our 'games'. We'll reserve this for the last post of this project!


_3u05Tpwasz.png?auto=compress%2Cformat&w=40&h=40&fit=fillmax&bg=fff&dpr=2)
Comments
Please log in or sign up to comment.