Hackster is hosting Hackster Holidays, Ep. 7: Livestream & Giveaway Drawing. Watch previous episodes or stream live on Friday!Stream Hackster Holidays, Ep. 7 on Friday!
Kenny Cheng
Created February 25, 2018

Smart Cabinet (Amazon Alexa)

The fanciest, most elegant way to store your stuff.

170
Smart Cabinet (Amazon Alexa)

Things used in this project

Hardware components

Echo Dot
Amazon Alexa Echo Dot
×1
Arduino Nano R3
Arduino Nano R3
×1
SG90 Micro-servo motor
×2
ESP8266 ESP-12E
Espressif ESP8266 ESP-12E
×1
SparkFun FTDI Basic Breakout - 3.3V
×1

Software apps and online services

Arduino IDE
Arduino IDE

Hand tools and fabrication machines

Hot glue gun (generic)
3D Printer (generic)

Story

Read more

Custom parts and enclosures

Rail

This is the rail for the sliding board to stay leveled

Edited Rack

This is the cut and edited version of the rack made by Roger in my contributions. It is cut so that it fits the box. The rest of the 3D printed linear servo is in contributions.

Schematics

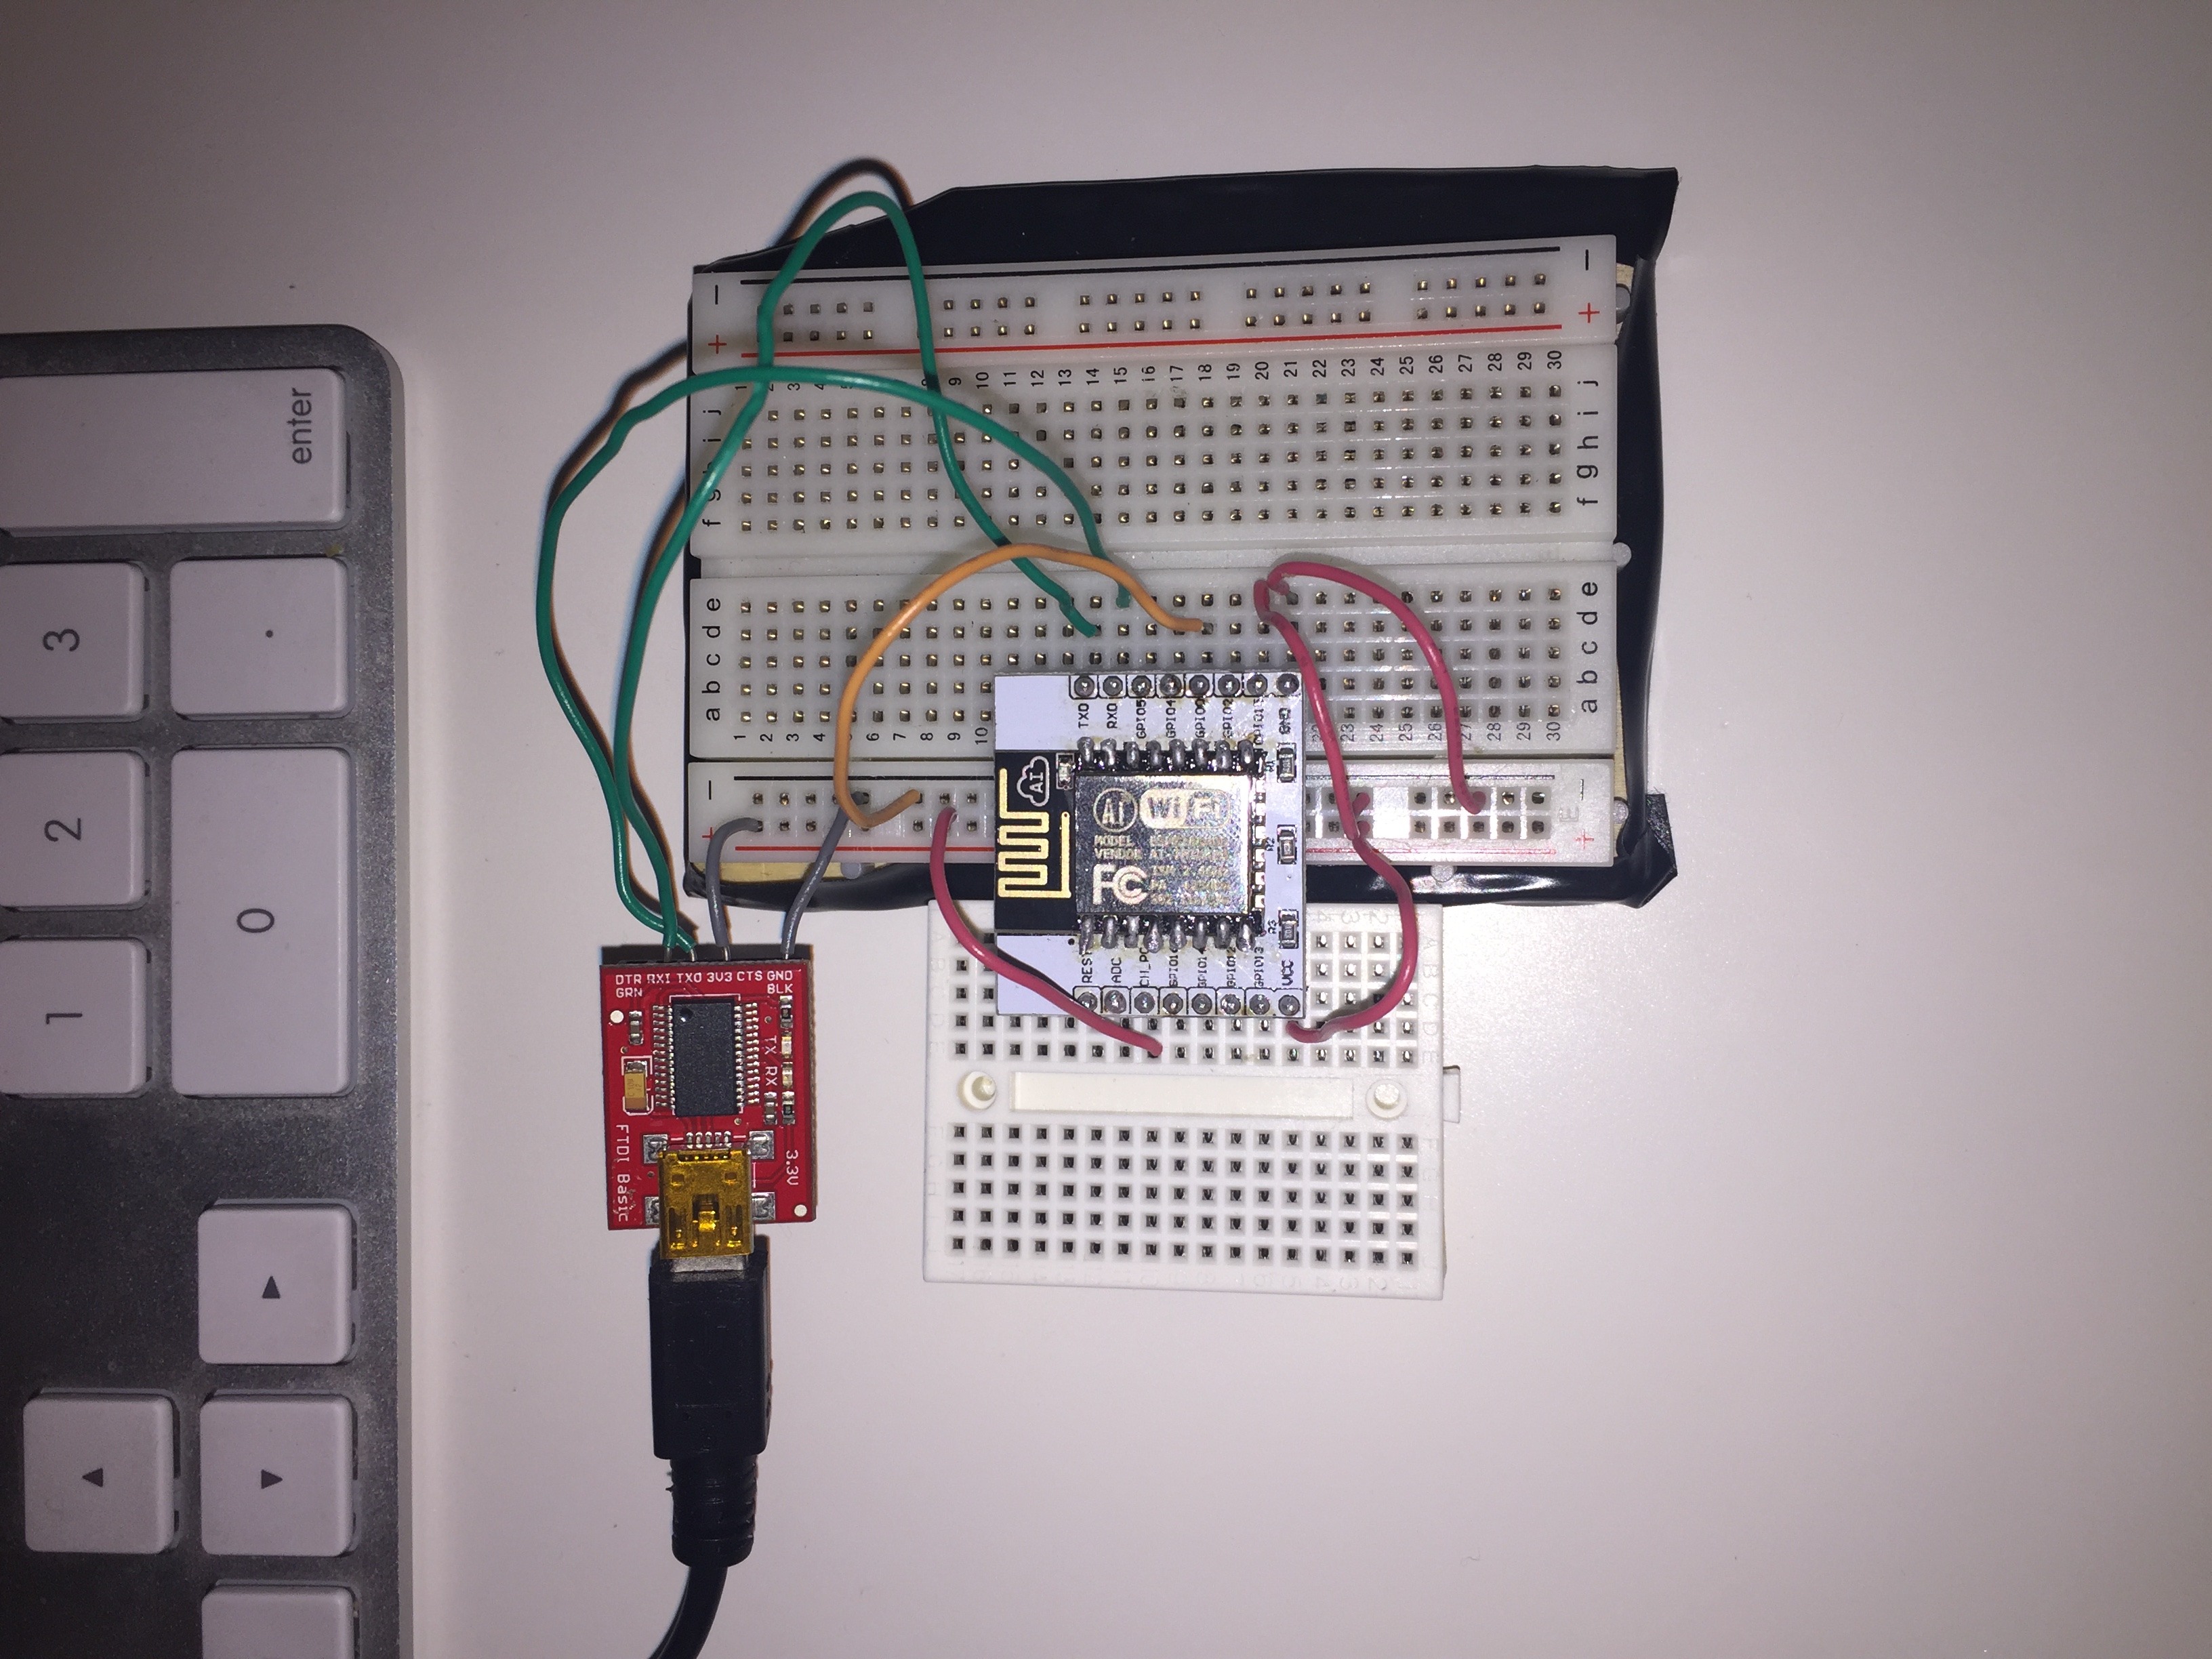
Program the ESP8266

In order to program the chip, be sure to connect GPIO15, and GPIO0 to ground. It will enter flashing mode, and you will be able to smoothly upload your code.

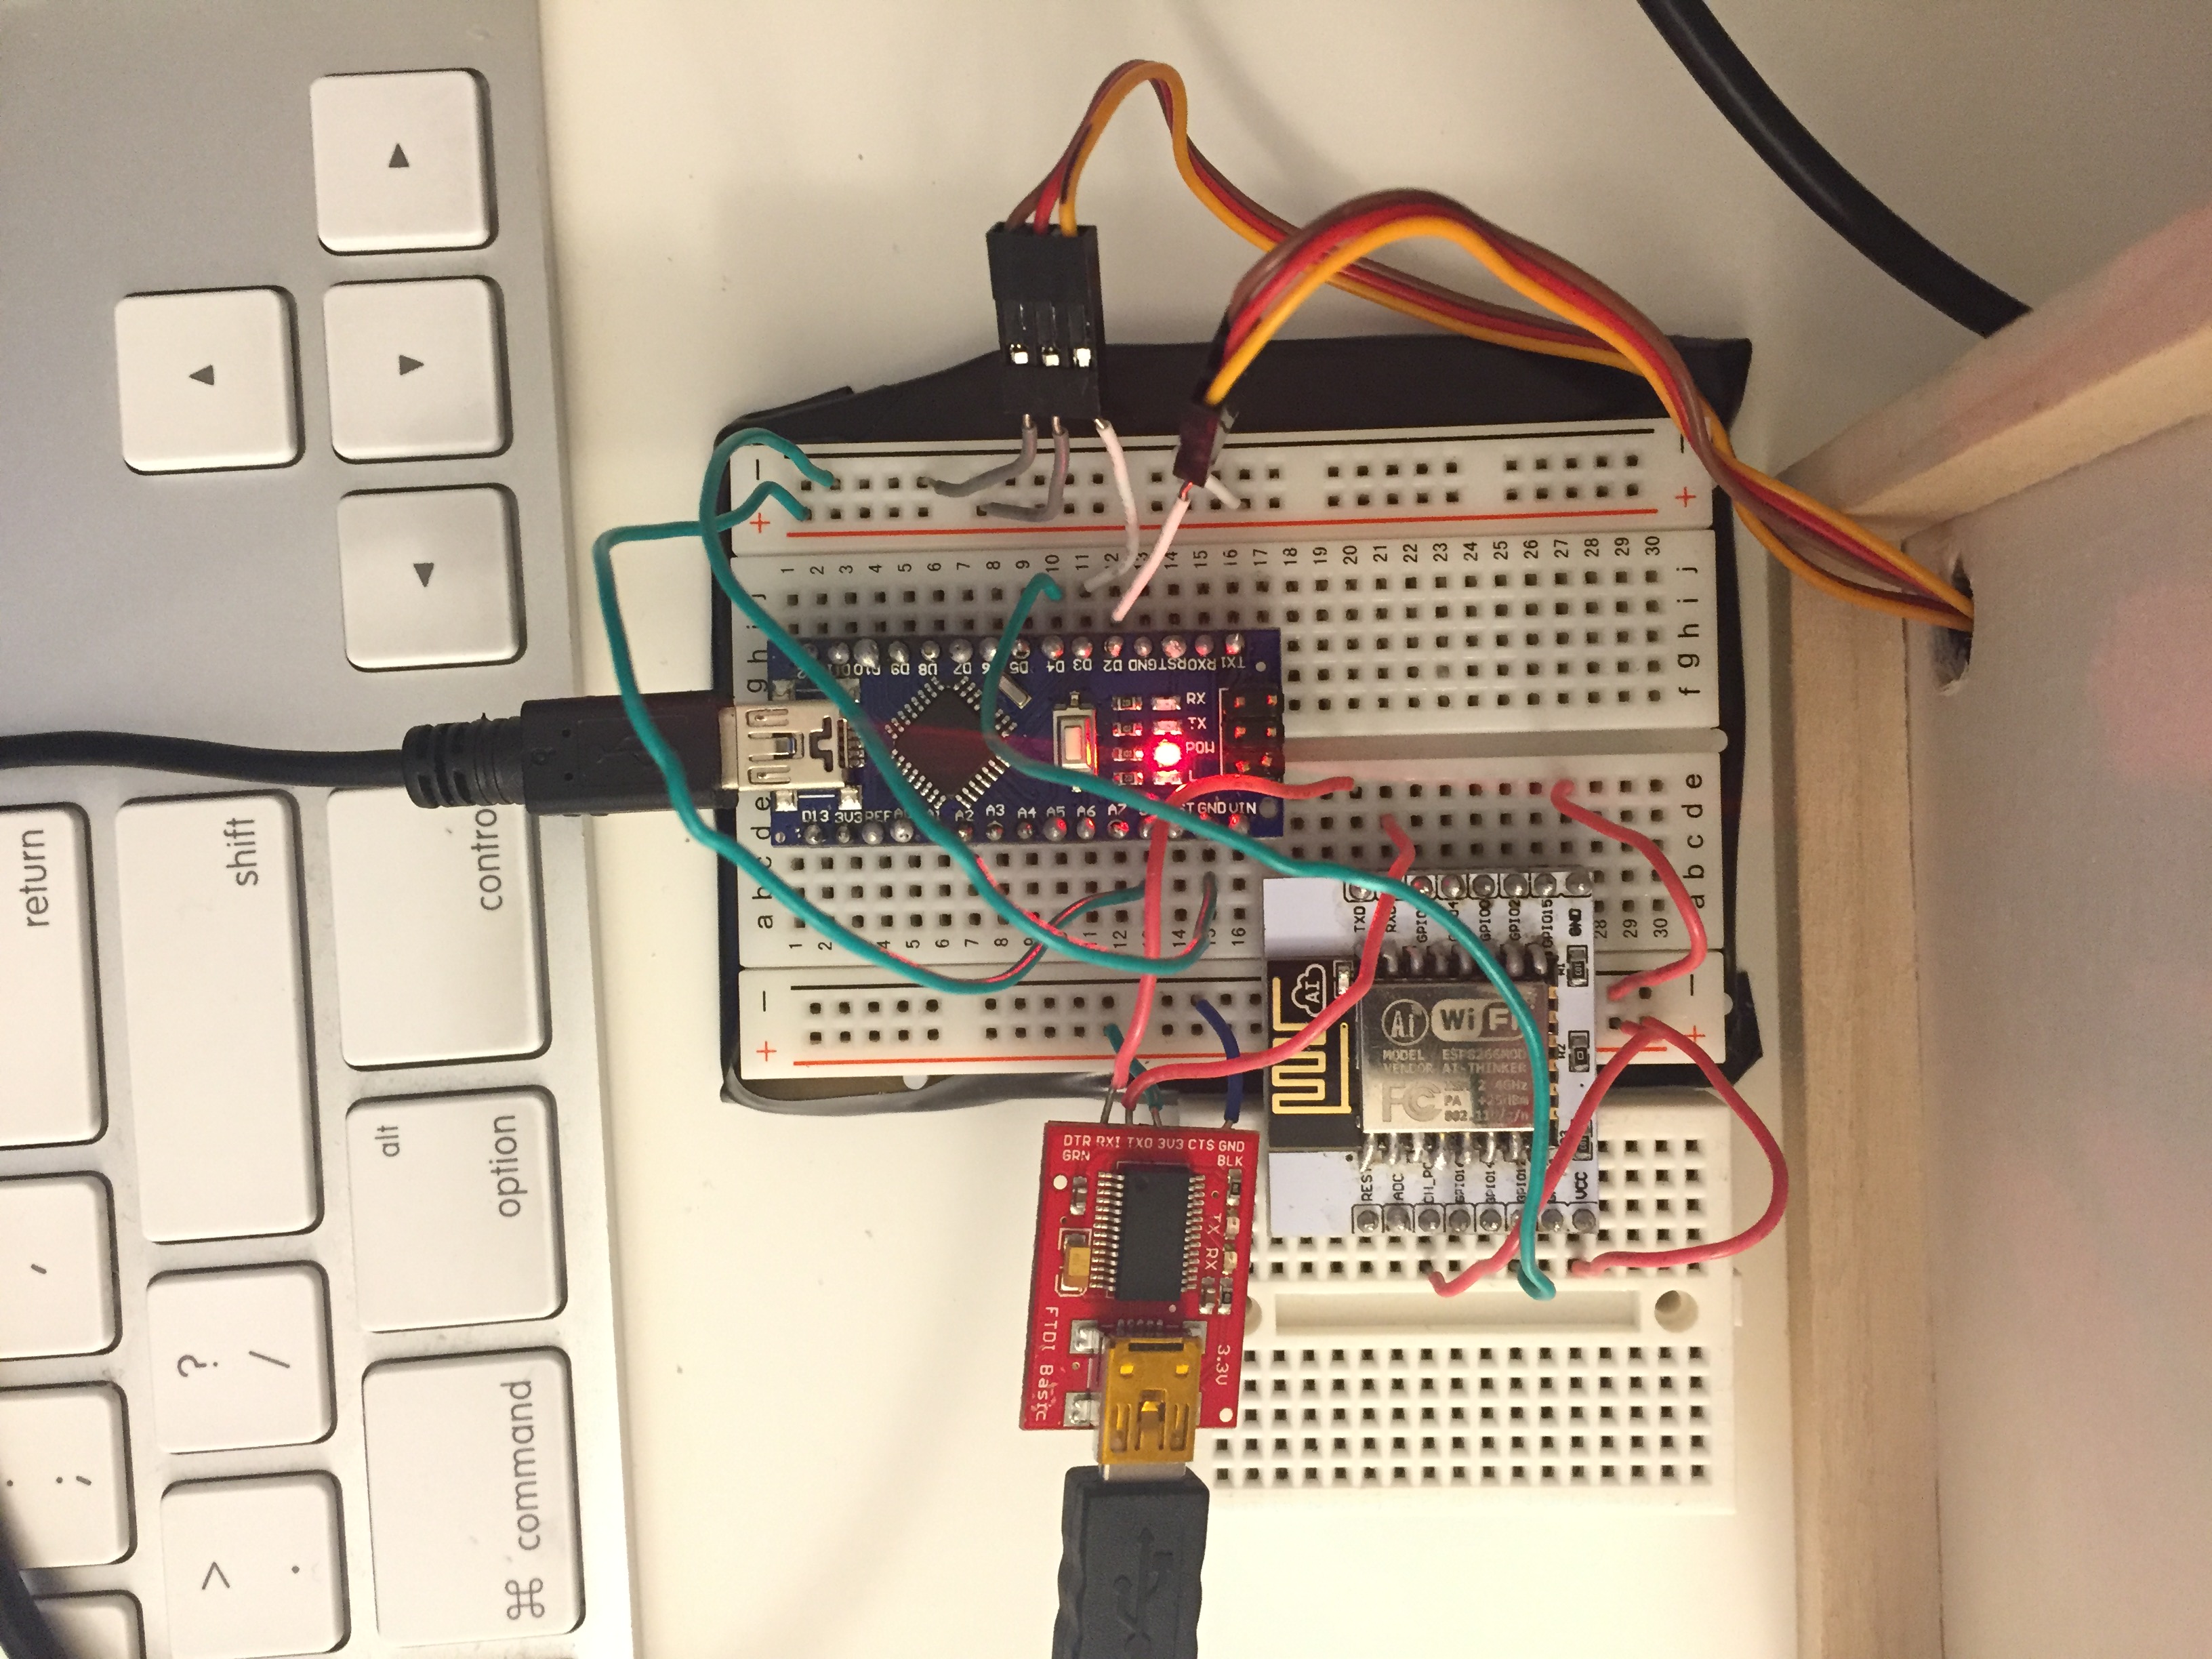
Final Board

This is the final board with both the box and the ESP8266 wifi chip connected. Uses two power sources for convenient programming.

Code

Arduino Nano Code

Arduino
This is the simple Arduino Nano Code for the two servos that control the box.
#include <Servo.h>
Servo flap;
Servo slide;

int inputState;

void setup() {
  pinMode(4, INPUT);
  flap.attach(2);
  slide.attach(3);
  slide.write(140);
  flap.write(0);
}

void loop() {
  inputState = digitalRead(4);
  if (inputState == HIGH) {
    boxOpen();
  } else {
    boxClose();
  }
}


void boxOpen() {
  flapOpen();
  delay(500);
  slideOut();
}

void boxClose() {
  slideIn();
  delay(500);
  flapClose();
}

void slideOut() {
  slide.write(130);
}

void slideIn() {
  slide.write(0);
}

void flapOpen() {
  flap.write(70);
}

void flapClose() {
  flap.write(0);
}

ESP8266 Code

Arduino
This is uploaded to the chip using the FDTI. Use the Github page in contributors to get the full code!
#include <ESP8266WiFi.h>
#include <ESP8266WebServer.h>
#include <WiFiUdp.h>
#include <functional>
#include "switch.h"
#include "UpnpBroadcastResponder.h"
#include "CallbackFunction.h"

// prototypes
boolean connectWifi();

//on/off callbacks 
void officeLightsOn();
void officeLightsOff();
void BoxOn();
void BoxOff();

// Change this before you flash
//#######################################
const char* ssid = "ssid_here"; //enter your access point/wifi router name
const char* password = "password"; //enter router password
// change gpio pins as you need it.
//I am using ESP8266 EPS-12E GPIO16 and GPIO14
const int outputPin = 12;

//#######################################
boolean wifiConnected = false;

UpnpBroadcastResponder upnpBroadcastResponder;

Switch *box = NULL;


void setup()
{
  Serial.begin(115200);
   pinMode(outputPin, OUTPUT);
  // Initialise wifi connection
  wifiConnected = connectWifi();
  
  if(wifiConnected){
    upnpBroadcastResponder.beginUdpMulticast();
    
    // Define your switches here. Max 14
    // Format: Alexa invocation name, local port no, on callback, off callback
    box = new Switch("box", 81, BoxOn, BoxOff);

    Serial.println("Adding switches upnp broadcast responder");
    upnpBroadcastResponder.addDevice(*box);
  }
}
 
void loop()
{
	 if(wifiConnected){
      upnpBroadcastResponder.serverLoop();
      
      box->serverLoop();
	 }
}

void BoxOn() {
    Serial.print("Switch 2 turn on ...");
    digitalWrite(outputPin, HIGH);
}

void BoxOff() {
  Serial.print("Switch 2 turn off ...");
  digitalWrite(outputPin, LOW);
}

// connect to wifi  returns true if successful or false if not
boolean connectWifi(){
  boolean state = true;
  int i = 0;
  
  WiFi.mode(WIFI_STA);
  WiFi.begin(ssid, password);
  Serial.println("");
  Serial.println("Connecting to WiFi");

  // Wait for connection
  Serial.print("Connecting ...");
  while (WiFi.status() != WL_CONNECTED) {
    delay(500);
    Serial.print(".");
    if (i > 10){
      state = false;
      break;
    }
    i++;
  }
  
  if (state){
    Serial.println("");
    Serial.print("Connected to ");
    Serial.println(ssid);
    Serial.print("IP address: ");
    Serial.println(WiFi.localIP());
  }
  else {
    Serial.println("");
    Serial.println("Connection failed.");
  }
  
  return state;
}

Credits

Kenny Cheng
1 project • 0 followers
Thanks to Nassir Malik and Roger.

Comments