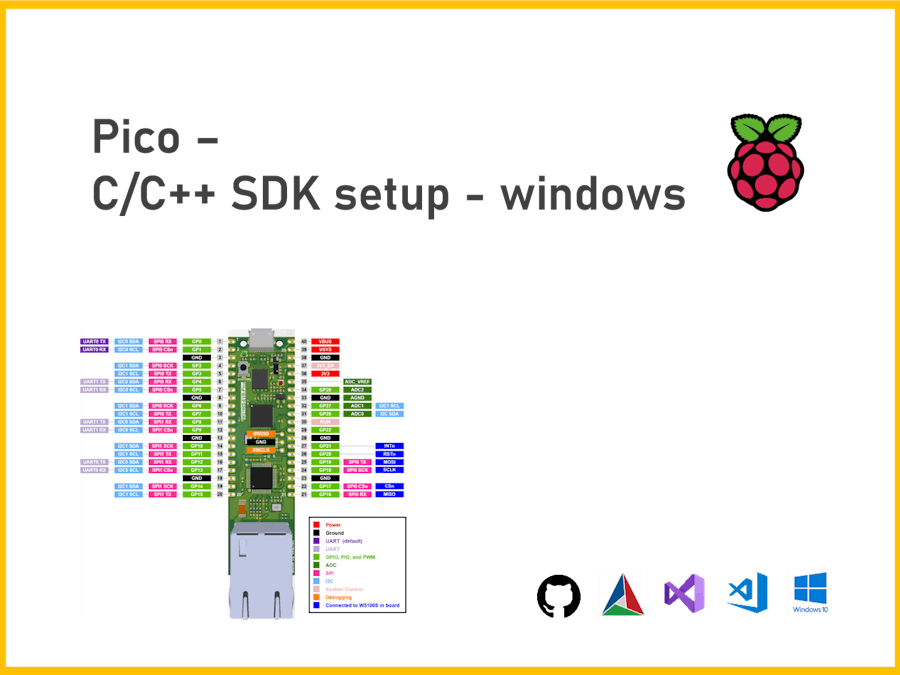
RP2040 is the first low-level targeted MCU from Raspberry Pi fonudation. It is so powerful MCU which has 133MHz dual ARM Cortex-M0+ cores / 264KB SRAM / 30 GPIOs / Extension programmable interfaces / 4 Channel ADC. Makers and market expect lots of applications and use cases from RP2040. Becuase RP2040 has so many advantages of open source hardware platfrom.
There are many configuration guides about Micro Python or Linux OS based setup. I would like to share this guide for beginner and Window user to setup Pico configuration.
Check download program list
Program download and setup guide
1. ARM GCC Compiler
a. Run Installer
b. Set Default Destination folder path
c. Check the options:
Add path to environment variableAdd registry information
2. CMake
a. Run Installer
b. Check the option:
Add CMake to the system PATH for all the users
c. Set Default Destination folder path
3. Visual Studio 2019
a. Run Installer
b. Check essential options:
Desktop development with C++Universal Windows Platform development
4. Python
a. Run Installer
b. Check the options:
Customize installationPython x.x to PATH/environment variableDefault Destination folderDisable path length limit
5. Github
a. Run Installer
b. Set Default Destinatino folder path
c. Select the options:
Git from the command line and also from 3rd-party softwareUse OpenSSHUse the OpenSSL libraryCheckout as-is, commit as-isUse Windows' default console window (optional)'git pull', Default (fast-forward or merge)Enable file system cachingEnable experimental support for pseudo consoles
6. Visual Studio Code
a. Run Installer
b. Set Default Destination folder path
c. Chech the option
Add to PATH
1. Download Pico SDK and Pico Examples
Create RP2040 folder in your PC driver (It must be created on the top of it) and download Pico SDK and examples from Github.com
C:\RP2040> git clone -b master https://github.com/raspberrypi/pico-sdk.git
C:\RP2040> cd pico-sdk
C:\RP2040\pico-sdk> git submodule update --init
C:\RP2040\pico-sdk> cd ..
C:\RP2040> git clone -b master https://github.com/raspberrypi/pico-examples.git2. Build Pico SDK and Pico Examples
a. Run 'Developer Command Prompt for VS 2019'
b. Move to 'RP2040' folder
c. Set 'PICO_SDK_PATH' to environmet variable path
d. Close Prompt window
**********************************************************************
** Visual Studio 2019 Developer Command Prompt v16.11.8
** Copyright (c) 2021 Microsoft Corporation
**********************************************************************
C:\Program Files (x86)\Microsoft Visual Studio\2019\BuildTools>cd C:\
C:\>cd RP2040
C:\RP2040>setx PICO_SDK_PATH "D:\RP2040\pico-sdk"
e. Re-run 'Developer Command Prompt for VS 2019;
f. Move to 'RP2040' folder
g. Move to 'pico-examples' folder
h. Create and move to 'build' folder
i. Run command cmake -G "NMake Makefiles" ..
j. Run command nmake
**********************************************************************
** Visual Studio 2019 Developer Command Prompt v16.9.6
** Copyright (c) 2021 Microsoft Corporation
**********************************************************************
C:\Program Files (x86)\Microsoft Visual Studio\2019\BuildTools>cd C:\
C:\>cd RP2040
C:\RP2040>cd pico-examples
C:\RP2040\pico-examples>mkdir build
C:\RP2040\pico-examples>cd build
C:\RP2040\pico-examples\build>cmake -G "NMake Makefiles" ..
...
-- Configuring done
-- Generating done
...
C:\RP2040\pico-examples\build>nmake3. Configure Visual Studio Code (VS Code)
a. Run 'Developer Command Prompt for VS 2019'
b. Move to 'pico-examples/build' folder
c. Run command code to run VS Code
**********************************************************************
** Visual Studio 2019 Developer Command Prompt v16.11.8
** Copyright (c) 2021 Microsoft Corporation
**********************************************************************
C:\Program Files (x86)\Microsoft Visual Studio\2019\Professional>cd c:\
c:\>cd RP2040\pico-examples\build
c:\RP2040\pico-examples\build>code
c:\RP2040\pico-examples\build>d. Open extension menu, Ctrl+Shift+X
e. Search and install 'CMake Tools' by Microsoft
f. Search and install 'C/C++' by Microsoft
g. Open 'CMake Tools Extended Settings'
h. Click 'Additional items' in 'CMake: Configure Environment' menu
i. Add PICO_SDK_PATH to item, add C:\RP2040\pico-sdk to value
j. Add NMake Makefiles to 'CMake: Generator' menu
k. Open 'pico-examples' folder from Visual Studio folder open menu, Ctrl+O
l. Open Command Palette, Ctrl+Shift+P
m. Search and run Cmake: Quick start for Cmake configuration
n. Click 'Click to change the active kit' at the bottom menu
o. Select GCC 10.3.1 arm-none-eabi
p. Click 'Click to select the current build variant' at the bottom menu
q. Select Debug or Release build type
r. Click Build at the bottom menu
After Build, there is.uf2 file generated to every examples folers in 'C:\RP2040\pico-examples\build'. In Blink folder, we can find blink.uf2 file. It is the application file for Pico board.
You can use any Pico board to download.uf2 files for your test. Follow the below steps and check the board operation.
a. Keep pushing 'BOOTSEL' button and connect to USB cable
b. Check new 'RPI-RP2(D:)' drive on your PC
c. Copy and paste blink.uf2 file to 'RPI-PR2(D:)' driver folder
Congraturation to finish Pico C/C++ SDK development setup process. Now you can program and build any applications for your project. I also refered many good resources about setup Pico SDK at the first time. I hope it will be helpful for all makers and do keep posting projects about Raspberry Pi Pico.


_xcg7vos8ax_LjVH1Q6mKB.png?auto=compress%2Cformat&w=48&h=48&fit=fill&bg=ffffff)


Comments
Please log in or sign up to comment.