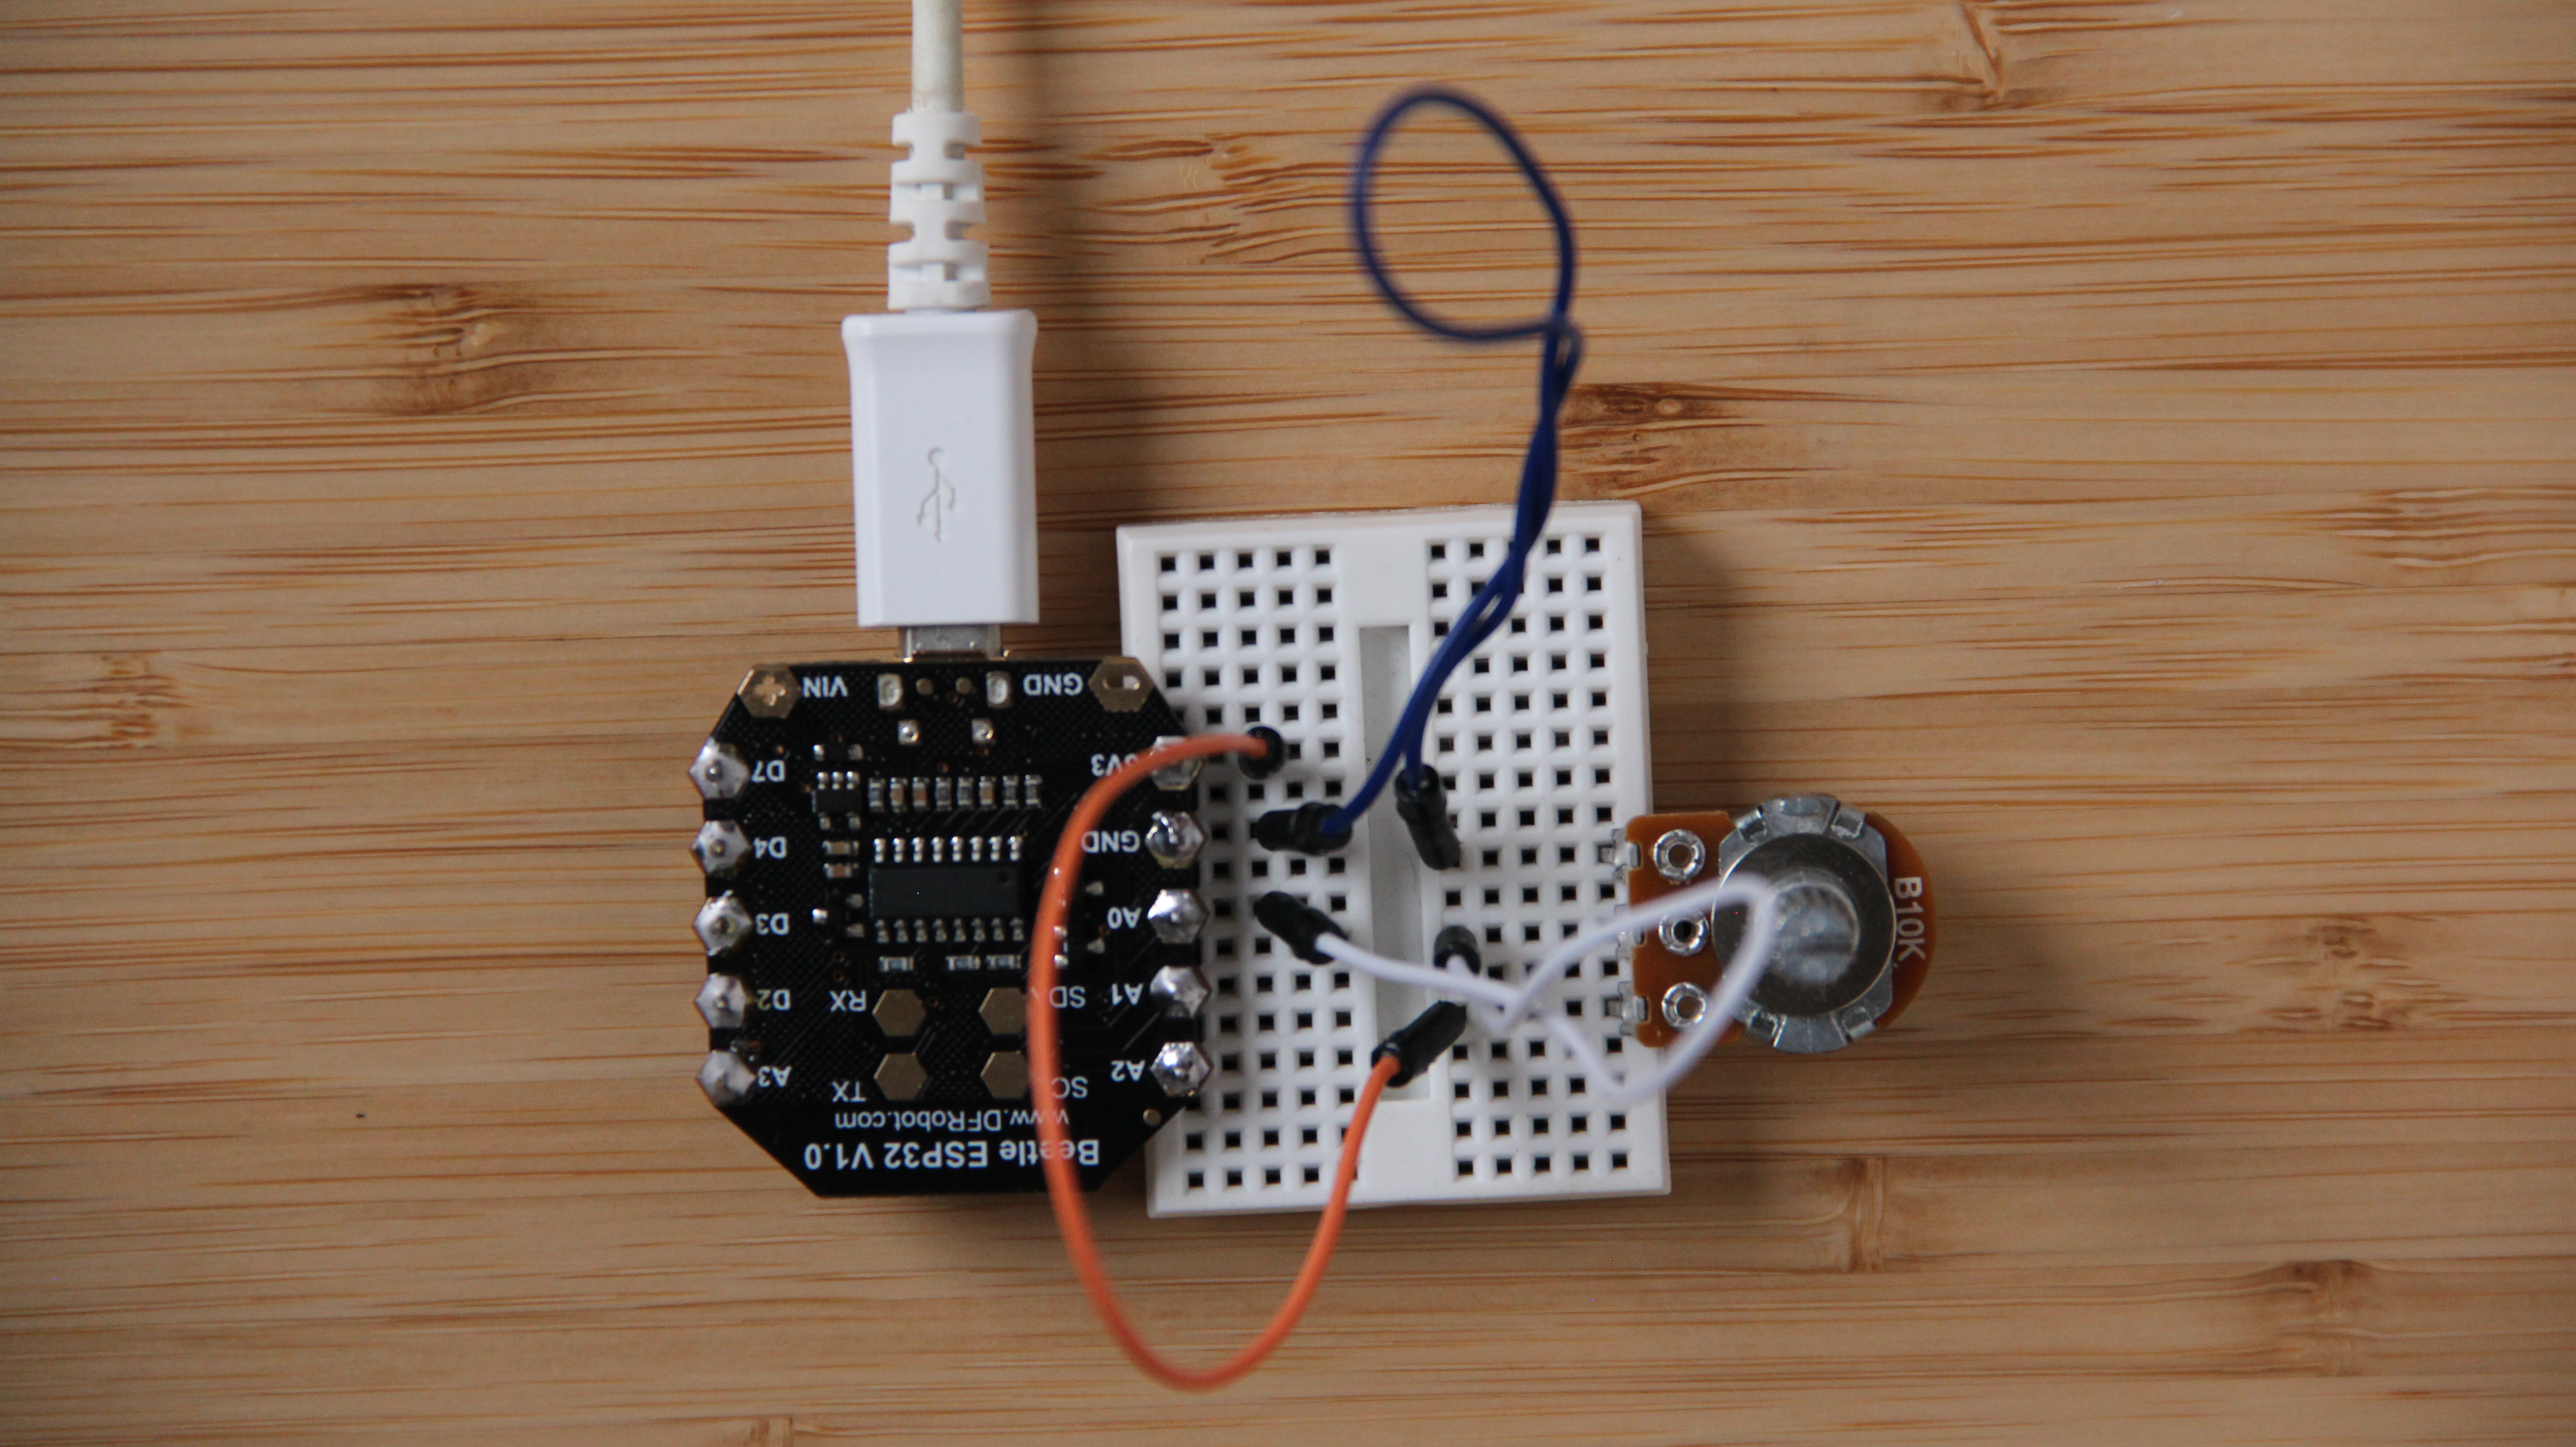
It is quite tricky to get Arduino (and its hardware connected to it) talking to a screen; like a phone, iPad or laptop. This code helps you to connect an ESP32 to software you develop yourself. This will help you to prototyping hardware connected apps, make interactive games and interactive installations for exhibitors.
I've made some tutorials, one to use the ESP32 as a bluetooth keyboard, to connect any serial device to P5 using webSerial, to connect a micro:bit to P5 using BLE so the only thing still needed is to communicate with an ESP32 using Bluetooth Serial. Luckily Ian Archbell of oddWires made a library that makes the ESP communicate via Bluetooth just like it was communicating through the serial port, this means that you can just use old code and make it now communicate through Bluetooth instead of through the USB wire.
DisclaimerThis tutorial relies on a laptop or device that runs chrome or chromium:
A subset of the Web Bluetooth API is available in Chrome OS, Chrome for Android 6.0, Mac (Chrome 56) and Windows 10 (Chrome 70).
This means that it is impossible to connect an iPhone f.e. using a browser to the ESP32, there might be a possibility that it works with the WebBLE app for iOS but I haven't tried it. on most Android devices it works when you install the chrome browser. It also needs to be run in a secure environment (meaning https:// ), so the p5 web editor is perfect for that.
But what do I connect to?It's all nice and well having an ESP32 use Bluetooth Serial, but if there is nothing to speak to it is a lonely world for the ESP32, here are some examples of how the data coming from and to the ESP32 can be used on phones and laptops.
This example is a simple color picker on a smartphone that controls the NeoPixels connected to the ESP3232
run the P5 example (when you run it in the p5 editor it will trigger a SecurityError: requestDevice() called from cross-origin iframe. to avoid this, run the content of the iframe in a different window).
Arduino code is in this article, and a snippet of the code is below, to give you an idea of how it would work. It waits until it gets an "S" then checks the next 3 bytes and uses this to define the color of the LED strip.
//Get the color from the bluetooth Serial

if(bleSerial.read() == 'S') {
    while(!bleSerial.available()){}
    r = bleSerial.read();
    while(!bleSerial.available()){}
    g = bleSerial.read();
    while(!bleSerial.available()){}
    b = bleSerial.read();
}

//Use the color to set the neopixels this color
RgbColor currentColor(r, g, b);
strip.SetPixelColor(0,currentColor);
strip.SetPixelColor(1,currentColor);
strip.Show();
This example is the graph example (just like with the normal Serial examples) but now it can send the values over Bluetooth to a phone!
run the p5 example (when you run it in the p5 editor it will trigger a SecurityError: requestDevice() called from cross-origin iframe. to avoid this, run the content of the iframe in a different window, to find this for your own sketch, log in and go to file>share>embed and copy the iframe link to the browser).
Arduino code is below, in the examples of the article and in this article.
#include "BLESerial.h"
BLESerial bleSerial;
void setup() {
    Serial.begin(115200);
    bleSerial.begin("BLE-UART");
}
void loop() {
    //If we're connected
    if (bleSerial.connected()){
        //Send the analog value
        bleSerial.println(analogRead(A0));
        Serial.println(analogRead(A0));
        //Wait for 0.1 second
        delay(100);
    }
}- You need to include the ESPSerial library #include "BLESerial.h"
- You can then give a name to your Bluetooth
Serial port BLESerial bleSerial; - You use the standard way to start a serial connection through serial ports
bleSerial.begin()only if you want you can define the name of the device instead of the baud ratebleSerial.begin("myBleDevice") - You can write
bleSerial.write()and printbleSerial.println()the same way you would do using the normal Serial port. - You can read using
bleSerial.read()and check if messages are available throughbleSerial.available() - You can check if the ESP32 is connected using
bleSerial.connected()
As you can see only the last instruction is new compared to the Serial library by Arduino
Warning(when you run it in the p5 editor it will trigger a SecurityError: requestDevice() called from cross-origin iframe. to avoid this, run the content of the iframe in a different window, to find this for your own sketch, log in and go to file>share>embed and copy the iframe link to the browser).
- Install Arduino (probably already done ;) )
- Install the ESP32 boards (using the board manager), see instructions here
- Install the BLESerial library
- Open the File -> Examples -> BLESerial -> BLESerialGraph (or check the code in this hackster project)
- Open and run this p5 sketch
The p5 sketch uses p5.ble.js and is based on this example. The Arduino library is based on this library by Ian Archbell of oddWires and the work of Neil Kolban.
Learn moreIf you're new to P5, javascript, CSS and HTML, this might be all be a bit overwhelming. The coding train has great funny videos on how to use P5 for beginners.


Comments
Please log in or sign up to comment.