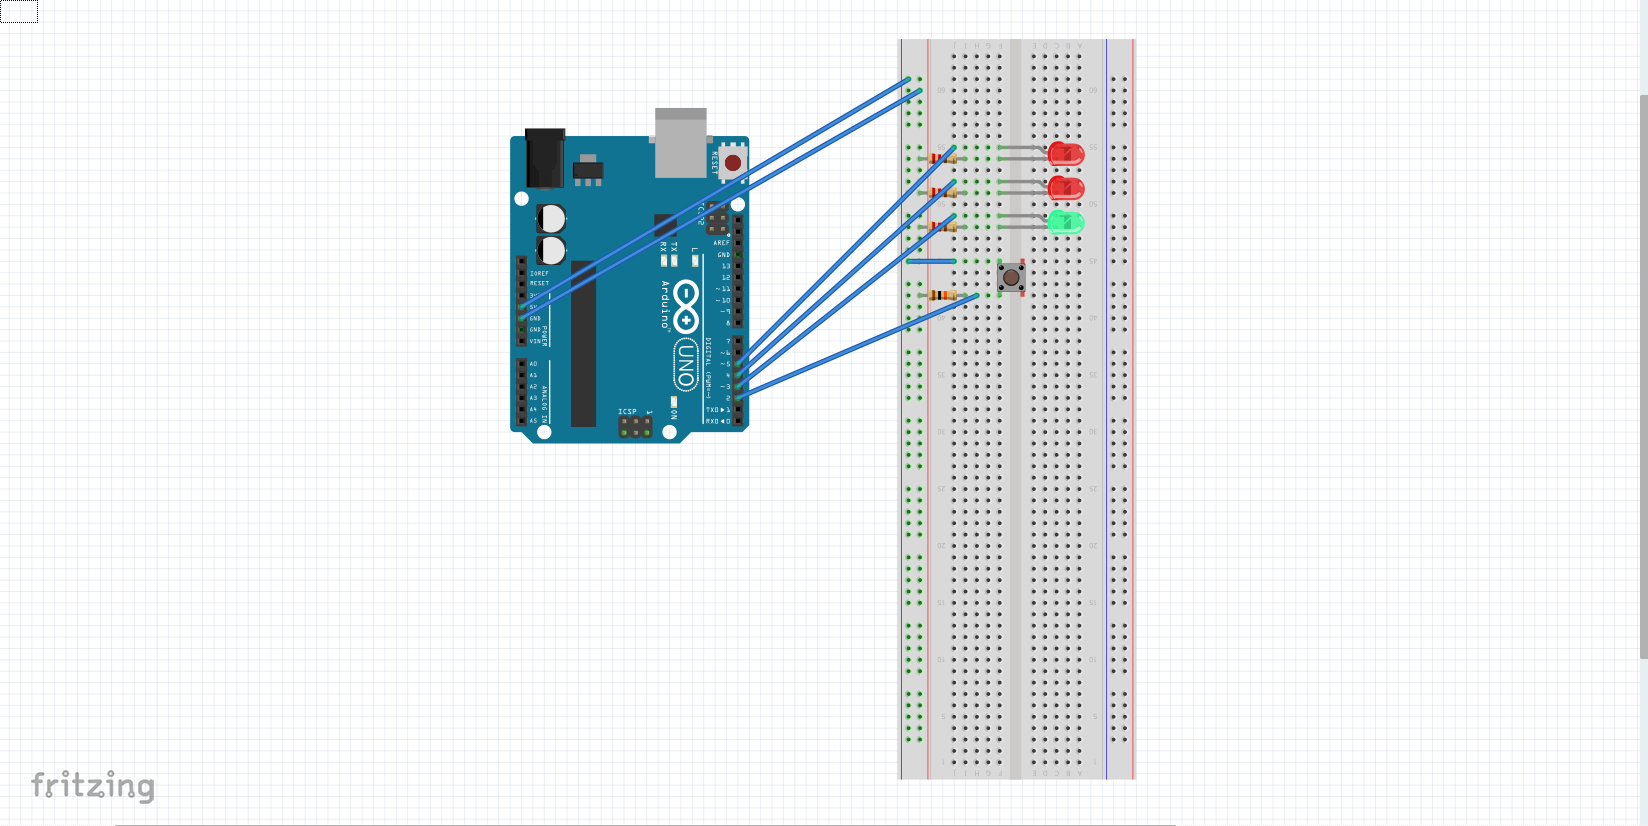
In this project, we built a circuit making an "Interface", using the Arduino IDE software to make a code to affect the behavior of the board itself. The code consists of basic setup, making three of the numbered pins on the arduino itself, the power output into the LED's and one more pin being the input for the switch. The project also had a small introduction to variables in the code to determine where a change would be in behavior if something happens, I.e, hitting the switch.
The code made a loop, which made it so the behavior would revert back to its normal state only after the switch is released. The finished product has a blue LED light up as the starter, and the switch causes the blue to turn off, and then for the red LEDs to cycle and blink between each other until the switch is released, making it go back to the blue. With this, you can set delays and more, to affect how the lights will behave, making the blinks last longer or shorter, etc. Overall an interesting project, that leads us nicely into using Arduino a little bit more in depth.


_ztBMuBhMHo.jpg?auto=compress%2Cformat&w=48&h=48&fit=fill&bg=ffffff)


Comments