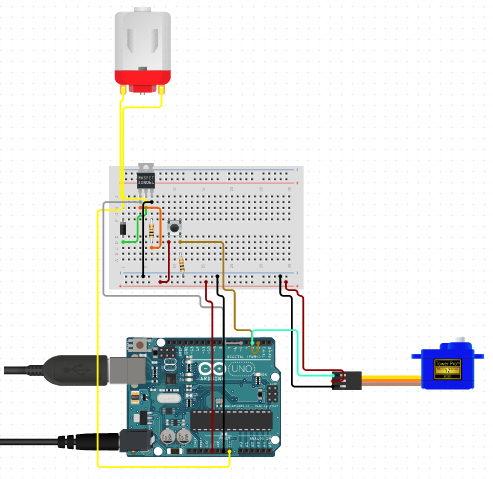
This code was created by putting together fragments of code one private which is my main project and the other had was a code from the forum.
Explanation
bool myFlag = false; //create + name flag
This code creates and lets you name your flag.
if (myFlag == false) //if myFlag is true turn
This code states that if the flag is true then turn of the pin or whatever
myFlag = true; // set the flag to true thus turning servo1 off
This states that the flag is turned so (in this case) turn off the servo
myFlag = false; // set the flag to false thus turning servo 1 on
This states that there is no flag so (in this case) the servo can turn on again
THIS EXPLANATION MAY NOT BE 100% RIGHT SINCE I MYSELF AM REASONABLY NEW TO FLAGS.
THE CODE MAY NOT WORK ON OTHER MODULES SINCE IT DIDN'T ALWAYS WORK FOR ME WITH OTHER MODULES
As you may have noticed I don't currently have a circuit schematic programe; it would be great if someone could recommend me one. Thanks


_ztBMuBhMHo.jpg?auto=compress%2Cformat&w=48&h=48&fit=fill&bg=ffffff)


Comments
Please log in or sign up to comment.