


Hardware components | ||||||
| × | 1 | ||||
Software apps and online services | ||||||
 |
| |||||
A movable platform with Home Assistant.
- Home assistant devices that can be controlled on the phone
- NO code need and easy operation
- High stability
- Position limit and stop automatically at the edge
1.V-Slot Gantry Kit - 20mm
2.Idler Pulley wheel
3.GT2 Timing Pulley
4.GT2 Belts
5.V-SloT Linear Rail
6.Assembly Hardware
- All of the above components can be found in Openbuilds.
7.Some components need to be printed by BambuLab printer,the 3d file you can click Here.
8.DC Motor for Home Assistant_GA36Y-555
9.AC/DC adaptor
Step 1: Assembly1.Install the printout on the slide rail
2.Install the 2 collision switches for position limiting on the printout
3.Install the DC Motor for Home Assistant_GA36Y-555 on the printout
4.Install the GT2 Timing Pulley on the DC Motor for Home Assistant_GA36Y-555
5.Install the Idler Pulley wheel on the printout
- Note that Idler Pulley wheel and GT2 Timing Pulley should be parallel to slide rail.
6.Pass the belt through the slide gap and around the idler and timing pulleys, securing it to V-Slot Gantry Kit - 20mm
- Follow the Raspberry Pi guide to install Home Assistant Operating System.
- Access Home Assistant at homeassistant:8123 or "http://X.X.X.X:8123" (replace X.X.X.X with your Raspberry Pi’s IP address) and log in management page.
- Install the ESPHome in the Add-on, the detail you can click here.
- Configure device.
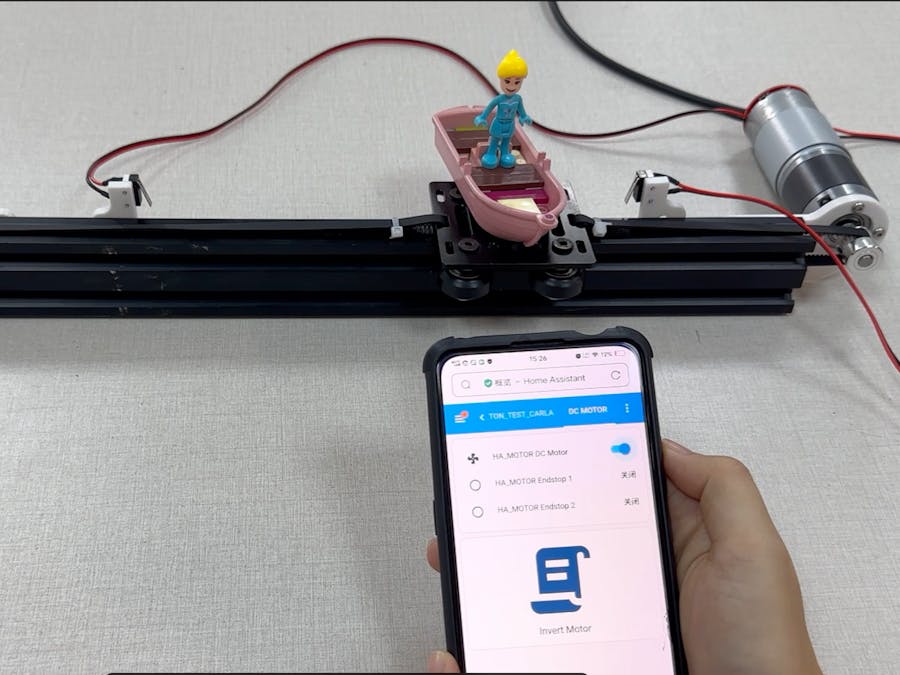
The platform begin to move when I open the HA_MOTER DC Motern and stop automatically when it touch the terminal at the edge.
And when I click the HA_MOTER DC Moter, on the pop-up page, I can control the platform direction of movement and speed of movement.

Comments
Please log in or sign up to comment.