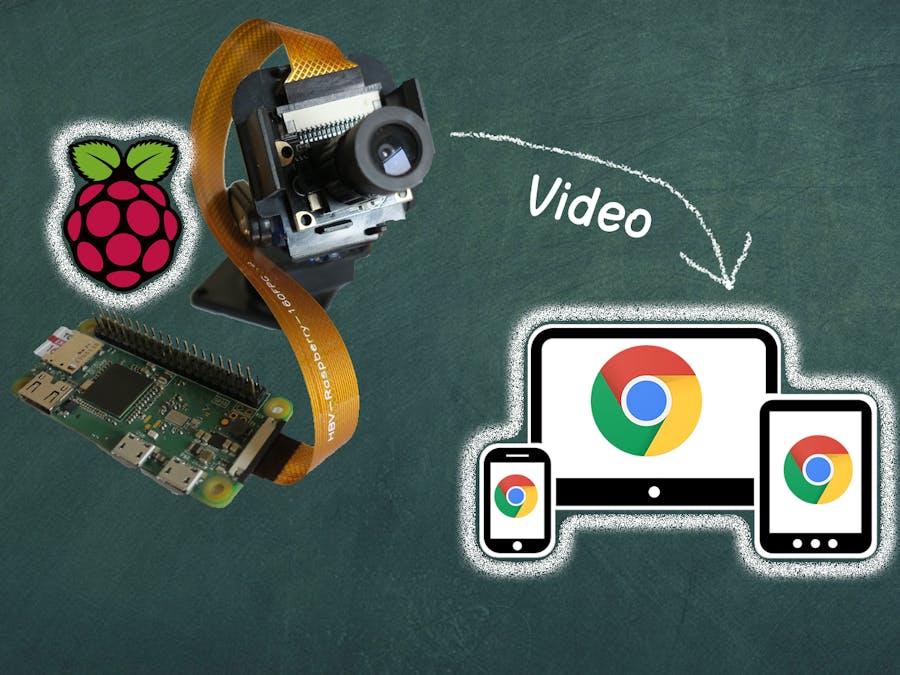
In this tutorial I will be showing how you can use Raspberry Pi with a camera module to stream live video on your web browser. A program runs on Raspberry Pi to connect to RemoteMe and allows streaming video from the camera connected to our Raspberry Pi. The program supports dedicated camera modules made for Raspberry Pi which have a ribbon cable attached to it which connects to a clip connector on the board.
The board I have used here is Raspberry Pi Zero W and 5MP camera module (note that you will need a special cable to connect the camera to Pi Zero).
Streaming video is done via the WebRTC protocol, which allows the image to be transmitted almost without any delays to the web browser, even if the web browser and Raspberry Pi are running on separate networks (eg the browser is running on a mobile phone using mobile internet). I recommend using the Chrome browser (especially on a mobile phone, because it has the best WebRTC support implemented). More about the webRTC protocol here. I would also like to thank Lyu Keun Chang for the sample implementation code of WebRTC on the RPi website. It is not possible to send sound with video at the moment.
The user’s actions are also sent via the same transmission channel – eg clicking a button on the side next to the video – thanks to this, delays in the transmission of events are minimal – that’s why RemoteMe will work in controlling robots with video preview.
InstallationThe RemoteMe program on Raspberry Pi automatically supports the transfer of video from the webcam (of course, you have to install the description here first of course and in raspi-config you have to enable the description in one of the steps here) After launching./runme.sh we are ready to receive the image from the camera
Adding a Page with a Camera ViewWe create a new website. Devices Tab -> New Device -> new Web Page
Enter the name and device ID – it is important that you select the component componentStarter and add by clicking submit.
More about the website here.
Next, we edit the index.html file by clicking on it and selecting “Edit with wizard” then click the Insert component in the window that appears, choose Component camera:
Additionally you can also add another component status with configuration websocket on, camera on, it will helps you see status of connection and restart video preview if needed.
More about components here.
After inserting and closing the window, we open the page in the new tab “index.html” -> Open in new Tab. If our Raspberry Pi and the website are in the same local network, we will see the image from our camera in the browser:
If our local network is behind NAT, it will be necessary to add a TURN server for proper display of the image. After using several servers, I recommend the xircys turn server. It allows adding a free server TURN (with some limitations).
After logging in, we add the channel:
The credentials for our turn server can be found in “Static TURN Credentials:"
We will paste them into the “webrtc_streamer.conf” file to do this we extend the belt of our Raspberry Pi in the RemoteMe system, then click on the webrtc_streamer.conf file and select the edit option:
We complete the file by entering data from the xirsys system:
After pasting, the file should look similar to:
At the turn server you should choose the one with port 80 and udp protocol. After saving and restarting the program on Raspberry Pi, camera display will be also shown at smartphone using mobile internet.
You can try it out by smartphone, the easiest way is to scan an anonymous link, so that you do not have to rewrite the address and log in. We click on index.html -> get anonymous link -> click on the QR code icon.
Please consider follow FB page of RemoteMe for more tutorials and news: https://www.facebook.com/remoteMe.org


Comments
Please log in or sign up to comment.