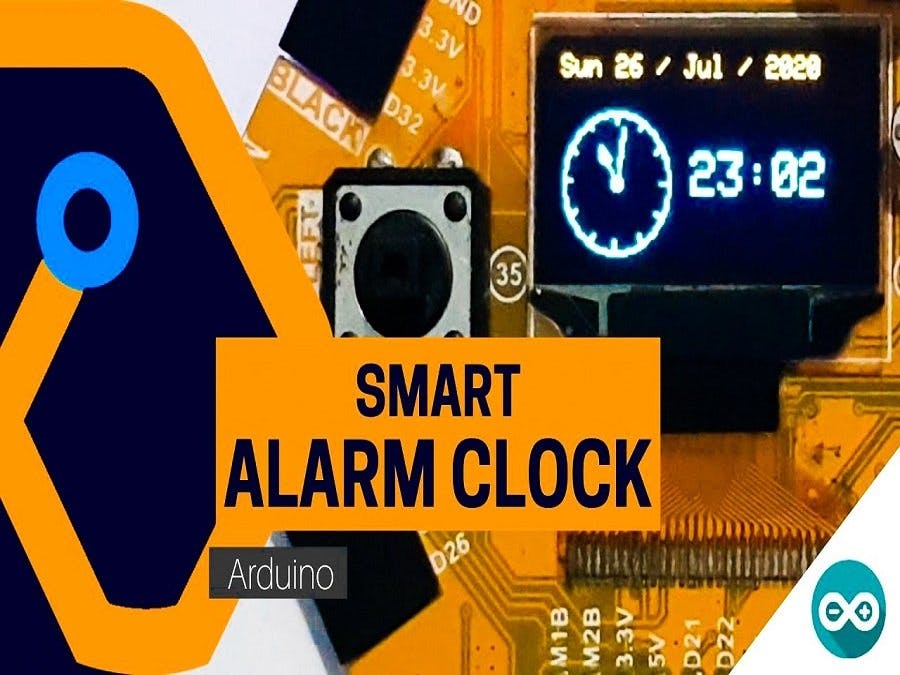
In this tutorial we will learn about how to make a smart Alarm clock using Magicbit.
HARDWARE SETUPPlug your Magicbit to computer using USB cable.
SOFTWARE SETUPOpen your Arduino IDE and setup the board with Arduino IDE. The following link refers how to do that. So we recommend you to that first go to link and getting familiar with Magic bit.
https://magicbit-arduino.readthedocs.io/en/latest/#getting-started
now select correct board type and port. In this case the board type is Magicbit. The libraries are already installed when the in Magicbit libraries.
Theory and Methodologyif you look at the first video, you can see the display have 2 screens.
- clock screen which showing time detail
- alarm screen which showing alarm details
for toggle between these two screen we used any push button of two in Magicbit. These buttons are connected to 35(left button) and 34(right button) pins of the ESP32 in Magicbit. To show the time and other details we used builtin OLED display in magicbit.
Lets talk about how does these graphic screens are working.
the clock screen has analog clock, digital clock, date, month and year texts.
for creating analog clock we use some graphics functions which are available in graphics library called Adafriut GFX. By using circle function and line function we create analog clock face. Simple geometrical functions called sin and cos are use to the position of the clock hands. So we only input the angle which correspond to time for for rotate hands. for that we first converts the time to angle as follows.
- angle of minute hand=minutes*(360/60)
- angle of hours hand=hours*(360/12)
the angle measured with respect to line between center of the clock face and number 12 in clock face.Using sin and cos functions we can calculate the x and y coordinates of the ends of hour and minutes lines. The below picture describe how it is doing.
According coordinates we print hour and minute hand by draw lines. There is also have text print function in Adafruit GFX library. It helps to print other details (date, month and time show in digits) on display. You can change the analog clock position and text positions by changing parameters in the code.
as like as clock screen we used text print function in the Adafruit GFX library for print numbers on OLED display at appropriate places.
Getting the local timeThe most important part of the clock is how we get the local time accurately. For that purpose you can use external RTC clock module or inbuilt RC clock in ESP32 in Magicbit. In this project we used second method. In this method we use NTP (network time protocall ) client for gets the local time from internet. For access internet we used inbuilt WIFI facility in the ESP32. Therefor at the first stage we use WIFI for access the internet by providing SSID and password. Then we should configure the gmtOffset and daylightOffset in variables in seconds. The values of these variables are differ from region to region in the world. gmtOffset means number of seconds you differ from the GMT..For most ares daylightOffset is 3600. You can found it in the internet. After we got the current local time we not longer used WIFI. Because then we calculate local time from inbuilt RC clock in ESP32. This is done by using time.h library. There is simple example in Arduino( Arduino>Examples> ESP32> Time>simpletime) for you to learn about how this works further. Also these links are you can use for further knowledge about NTP client.
- https://dronebotworkshop.com/esp32-intro/
- https://lastminuteengineers.com/esp32-ntp-server-date-time-tutorial/
After getting the local time correctly, we change our time showing texts and angle according to that time information in every loop.
Setting up the alarmBy clicking the left and right buttons you can change the alarm date and time selection. Make sure turn off the alarm when you changing the alarm date and time. After set up the date and time turn on the alarm. Because if the alarm is on and when alarm time is equal to your current time while you setting up it, the alarm buzzer will ring. In the main loop always checks the current local time and alarm information are equal. If those are equal, then buzzer and built in green LED in Magicbit will work during one minute.
Setting up the buzzerwe use PWM pulse to create the buzzer sound by using analogCwrite() function in the code. Because of the all library functions are in ESP32 is valid for Magicbit. You can change the beep sound of the buzzer from change it's frequency and PWM value in the code.
https://techtutorialsx.com/2017/06/15/esp32-arduino-led-pwm-fading/
This page describes about how buzzer works with ESP32.
Setting up buttonsFor changing the all states we used two built in push buttons in Magicbit. Main loop always check the state of two buttons. Because they pulled up internally, there normal state is high signal. So you can see the digital read of those pins are 1. At the default stage the display shows clock interface. At that time, when any of the two button is pressed, then it change screen to alarm screen. Also we count the time in seconds from the last time when button is pressed. If that count is larger than some predefined duration then the display will show the clock screen.
The code is written by using basic functions for beginners. So the code is simple to understand and you can learn the method how it works by referring the code.
Troubleshootingsome times the clock is start bit later or it don't display the graphics properly. following tips help to solve situation
- make sure you gave the right SSID and password
- change the NTP server (you can find many servers from internet which relates to your region)
- changes the internet connection.(mobile hotspot can also possible)
also you can troubleshoot everything by using the serial monitor. In addition to the OLED display serial monitor shows time information.


Comments
Please log in or sign up to comment.