Typically, a GPS module can take a few minutes to get Time To First Fix (TTFF), or even longer if you are in built up areas (+20mins). This is because the Almanac needs to be downloaded from satellites before a GPS fix can be acquired and only a small portion of the Almanac is sent in each GPS update.
Assisted GPS speeds this up significantly by downloading ephemeris, almanac, accurate time and satellite status over the network, resulting in faster TTTF, in a few seconds. This is very similar how to GPS works on a smartphone.
The BerryGPS-GSM supports assisted GPS. The below video shows a comparison between assisted and normal GPS.
- Assisted GPS takes 19secs to get a fix
- Normal GPS takes 8min 22Sec to get a fix
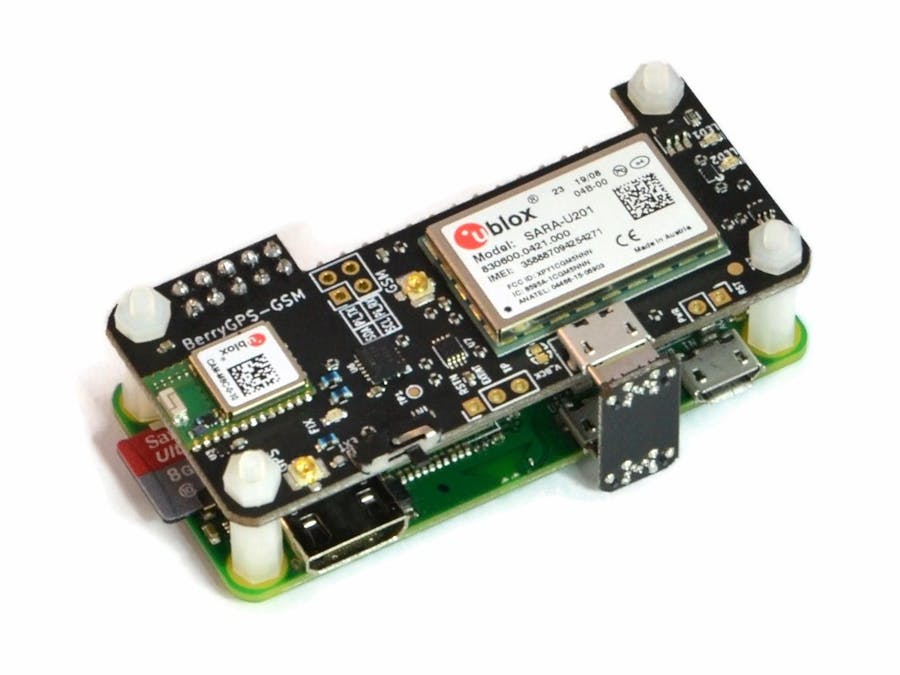
The two main components on the BerryGPS-GSM are;
- uBlox CAM-M8 GPS module
- uBlox SARA-U201 cellular modem
The SARA-U201 can be configured to download GPS assist data and then pass this over the the GPS module. These two components speak to each other via i2c.
This assist data is downloaded by the SARA-U201 modem (not the Pi), therefore the modem needs to create an internal PDP (Packet Data Protocol) connection.
Once the PDP connection is made, the SARA-U201 will reach out to uBlox AssitNow servers and download the latest assist data. A valid token is needed to perform this, all BerryGPS-GSM have had this token pre-configured.
How to enable assisted GPSThe first step is to setup your Pi to use a GPS. If you haven't already done so, you can follow this guide.
Now connect to the SARA-U201 serial console on /dev/ttyACM1
minicom -b 115200 -o -D /dev/ttyACM1
Do a quick test, type AT and confirm you get OK as a response
Set up a connection profile with the APN for your network operator, using the +UPSD command (Packet Switch Data configuration). In this example we are using a Hologram SIM, so the APN would be hologram.
AT+UPSD=0,1,"hologram"
The syntax for the above command is:AT+UPSD=[profile_id], [param_tag], [param_val]We are using profile id '0'Parameter tag 1 is used to set APN nameParameter value is the APN nameParameter tags 2 and 3 are username and password, if you need to set these values, you can use these commands.
AT+UPSD: 0,2,"username" AT+UPSD: 0,3,"password"
If using a Hologram SIM, a username and password is not needed.
We now will create a connection using the Packet Switch Data Action (UPSDA)command;
AT+UPSDA=0,3
AT+UPSDA=[profile_id], [action]We are using profile 0The two actions we are interested in are;3: activate; activates a PDP context with the specified profile, using the current parameters4: deactivate; deactivates the PDP context associated with the specified profile.
If everything worked, you should just get an OK response.
You can use the +UPSND command to read the current network negotiated values, like IP address and DNS.
Here we are checking to see if the profile '0' is active. If profile is active the return value is 1, otherwise it is 0;
AT+UPSND=0,8
To check IP address;
AT+UPSND=0,0
Check DNS entry 1;
AT+UPSND=0,1
Check DNS entry 2;
AT+UPSND=0,2
Time now to configure the GPS assist mode.First, we will activate the unsolicited aiding result. Without this we will not know if the assisted GPS was successful;
AT+UGIND=1
The +UGPS command is used to control the GPS module and the assist mode. Here is its syntax and options;AT+UGPS=[mode],[aid_mode],[GNSS_systems][mode]0 : Off1 : On[aid_mode]0 (default value): no aiding1: automatic local aiding2: AssistNow Offline4: AssistNow Online8: AssistNow Autonomous[GNSS_systems]1: GPS2: SBAS4: Galileo8: BeiDou16: IMES32: QZSS64: GLONAS
To turn on GNSS with no aiding and only use GPS, you would use;
AT+UGPS=1,0,1
To turn off GPS
AT+UGPS=0
To enable GPS with online assistance, we use option 4 for aid mode. This is called AssitNow Online.
AT+UGPS=1,4,1
To enable more than one GNSS mode, you need the algebraic sum of GNSS sytems. For example, to enable online assistance and use GPAS+GLONAS, you would use AT+UGPS=1, 4, 65. It is best to enable multiple GNSS systems (GPS+SBAS+GLONASS+Galileo) with AT+UGPS=1, 4, 71.Below is an example of the output when enabling assisted GPS (AssitNow Online);
AT+UGPS=1,4,71OK+UUGIND: 0,71+UUGIND: 4,0
+UUGIND is the result indication for the +UGPS command. A result of 0 is no errors+UUGIND: 0, 71 the 0 here means no errors when enabling the multiple GNSS+UUGIND: 4, 0 The 0 here means no errors when downloading GPS assist data using AssitNow Online.
To summarize, only four commands are needed to get assisted GPS working
AT+UPSD=0,1,"hologram"
AT+UPSDA=0,3
AT+UGIND=1
AT+UGPS=1,4,71
You can also configure assisted GPS from the bash terminal by using the three commands below. As we are not looking at responses, there is no need to configure AT+UGIND=1 (enable error messages)
echo -e "AT+UPSD=0,1,\"hologram\"\r\n" > /dev/ttyACM1
echo -e "AT+UPSDA=0,3" > /dev/ttyACM1
echo -e "AT+UGPS=1,4,71\r\n" > /dev/ttyACM1
An example of how this can be done using a Python script has been included in this post.


Comments
Please log in or sign up to comment.