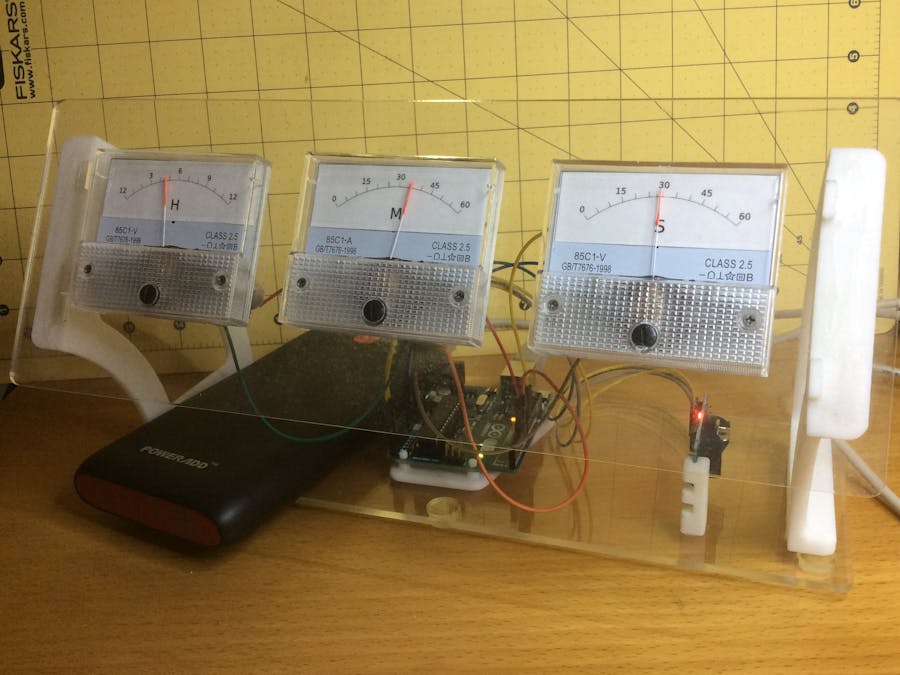
I have always had a fascination with clocks, especially mechanical ones or those with unusual ways of displaying the time. I have seen a couple of clocks that use meters for displaying the time and decided to have a go at making one myself.
WiringThe wiring is quite straightforward, there are two circuits, the real time clock and the meters. The meters are connected to three PWM pins and the clock is connected to the two analogue interface pins SCL and SDA.
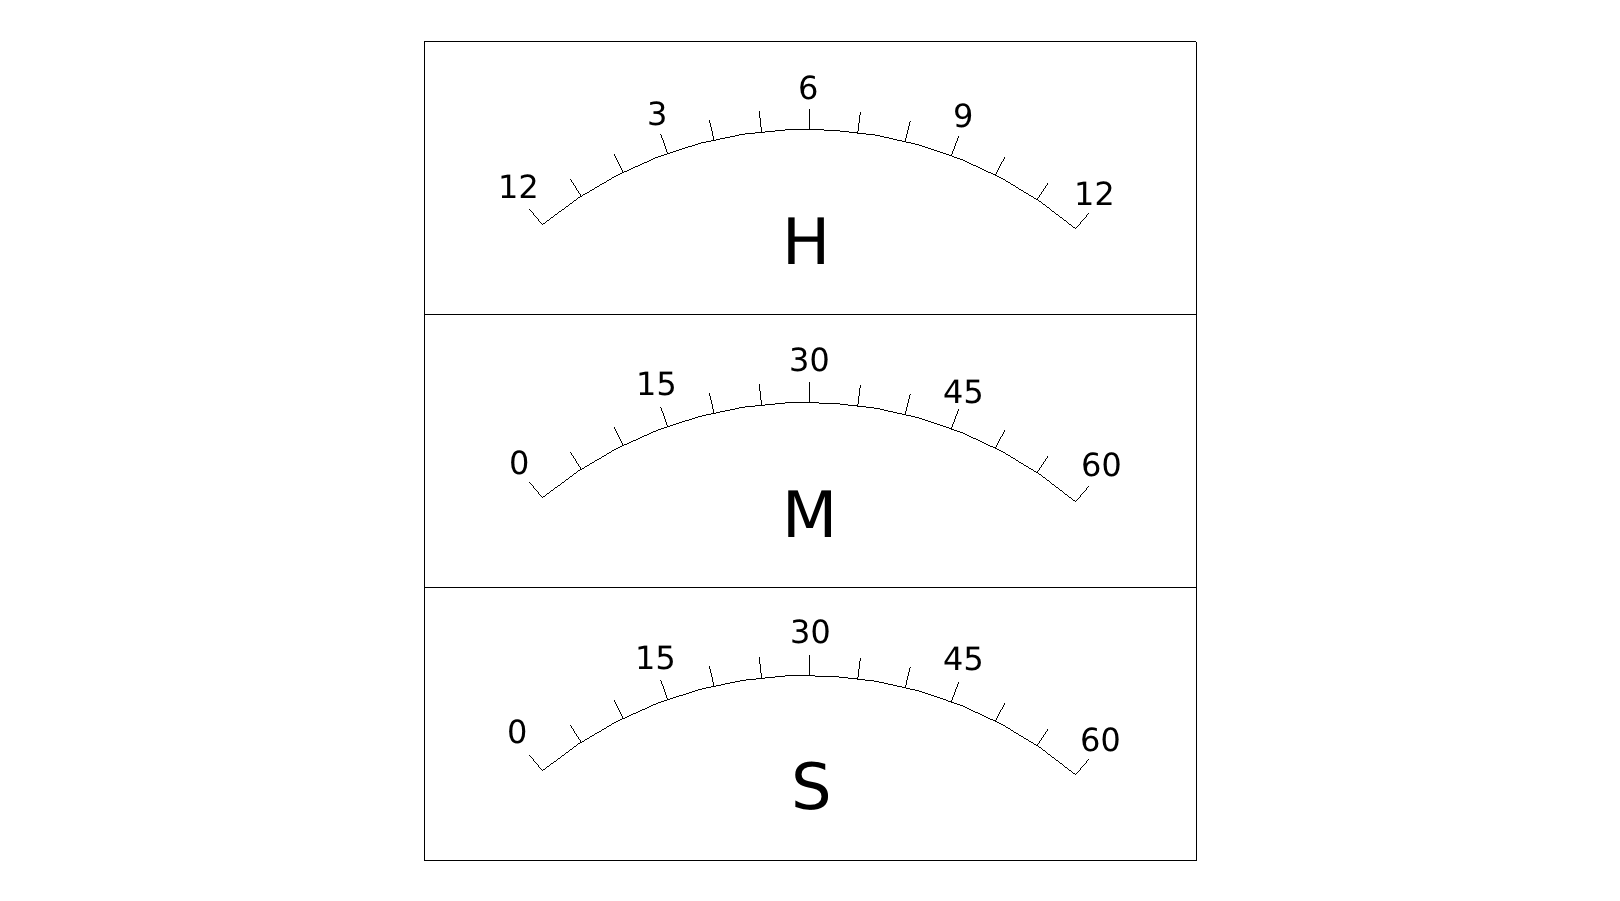
There are 2 laser cut pieces and 4 3D printed parts, the parts are not integral to the way the clock works so they could easily be made by other means, even a small cardboard box could be used instead of the manufactured parts. Take the meters apart, mine had 2 screws in each, and mount the paper dial faces in the meters. Mount the meters in the plate and wire them up, connect the real time clock module and push it into the holder.
Load the sketch and set the mode to 2, set the bottom position of each dial by adjusting the numbers in the variables hoursMinimum, minutesMinimum and secondsMinimum and re-uploading the sketch. Adjust the variables so that the needles are all at the left end of the dial faces. Do the same for the maximum so that the needles are on the right end of the faces.
To set the time enter it into the setDS3231time function call in the setup() function using mode 1.
When the sketch is uploaded the time should be displayed and the seconds should tickoff.
Set the mode to 0 and upload the sketch, so long as the clock battery remains connected the time will be displayed when the Arduino is powered up.
ConclusionA great clock with an interesting way of displaying the time, not very good on battery life so it is not a viable clock to power from batteries for any length of time, but fun all the same.


_ztBMuBhMHo.jpg?auto=compress%2Cformat&w=48&h=48&fit=fill&bg=ffffff)


_1x_bGT19vVAby.png?auto=compress%2Cformat&w=40&h=40&fit=fillmax&bg=fff&dpr=2)
Comments
Please log in or sign up to comment.