Ideation
My goal heading into this project was to keep it simple. I've never built a remote control car, so I experimented with different chassis ideas. Some were inspired from ones I had seen work online.
Lo-fi Prototyping
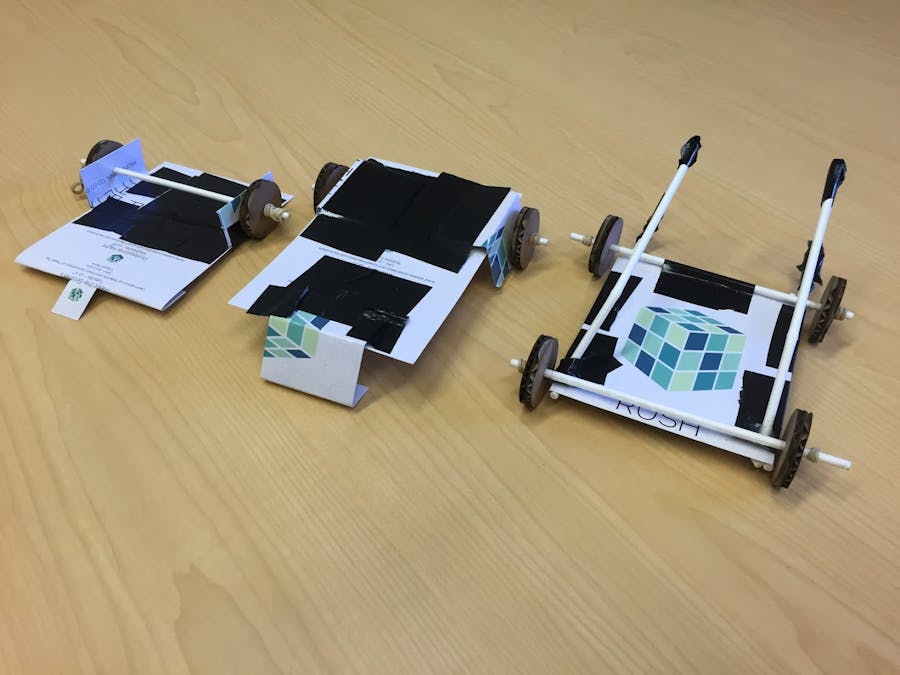
With my sketches ready, I went straight into making lo-fi prototypes. I used flyers I had lying around from student groups and cut/bent them into the shapes I had sketched earlier for the chassis. I also made wheels with the laser cutter and attached them to the body with dowels and gluing/taping them down. Putting these together took less than 20 minutes, but put my sketches into 3D form and let me play around with my ideas with my hands.
Lesson
Yes, I've already learned an important lesson early on in this first stage of the project. Mainly...
What are my prototypes communicating? Where are the callouts?! I didn't have anything labeled on my prototypes indicating where the Arduino would be or even the motors for example. This made it hard for Chris to give me feedback on my ideas because my prototypes didn't communicate. That's the point of lo-fi prototypes. It's to communicate your ideas across to yourself and others quickly. Lo-fi prototypes aren't made just for the sake of having them. I'll definitely be putting more intent and clarity behind them in my future projects.


Comments