


Hardware components | ||||||
 |
| × | 1 | |||
Software apps and online services | ||||||
 |
| |||||
Firstly you will need Arduino IDE to be installed in your system. If you don't have it, download the latest version from here. Once IDE is installed open it.
1. File > Preferences
2. Enter the below link in the Additional Boards Manager and press OK.
http://arduino.esp8266.com/stable/package_esp8266com_index.json3. Now open Boards Manager: Tools > Board > Boards Manager.
Search for ESP8266 and install it.
Once the installation is completed, you are ready to program ESP8266 with Arduino IDE. You can see a new list of boards added to the board section of your IDE.
Now test the IDE by uploading an example sketch from examples.
Go to Example > ESP8266 > Blink. Select the corresponding board from the list.
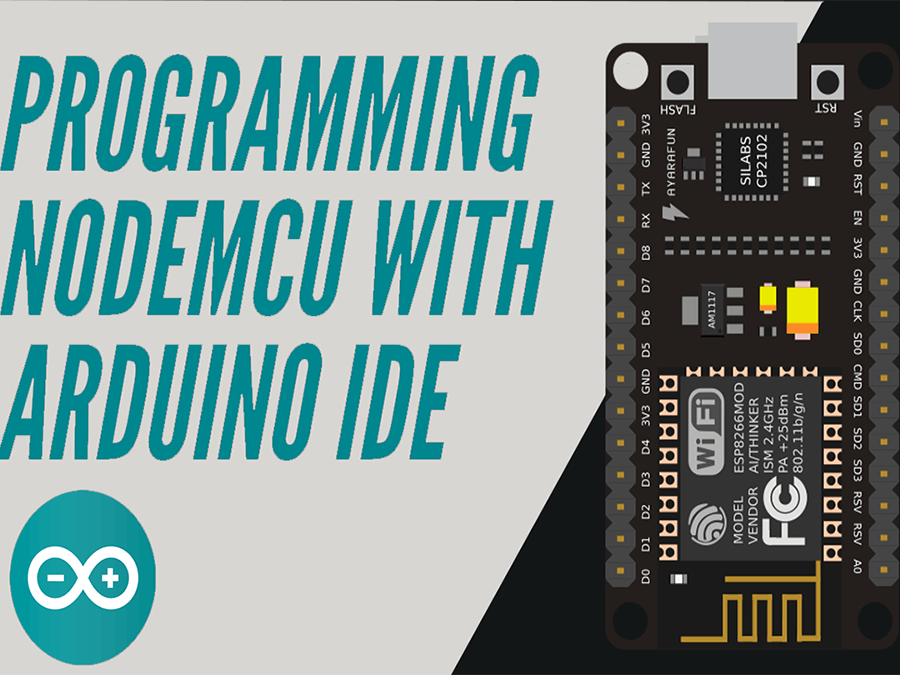
Here I have used ESP8266 NodeMCU, and if you are using another board/wifi module, then select your corresponding boards from the list. NodeMCU has 2 inbuilt LED on it, one connected to pin 2 and other to pin 16.
Here is the pin mapping of NodeMCU:
Feel free to ask any queries.
Check out my blog for my new projects
If you have any doubt leave a comment here. It's my blog. I will be regularly checking for feedback there rather than here.


Comments
Please log in or sign up to comment.