


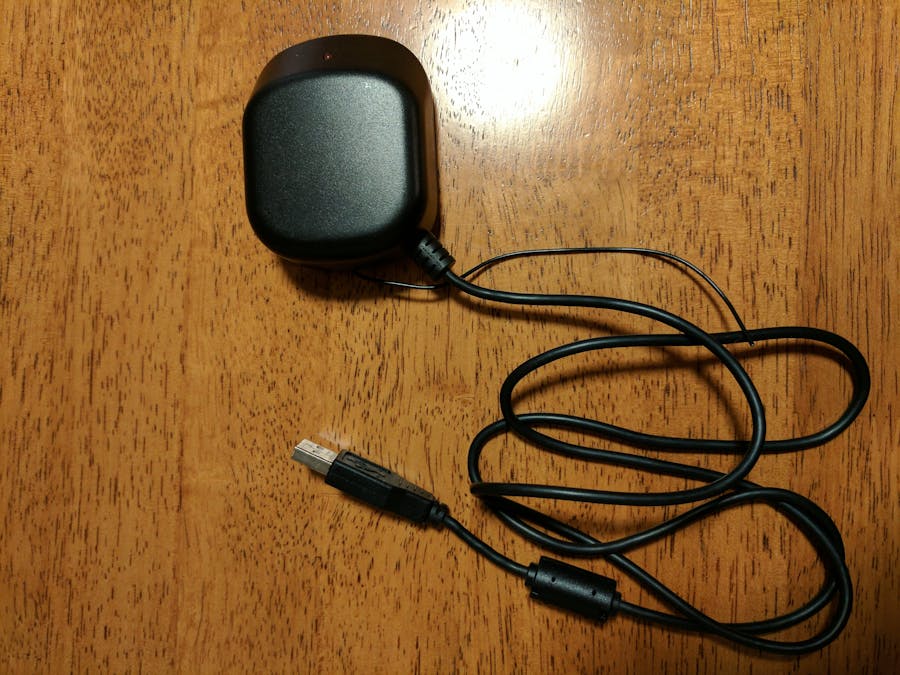
Hardware components | ||||||
| × | 1 | ||||
Software apps and online services | ||||||
 |
| |||||
Home Assistant is a powerful home automation framework with a modern UI, and X10 can be used to control a wide variety of devices. This project interfaces Home Assistant to a USB X10 transceiver to enable Home Assistant to control X10 switch devices.
I used Microsoft Windows 10 for this project, and some of the details of the instructions are specific to that. However, the fundamental components are compatible with other platforms.
The first step is to setup PyCM19A on the host computer. In this example, I placed the pycm19a.py script in the directory C:\X10
.
Next, install Home Assistant. The command that they recommend for starting Home Assistant failed on my system, which is a known issue. I use this command instead: python -m homeassistant --open-ui
The final step is to configure Home Assistant to issue commands to turn a particular switch on and off using PyCM19A. I found my configuration.yaml file in the directory C:\Users\<user>\AppData\Roaming\.homeassistant
. I appended the following configuration entry to that file to add a single switch with X10 device ID A1:
switch:
 platform: command_line
 switches:
   desk_lamp:
     command_on: "python c:/X10/pycm19a.py +a1"
     command_off: "python c:/X10/pycm19a.py -a1"
     friendly_name: "Desk lamp"
Additional details about this platform can be found in the Home Assistant documentation.
Then I restarted Home Assistant, and a control for the newly-added switch appeared in the UI!
This is just a starting point. Next, I want to connect switches to various types of triggers supported by Home Assistant. Furthermore, X10 can be used to control many additional types of devices besides simple switches, but I don't yet know how to access such functionality from Home Assistant.
The postings on this site are my own and don't necessarily represent Intel's positions, strategies, or opinions.


Comments
Please log in or sign up to comment.