


Hardware components | ||||||
_ztBMuBhMHo.jpg?auto=compress%2Cformat&w=48&h=48&fit=fill&bg=ffffff) |
| × | 1 | |||
 |
| × | 1 | |||
Software apps and online services | ||||||
 |
| |||||
You want to pimp up your own project with a menu?
Here is an example and presentation how to create a menu using CMBMenu class from the library mbLib. It can be easily modified. You will find there two complete executable examples: one with LCD output and one without LCD output and only serial monitor output for easy testing.
In this example, following menu should be created where you can navigate with left, right, enter and exit. The class CMBMenu was designed for easy usage and saving memory.
1. Foo
  1.1 FooA
  1.2 FooB
    1.2.1 Test1
    1.2.2 Test2
2. Bar
2.1 BarAThe concept
Each entry of the menu is called "node". Each node has a title, a layer number and a function ID (FID).
menu title     layer   function ID

1. Foo             0      1
  1.1 FooA         1      2
  1.2 FooB         1      3
    1.2.1 Test1    2      4
    1.2.2 Test2    2      5
2. Bar             0      6
  2.1 BarA         1      7
To create this menu you just have to add nodes in the code:
CMBMenu<100> g_Menu;

g_Menu.addNode(0, MenuFoo_pc , 1);
g_Menu.addNode(1, MenuFooA_pc, 2);
g_Menu.addNode(1, MenuFooB_pc, 3);
g_Menu.addNode(2, MenuTest1_pc, 4);
g_Menu.addNode(2, MenuTest2_pc, 5);
g_Menu.addNode(0, MenuBar_pc, 6);
g_Menu.addNode(1, MenuBarA_pc, 7);
That's all :) At the end just call buildMenu and printMenu to see on serial monitor the complete menu.
const char* info;
g_Menu.buildMenu(info);
g_Menu.printMenu();
For navigation just call left(), right(), enter() and exit(). Then you get the title and the function ID. Depending on the function ID you can call subroutines.
Setup1. without LCD: just connect Arduino with computer via USB and open serial monitor from Arduino IDE
2. with LCD:
GND <---> GND
5 V <---> VCC
 A4 <---> SDA
A5 <---> SDCFor demonstration the serial monitor (terminal) of the Arduino IDE is used. An example output is given here:
There is a complete output of the menu, which was created automatically and printed when calling printMenu. The last number (marked in yellow) is the function ID (example: 1.1 FooA, 2 => function ID is here 2). The output shows which key was pressed followed by the output of the menu. The menu text is also displayed on LCD. When entering the menu 1.2.1 Test1 and pressing enter then the sub routine is called which prints here "Function Test1() was called." See also figure above.
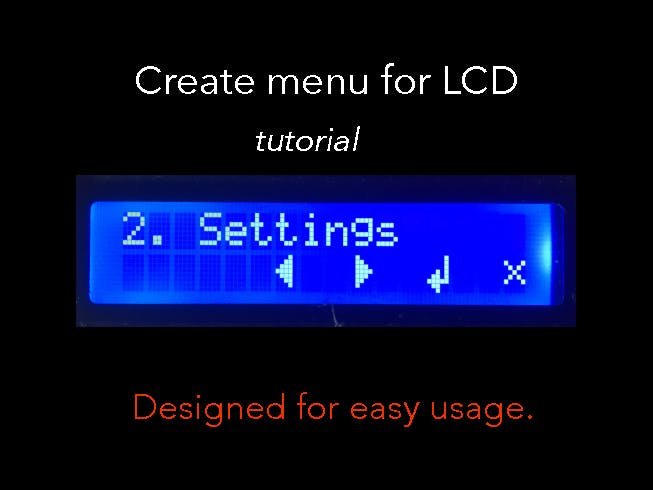
Here is a screenshot of LCD using this class CMBMenu in another project:
The idea behind this class is an easy usage and also resource/memory saving code: All menu infos (text) are stored in PROGMEM. To each menu entry a function ID (FID) can be assigned. The FID is an integer number.
On github: myLib you will find the complete examples. Just download myLib into the libraries directory of Arduino.
Have fun :)


Comments
Please log in or sign up to comment.