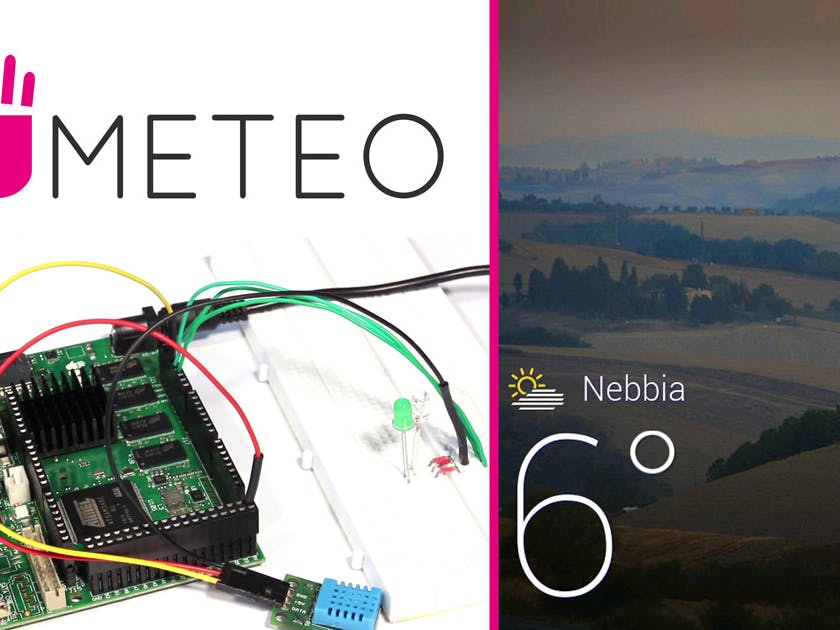
Here at UDOO HQ we are really proud to showcase this brand new UDOO Project. Both because this a nice piece of cleverness, and because it was developed by Alessandro Paghi, a brilliant and young engineering student of the University of Siena, who joined us for few weeks.
What is this project all about? Umeteo monitors, via some Arduino sensors, meteorological data (in this case humidity and temperature) and can showcase them both with a series of LEDs in an old fashioned analog way or output their data to an html page you can comfortably browse from any network connected device.
This project utilizes a wide range of utilities to make this happen: we have an Arduino library, along with an Arduino Sketch, MySql, php and python. The result is a flexible framework, which could be further expanded to suit your very own application: you can create an internet connected Meteorological Station or develop an advances environmental monitoring station. This is up to you, thanks to Alessandro and UDOO who made this possible!
Part 1: Sensors and LEDs
All the data collected by the meteorological station could be remotely accessed via web thanks to a UDOO’s self hosted server made with apache and MySQL, this means that we will browse our meteorological data from anywhere with our favorite devices: smartphone, tablets or directly on UDOO.
In this first tutorial we are going to connect DHT11, a temperature and humidity sensor, with UDOO through the Arduino IDE.
Let’s start
First you need to insert the micro SD in your UDOO, connect the HDMI, the keyboard and mouse then power it up.
Ok, you are now ready to download the DHT11 library by clicking here.
The library has two file: one header and one file .cpp, so copy the code of dht11.h in a new file with the same name and do the same with dht11.cpp.
Create a new folder with the name DHT11 and put the files into, then move the folder in /Home/Arduino/libraries.
Now go to Arduino IDE and add the library at the sketch, then you will see:
Create a new object of type DHT11 and define the pins for the sensor and for the alert LEDs.
In void setup() initialize the serial monitor with 9600 baud, then insert two strings of text for the physical aspect of the sketch and set in output the pinmode of the two alert LED:
In void loop() call the function read() with the parameter DHT11pin:
Then print in the serial monitor the value of humidity and temperature:
Execute a control on a value of humidity. If it has a value greater than 45%, turn on the green alert led, else turn off:
Execute a control on a value oh temperature. If it has a value greater than 23°C, turn one the white alert led, else turn off:
Insert a delay of two seconds:
Now connect physically the component and compile and run the sketch. When humidity is greater than 45% led green turn on and when temperature in greater than 23°C led white turn on.
Here's the full sketch:
Part 2: web server, PHP & Python
First, we are going to show you how to collect data from Arduino using PHP, then we are going to explain how to retrieve data from Arduino, using Python, allocate it in a database and print it in an HTML page using PHP.
All the resources for this part of the tutorial are packaged in the file below:
Now, edit the previous sketch as follows:
We've added two new variables for start reading data and removed the serial print that isn't important for the sketch and insert a new if control for the reading of data:
if data receiving from serial is "y", the reading of data will start, else none.
Now, compile the sketch.
Download the library from here, create a new PHP document and paste the code of data_php.php that you can find in meteo.zip that you have downloaded before.
Then open the terminal and copy the files in /var/www/METEO: sudo cp data_php.php /var/www/METEO.
Open the web browser and open the page create localhost/METEO/data_php.php, if you press the button refresh you can refresh the page with new data.
To use Python you have to edit again the Arduino sketch:
- cancel the if control that you inserted before and insert a delay of 5 seconds
- compile the sketch
- download the serial libraries for the interaction between Python and Arduino from here
- download the MySQLdb library for the interaction between Python and MySQL with
apt-get install python2.7-mysqldb - open the Python sketch system.py that you have downloaded before in the
meteo.zipfile - create the Meteo Database from phpMyAdmin using the script
table.phpthat you can find inmeteo.zip - create a new Python document and paste there the code that you can find in the
meteo.zipwith the namedata_python.php - open again the browser and open your
data_python.phppage and see the result
Done, our UDOO powered weather station is pretty a mature project! If you want to further develop it, stay tuned and see you in the next tutorial!


Comments
Please log in or sign up to comment.