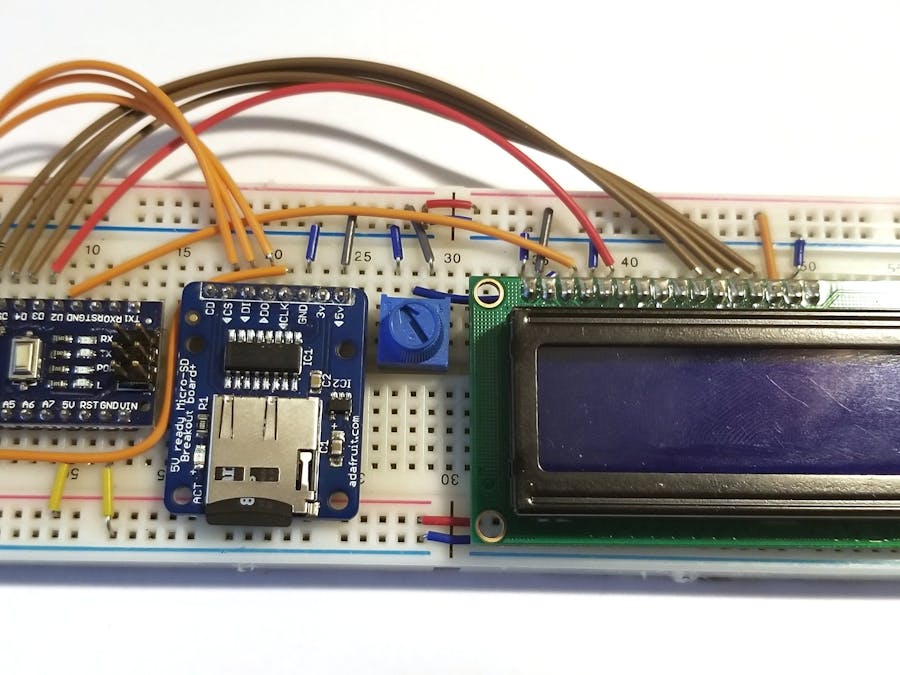
This project uses an SD card breakout board to allow for the reading of a.txt file with an Arduino Nano. The Arduino can then display the contents of the text file on a liquid crystal display.
Materials:
- Arduino - https://amzn.to/2Ktspw7
- LCD - https://amzn.to/3aream4
- Breadboard - https://amzn.to/2zqlIbY
- Jumper wires - https://amzn.to/3519jaf
- SD breakout board - https://amzn.to/3bxvDe1
- MicroSD Card - https://amzn.to/2VVpa5J
- MicroSD to USB adapter - https://amzn.to/3byU8HI
- Potentiometer - https://amzn.to/3bzLWab
As a member of Amazon's affiliate marketing program, I may earn from purchases made through the above links at no additional cost to you.
Create a FileFirst, we need to create a text file on a micro sd card that the Arduino will read. Insert the card in your computer (you may need an adapter for this if your computer doesn't already have a microSD slot, I included a link to one above).
- Once the card is in your computer, navigate to its folder: This PC > cardname
- Right click in the file explorer window and select: new > text document
- Type something in the document and save it as "myfile.txt" or, just use the example file from below.
- Once the file is created, eject the card and put it in the breakout board.
Upload the following code to your board in the Arduino IDE:
#include <LiquidCrystal.h>
#include <SPI.h>
#include <SD.h>

File myFile;

const int rs = 2, en = 3, d4 = 7, d5 = 6, d6 = 5, d7 = 4; //lcd pins
LiquidCrystal lcd(rs, en, d4, d5, d6, d7);

void setup() {
  if (!SD.begin(10)) { //make sure sd card was found
    while (true);
  }

  lcd.begin(16, 1);
  lcd.setCursor(0, 0);
  lcd.print("myfile.txt");
  delay(2000);
  lcd.clear();
}

void loop() {
  myFile = SD.open("myfile.txt"); // open the file for reading

  lcd.setCursor(16, 0); //
  lcd.autoscroll(); //enable auto-scrolling

  if (myFile) {
    while (myFile.available()) { //execute while file is available
      char letter = myFile.read(); //read next character from file
      lcd.print(letter); //display character
      delay(300);
    }

    myFile.close(); //close file
  }

  lcd.clear();
}Create a circuit as shown in the above diagram. If you choose to use another Arduino board instead, such as an UNO, all of the pins used will be the same.
Going Further and Additional ResourcesThis project is really meant to be an example of how to use an SD card with Arduino. If you are looking for more code examples or uses, here are some other sites you can visit:
Arduino SD Library page - https://www.arduino.cc/en/reference/SD
Micro SD Card Breakout Board Tutorial - https://learn.adafruit.com/adafruit-micro-sd-breakout-board-card-tutorial


Comments
Please log in or sign up to comment.