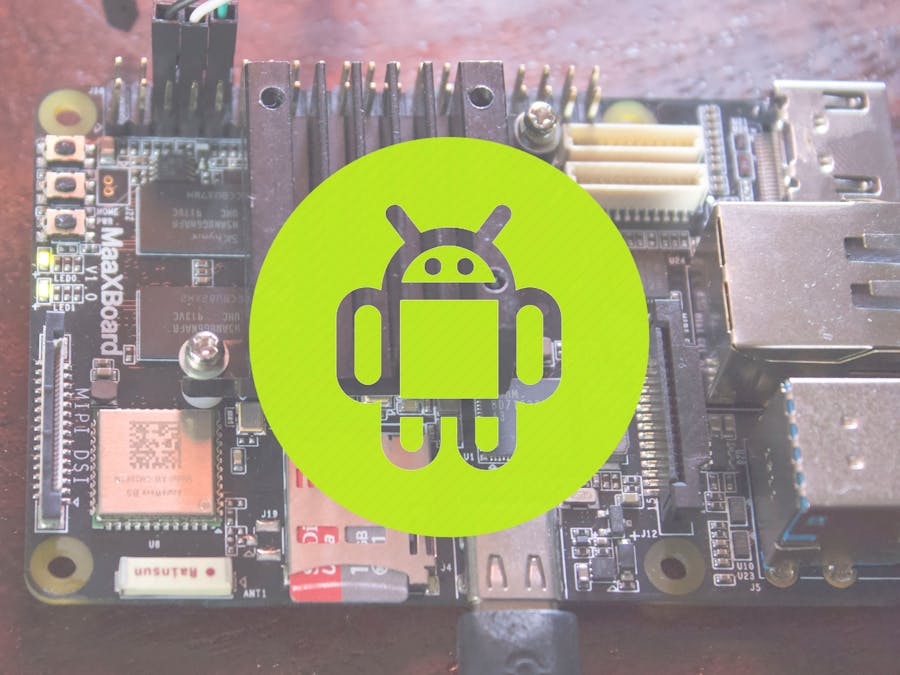
There are several potential advantages to using Android. Maybe you're already an expert Android app developer so that's what you're familiar with. Or perhaps you really like one of the many tools or languages in the Android ecosystem, like Kotlin or Android Things. Whatever the reason you'd prefer to use Android, you'll be happy to know the MaaXBoard and MaaXBoard Mini both support Android 9. Here's how to get started. I'll be using macOS Catalina.
Josh Foster has also created a fantastic tutorial here that shows getting set up and using Android Studio with MaaXBoard on Windows.
FLASH THE SD CARD- Download the Android image from the "Reference Designs" tab on Element14 (images for MaaXBoard are here, and for MaaXBoard Mini is here).
- The file is compressed as a.rar within a.zip. Unzip it using a program like 7zip or The Unarchiver. You should end up with a.img file. The.zip file contains larges file, so unzipping will take several minutes.
- Download and install Balena Etcher.
Note that if you are using MaaXBoard (not MaaXBoard Mini), the zip file contains two images. If you're using the Avnet 7" MIPI display, select the MIPI image (9MB). If you're using an HDMI monitor, select the HDMI image (15.3MB). and flash it to an SD card (you should probably use an SD card between 32 and 64GB, since many 16GB SD cards can't hold more than 15GB of data. ).
- Plug the MIPI-CSI cable into the display, blue side facing towards the display.
- Plug the MIPI-CSI cable into the MaaXBoard, blue side facing the edge of the board.
Note: If you're using the MIPI-CSI display, you'll probably want to use some standoffs.
- If you're using an HDMI, plug that into the board's HDMI adapter.
- Insert the burned micro SD card in the slot.
- Connect the board to the USB-C power cord.
NOTE: If you use a regular USB-C cable to power your board, don't plug it into your computer's USB ports, since it may draw more power than your USB ports can supply. You can also purchase the recommended 5V 3A power supply for the board here.
SETUP USING THE GUII'll be showing everything using the MIPI Display. The cool thing about the MIPI display is that it doesn't require a mouse and keyboard since it's a touch screen. If you're using the HDMI display, it will look the same, although it will probably be a different aspect ratio. If uou can use a mouse to do everything you would do with your finger on a
Slide up with your finger to unlock the screen and enter Android's home page.
Turn on Developer Options.
Developer options include important things like "stay awake" (to keep screen on while you're developing), USB debugging, and more. In order to turn them on, there's a secret trick:
Go to “Settings” -> “System” -> “About tablet” and tap “Build number” seven times. When you tap the option the first time, it will prompt: "You are now x steps away from being a developer." After tap seven, you'll see "you are now a developer." If you return to "System" and wait a minute for the page to refresh, you'll now see the developer options:
Configure developer options
- Make sure "stay awake" is turned on
- Make sure "USB debugging" is turned on
You can also turn on other useful developer settings
Turn on WIFISwipe down from the top for quick settings. Click the WI-FI icon to enable WIFI. It will auto scan for available networks. Click the network you wish to connect to and input the password.
Once you have WIFI setup, you can connect to your device via SSH.
It's also possible to use TeamViewer (there's a free version for personal use) to remotely view your Android device.
INSTALL ANDROID STUDIO AND PLATFLORM TOOLS- Download and install Android Studio on your computer.
- Download and install Android Platform Tools on your computer
When building an Android app, it's important that you always test your app on a real device before releasing it to users. That's what Android Debug Bridge enables you to do. ADB is installed with the Android SDK. You'll still need to add it to your PATH. Here is how to add it to your path on Mac OS (Catalina and higher):
export PATH=$PATH:/Users/[your username]/Library/Android/sdk/platform-tools/
source ~/.zshrc
On Windows, the path is something like this:
C:\Users\[your username]\AppData\Local\Android\Sdk\platform-tools\adb.exe
Change directories to the location where adb is installed. Typing "adb version" in your terminal window should now show you adb's version:
cd ~/Users/[your username]/Library/Android/sdk/platform-tools
adb versionUsing a USB-A to USB-A cable, connect USB port J2 (when looking at the USB hubs on the board, it's the bottom right one) on the MaaXBoard Mini to a USB port on your computer.
Run:
adb devicesIf your device isn't properly connected, instead of showing your device ID, it will say "List of devices attached, " which is kind of a confusing error message. In this case, make sure your USB-A connector is properly plugged in and has an appropriate 5V, 3A power supply.
You can troubleshoot device connections from within Android studio by selecting the device list and clicking "troubleshoot devices." From here, you can view the device setup instructions in a browser, or select "rescan devices."
If everything is working and your device appears, you can now run shell commands directly on the MaaXBoard Mini by typing:
adb shell
su
echo 0 | tee /sys/class/leds/usr_led/brightness
echo 1 | tee /sys/class/leds/sys_led/brightness
echo 1 | tee /sys/class/leds/sys_led/brightness
You should see LED 0 and LED 1 (next to MIPI-DSI connector) blink on and off. Hello world! To exit the adb shell, simply type
exitYou can find a complete list of adb commands here. The full ADB reference, along with troubleshooting tips, is here.
In the next tutorial I'll go over building an Android app that runs a machine learning model on MaaXBoard. That's it for now!


Comments
Please log in or sign up to comment.