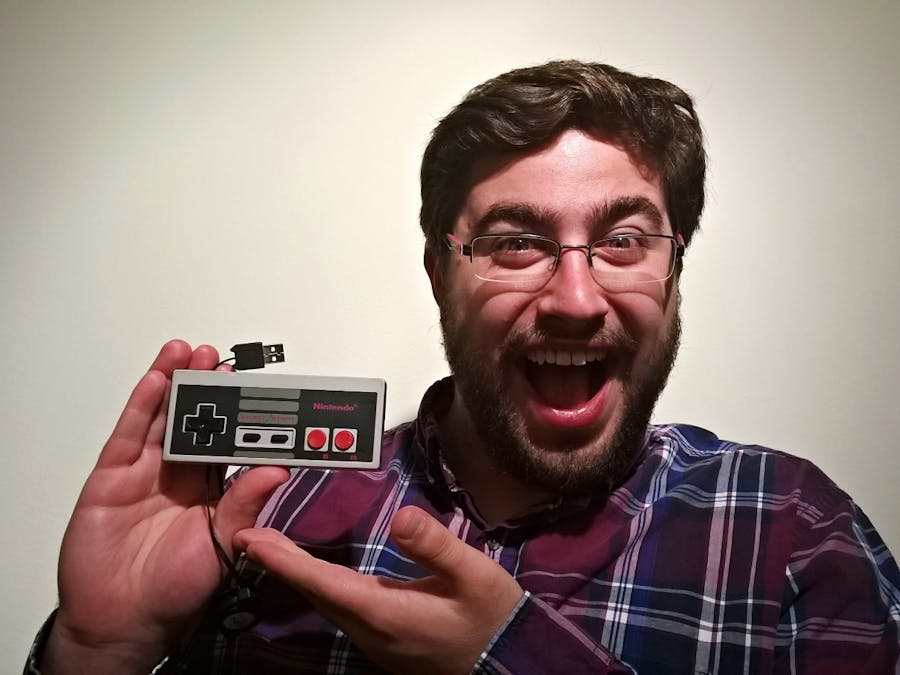
It might sound complicated, but this project was actually incredibly simple with the help of my old employer: Silicon Labs. They had a small board called the F327 Toolstick that’s perfect for these kind of projects where you need to add USB to something in a small space. I was actually able to stick the whole board into the NES controller’s casing without much effort simply by cutting a few pieces of plastic out of the inside of the controller and off the Toolstick.
The FirmwareBefore I dig into the build, I’ll briefly talk about the firmware. After all, since I’m screwing together the case it’s definitely a good idea to have the board programmed before I seal everything up.
The firmware here was pretty simple and easy to test before building the device. After all, the NES controller was only 8 buttons, so all I need is a single port of 8 pins to test the idea, then I just build the USB code around that. I could test as I went along by plugging the board into the PC and fiddling with the pins.
Since I was using the SiLabs board I had a nice shortcut on the firmware. They had plenty of sample code available so I just chose some USB sample code that was fairly minimalistic, changed it to read the inputs I was using, changed how it identified itself when enumerating with the PC and boom: NES controller. I added a little flair here by setting each controller to enumerate with my friend's name when connecting to the PC (eg: in the device manager Ameer’s controller would show up as “Ameer’s Controller”).
I won’t go into the full code here. Instead, I put the code on github and if you have questions you can just leave them in the comments below.
The BuildTo get the Toolstick ready, I just had to cut off a few components that were sticking out too far from the board. Since it used micro-USB I was able to just leave that be and plug in the USB cable and wire it back out where the original controller cable went. Even better, since the F327 has internal resistors on each port pin I didn’t need to screw around with any hardware design. All I had to do was connect one end of the button to the pin on the board and the other to NES controller PCB.
For the NES controller, the main thing I had to do was clean the damned things. The ones I supplied personally were in perfect condition of course, but some that I bought from games stores were incredibly gross. One had grape jam in it. JAM. INSIDE THE CONTROLLER. Kids these days can’t even put down the sandwich for 10 goddamned minutes to play a game.
Once the controllers were cleaned the next task was to remove the big ol’ shift register in the center of the controller. I just cut the leads to remove the register itself, then removed the leads and the solder from each of the holes. I also removed the wires from the original controller cable including the power and ground wires.
To get the case ready for the Toolstick I cut out a few plastic pieces to make room. The only annoying one was the big circular piece which I just cut at various points in the circle then broke each part off and cleaned it up to try and get it flush with the body.
Once everything was prepped I soldered wires between the Toolstick and the spot where the shift register used to be on the controller. This hooked up all of the original buttons to the Toolstick so we could maintain the feel of the original controller. I connected the retractable USB cable to the Toolstick and wired it out of where the cord used to be, closed it up and reinserted the screws and voila! The build is complete.
ConclusionAs I said, this was probably my favorite project I’ve ever worked on. It seemed to go over well with my friends and the whole project was a lot easier than I thought it would be. Eventually I’ll try my hand at a more complicated controller (and that arcade joystick I’ve been talking about making forever) but the NES controller with its 8 buttons and blocky rectangular design was a good starting point. If you want to build one yourself the only tools you really need are a soldering iron and a solder sucker.


Comments
Please log in or sign up to comment.