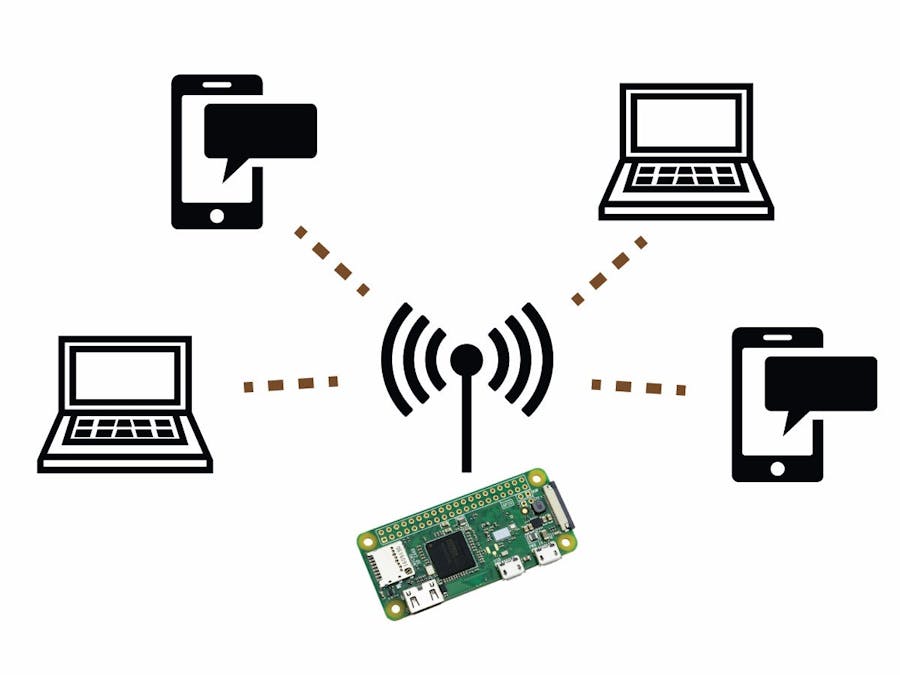
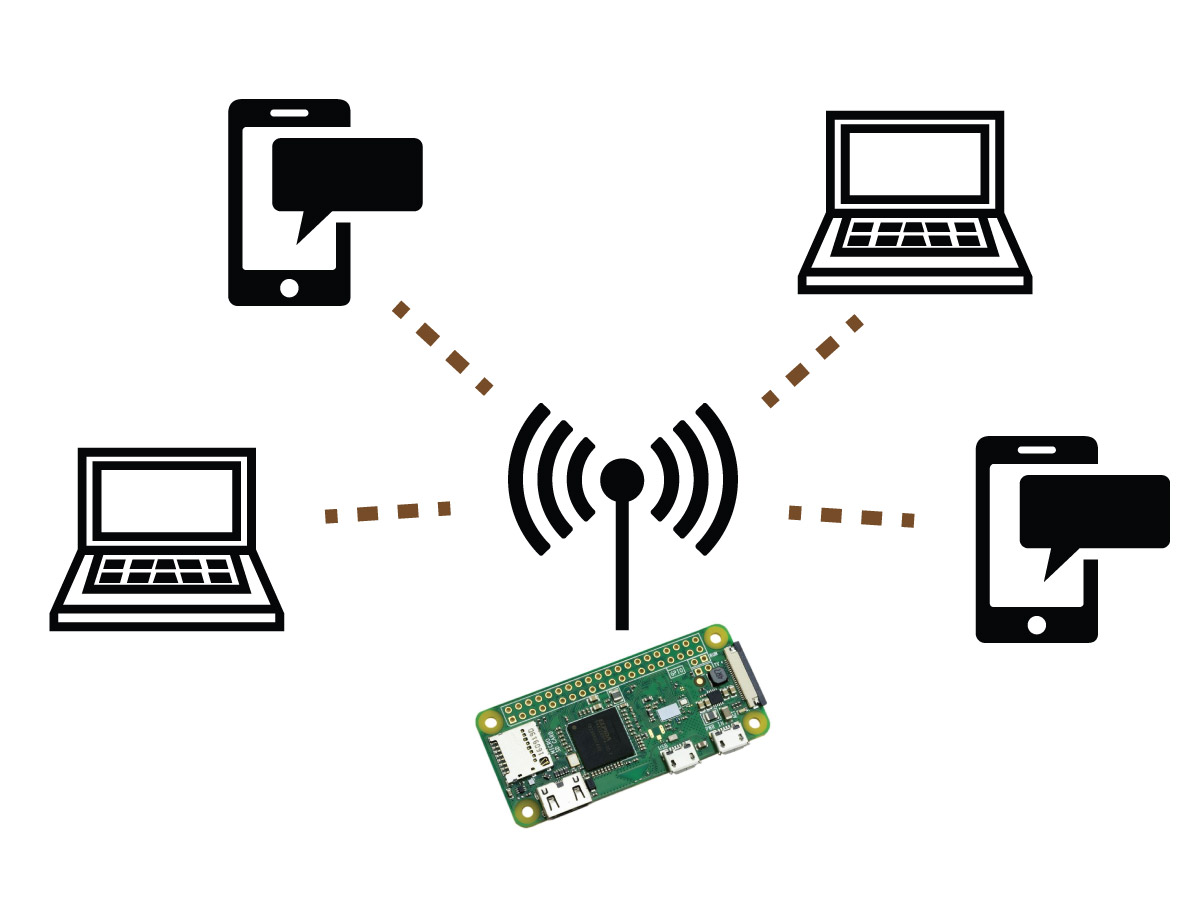
Raspberry Pi Zero WAN (PiWANOVA) would act as a solution to connect people In remote places, void of existing WiFi networks while delivering some important information that is relevant to the geographical location of the access point (news, weather reports) to the users.
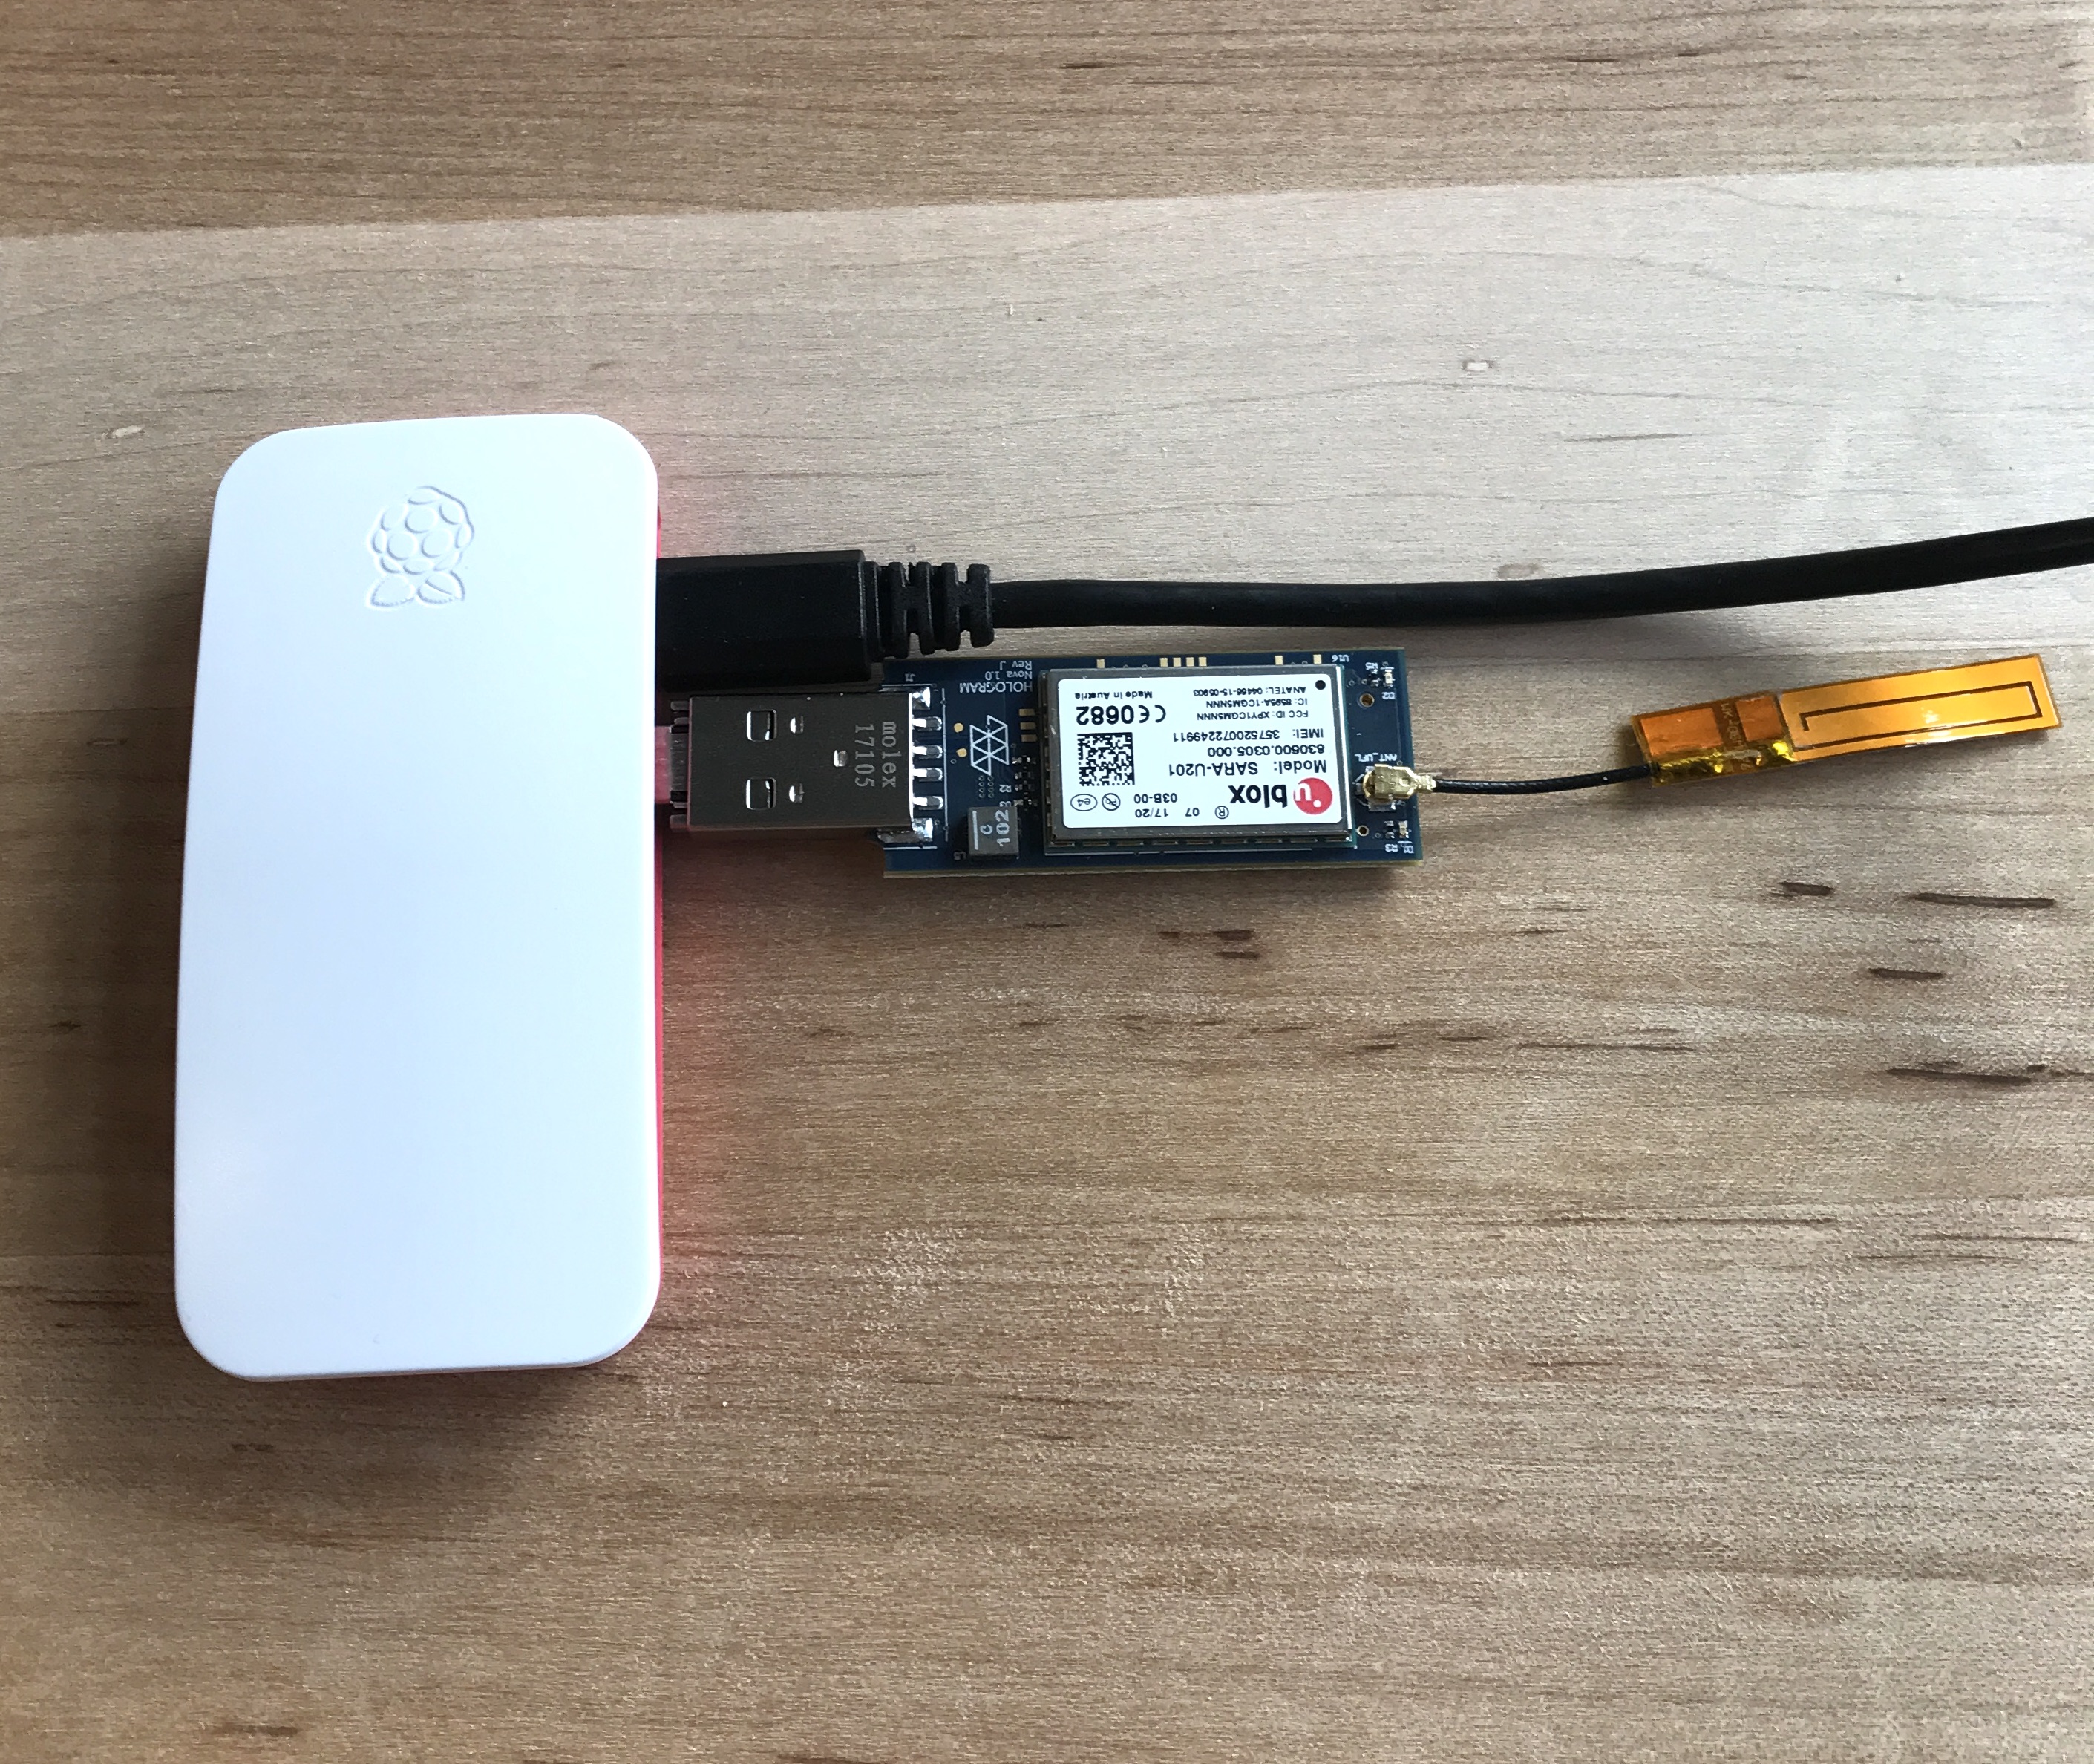
Raspberry Pi Zero WAN consists of:
- Raspberry Pi Zero acting as a WiFi access point
- Hologram Nova device acting as a communications service provider
The Pi Zero WAN could be used by any WiFi capable device for low bandwidth message exchange (local forum / guestbook) that runs on the Pi itself and also is capable of providing some basic internet access for sending SMS messages to the outside world.
Here's an example scenario of Pi Zero WAN usage:
A hiker is going up a mountain. She sees a sign that says "Check WiFi here". She connects to the only available WiFi access point via her phone and her browser immediately pops up with a list of links / services available at this WiFi station. She can see a map of all trails that are available to her, list of nearby camping spots and clean water sources. She can leave a message for other hikers that will connect to this WiFi access point any time later. She can send a text to her friends, saying : "Hey, I'm in the middle of nowhere and even though my phone is not working here, I'm able to text you through PiWANOVA!".
I hope you get the idea!
Here are some of the things possible with PiWANOVA:
- See weather reports, maps and forecasts for geographical area where the user is located
- Share messages between groups of people
- Leave messages on a local guestbook
- See hashtags that are used for this location and later post pictures on social media using these hashtags
In this tutorial I will focus on setting up the Raspberry Pi with a server application, WiFi access point, Nova modem and will show you how you can update a dashboard on this WAN remotely through Hologram Cloud Dashboard (or later through your own server/data store). Let's get a bird eye's view of the system and take a look at its components!
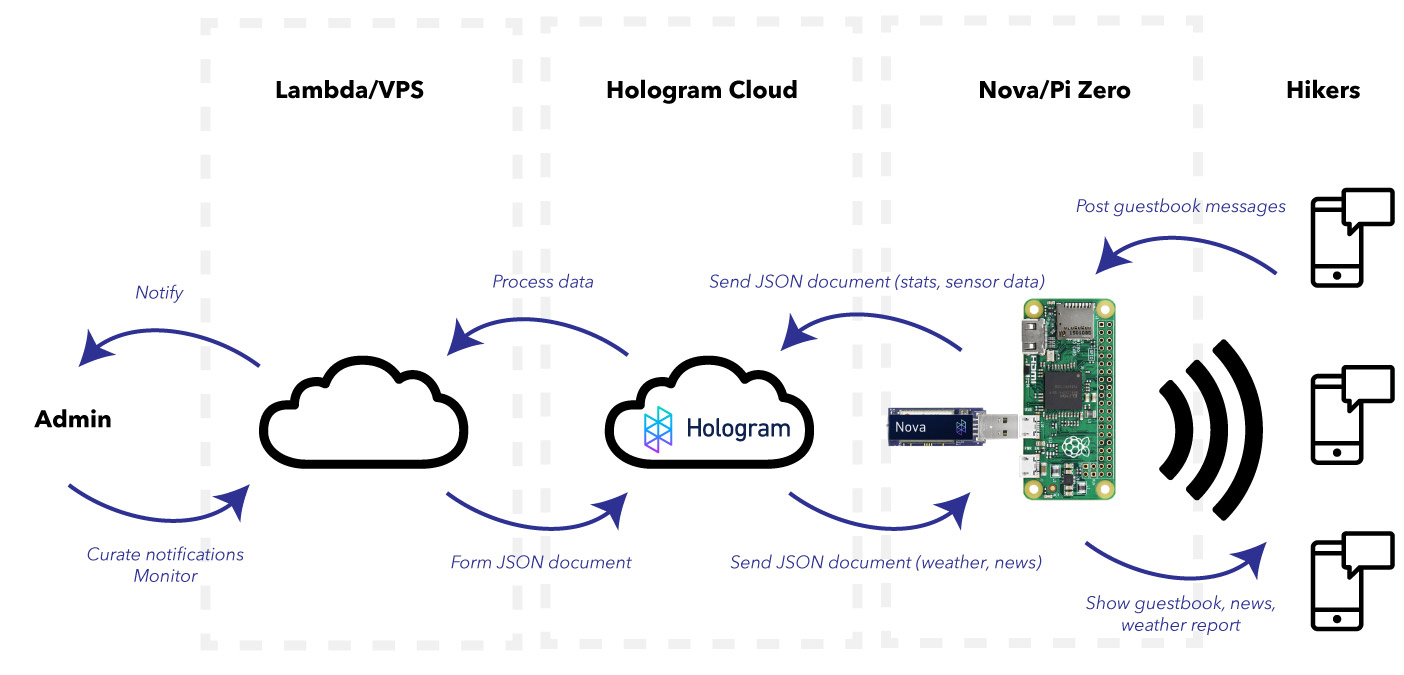
2.0 System OverviewA complete PiWANOVA system would consist of:
- Admin panel that allows viewing data about system functionality and curating new content
- VPS or Lambda server that can post data to Hologram Cloud
- Hologram Cloud that can communicate to Cellular nodes
- Nova + Pi Zero (or Pi 3) node(s) running local server software and acting as access point(s)
- Mobile devices that can connect to the PiWANOVA network to see latest news, forecasts, maps and opinions of others (guestbook).
In order to finish this tutorial and to have a project starter, I focused on integrating Hologram Cloud with Nova + Pi, and left the rest (administrative aspects of the system, the way how the info gets to the Hologram Cloud from the admin) up to you.
3.0 Preliminary SetupThis project is meant for people with some fluency with programming and the command line and involves following a few tutorials to build a functional prototype of the system.
Because there are a lot of moving parts in this system, feel free to contact me in the comments if something is not clear.
Because the goal of the project is to have a local network that people can connect to and leave messages, look at some dashboard curated by some admin, the following components would need to be set up and present on the Raspberry Pi:
- OS (Raspbian Stretch or Raspbian Stretch Lite would do)
- Some server software (Server application + always running Python script)
- Hologram Nova software + Nova hardware
- Cron jobs and error recovery methods
- WiFI access point
Let's go over each of these steps briefly, and then I'll dive into more details about the code.
OS
Install latest version of Raspbian Stretch (Lite or full), following the existing Nova tutorial instructions, under "Configure Raspbian": https://www.hackster.io/hologram/raspberry-pi-cellular-gateway-1acd6a
Server Software
The main server-side application running on the Pi could be written in almost any language of choice. For the purpose of this project, I chose something that I am familiar with: Laravel PHP Framework. It features a great way to work with databases, building APIs while writing very small amount of code.
For the main application I focused on creating a simple guestbook and luckily somebody else wrote a fairly recent tutorial on using Laravel for that purpose so I could use that as a base for this project and get an application up and running.
As a bonus (take it as your homework), you could also run real time communication applications like chats, drawing boards (for virtual tagging “Kat wazzz hier"), by using Socket IO. In fact, the resulting client side applications could be integrated into the main Laravel app to add real-time features.
The software stack for this guestbook application consists of a database (MariaDB in this case) and PHP with Composer package management system installed. Here's a quick diagram illustrating how the software will interact with each other:
I followed this tutorial that had outlined a perfect setup and specified each command that you would need to run to install Laravel framework on Raspberry Pi: https://medium.com/@roniemeque/using-raspberry-pi-for-laravel-developing-30dabcdeba43
Keep in mind, the user and password should be much more secure than what you see in those instructions - the security aspect of this application would be up to you to research.
I created my Laravel application at this path:
/home/pi/INTERNAL/projects/PiWANOVA
When you get PHP with MariaDB, Composer and Laravel installed, let's move on to the Hologram stack.
Hologram Nova Software
Hologram provides a great intro and installation instructions for the Nova modems here: https://hologram.io/docs/guide/nova/developer-tools/
I wrote a short Python script that uses the Hologram Python SDK to listen to messages from the Hologram Cloud and to pass those messages to my server side application. You can see the code for that script at the end of this post in the file titled "receive-data.py".
You'd need to create folders along this path:
/home/pi/INTERNAL/projects/PiWANOVA/storage/json/
for the script to be able to write "dashboard.json" file that will be later picked up by the Guestbook application.
This Python script needs to be running at all times in order to listen for new updates from the Hologram Cloud.
Cron jobs and error recovery methods
By default, the Pi does not know what software you want to run on boot (other than launch OS). You would want to create some scripts that notify you of connection status, signal strength, software update state, etc, and run those scripts regularly. Cron jobs would be a good way to do that!
I omitted these scripts for now because I am pressed for time but you can find that information elsewhere in order to launch the PHP server and the Python script on every boot.
In case somebody breaks this system (overloads the CPU or memory, for example), you would want the system to be able to recover to initial state. That functionality is also not covered in this project.
WiFI access point
In order for this system to operate in the field, you'd need to set up the Raspberry Pi to function as an access point. You can do that by following the "Configure Pi as Access Point" section of the same document I linked to before. This access point would have to have no password on it and be publicly available. Of course that brings the need to set strong passwords for root user, set up firewalls, disable certain routing features, disable SSH and so on. The security configurations alone would take a lot of research which I leave out of this project for now.
4.0 Summon the Application CodeFor the PHP server application, I developed a simple Guestbook with a basic dashboard that is updated by sending JSON messages via Hologram Dashboard.
Here's what the homepage and user input of the Guestbook application looks like:
You can download the full source code from my Github Repo, copy it to your Raspberry Pi and run the installation commands specified in the repo: https://github.com/msurguy/PiWANOVA
I'll go over what I did to set this up and provide as much detail as I can, without being redundant.
When I had PHP and MariaDB running on my Pi, I started with the following tutorial from Scotch.io to get my application to a place where I could develop further:
https://scotch.io/tutorials/build-a-guestbook-with-laravel-and-vuejs
After I completed the tutorial, I had most things in my application working. I had to create an empty MySQL database before running Laravel's "migrations" and put the database connection info in the ".env" file that you can see in the root of the application.
I then implemented a method of reading a JSON file (that is updated by the Python script that uses Hologram Nova modem) and using that JSON file to display information on the application dashboard. Here's the PHP file that I had to modify in order to do that ("app/Http/Controllers/SignaturesController.php"):
<?php
namespace App\Http\Controllers;
class SignaturesController extends Controller
{
   /**
    * Display the GuestBook homepage.
    *
    * @return \Illuminate\Contracts\View\Factory|\Illuminate\View\View
    */
   public function index()
   {
       $path = storage_path() . "/json/dashboard.json";
       $dashboardData = json_decode(file_get_contents($path), true);
       return view('signatures.index')->with('dashboard', $dashboardData);
   }
   /**
    * Display the GuestBook form page.
    *
    * @return \Illuminate\Contracts\View\Factory|\Illuminate\View\View
    */
   public function create()
   {
       return view('signatures.sign');
   }
}
This was enough to read the data from JSON file and to pass it to the homepage view template in which it is then used ('resources/views/signatures/index.blade.php'):
@isset($dashboard['news'])
<div class="row">
 <div class="col-md-12">
   <div class="alert alert-warning">
     News: {{$dashboard['news']}}
   </div>
 </div>
</div>
@endisset
The same way, I display the other data about current temperature, forecast for the next few days, etc.
After running the migrations (Laravel's way of specifying database structure), I had the following database structure running on the Pi:
Then, in order to run the application, I had to use this command (which probably could be used as cron job):
php artisan serve --port=8081 --host=192.168.42.1
Then, when I open this URL (192.168.42.1:8081) from a browser on a device connected to my Pi, I would see the home page of my guestbook application and be able to leave a new guestbook entry. Neat!
During the whole development process I was developing the application on Raspberry Pi 3. It turns out when you try to run the same SD card on Pi Zero, Node and NPM just doesn't work because Pi Zero uses a different processor. So you would have to re-install Node and NPM on the Pi Zero if you end up using the Zero. You can check this repository for NodeJS installation on Raspberry Pi Zero:
https://github.com/sdesalas/node-pi-zero
Now, the server application should be working and we can move on to using cellular network to update our dashboard remotely!
5.0 Beam the Hologram!When I started this project, I was not sure what is the best way to update the data on my Pi remotely via Hologram services. As far as I know, there are at least two ways to do this:
- Keep the Pi connected to the cellular network via Nova at all times
- Connect to the network via Nova only a few times an hour by running a cron job or Python script that runs in an infinite loop with delays
If you had your own server (or AWS Lambda) online that provides an API data to your PiWANOVA, you could run a cron job on the Pi that would connect to the Hologram Network, make an API call to that server to get the data, disconnect from the network and then connect again after n-minutes.
I decided to go with a serverless method and to use Hologram Dashboard to send messages instead. I wrote a simple script that is always running, but connects to the cellular network every minute or so, to listen for the new updates. I am not sure if Hologram keeps a queue of messages and delivers them when the device is actually connected to the network; you'd have to test that to be sure.
When the "receive-data.py" script is running through "sudo python receive-data.py" command, you should be able to send data from the Hologram Dashboard directly, which would update the "dashboard.json" file in the Laravel application. Copy the contents of "dashboard.json" file that is in the attachments of this tutorial and paste it into the "Data" field as shown below:
You should see the file in
/home/pi/INTERNAL/PiWANOVA/storage/json/dashboard.json
update within a few seconds of pressing "Send Data Message" button!
The next time a user access the Guestbook on this PiWANOVA, they will see an updated message on top of the page. You can use this concept to update maps, news, messages, etc remotely. Congratulations, you can now remotely update what users connected to this WiFi network will see on the website!
6.0 Future ImprovementsWith all the steps outlined in this tutorial, you should have a starting point for a Pi Zero WAN on which the information could be updated through Hologram APIs. Of course to make it a deployable solution, you could make the following improvements:
- Think about security considerations in order to prevent abuse of the system (disable SSH, set up firewall, make sure nobody can compromise the cellular connection, etc)
- Set up monitoring of the system (heartbeat, stats, analytics)
- Update the dashboard info only a few times a day to save on bandwidth and energy
- Build a Chat using SocketIO to allow people to talk to each other in real time
- Build a Drawing board using SocketIO to allow people to express themselves in the virtual world
- Show Instagram feed with hashtags from the location where the system is deployed
Whew, this is quite a big project when you are actually building it, and there is a lot of fun to be had learning new things!
Enjoy!


Comments
Please log in or sign up to comment.