

Hardware components | ||||||
_ztBMuBhMHo.jpg?auto=compress%2Cformat&w=48&h=48&fit=fill&bg=ffffff) |
| × | 1 | |||
 |
| × | 1 | |||
Software apps and online services | ||||||
 |
| |||||
Step 1: Gather your parts!
The RoboArm was designed with economy in mind. It is understood that laser cutters aren't the most common tools but there are more of them out there now than ever! First you'll need a set of parts. Grab the dxf and use a cnc mill or laser cutter.
Next you'll need all of the screws and nuts. We use M3 (metric 3mm) standard parts. The number of these to build the latest version is:
Nut x 10
6mm x 9
8mm x 12
10mm x 3
12mm x 7
20mm x 4
Washers x 0 (we removed these as nobody ever used them!!)
You could no doubt find imperial sized counterparts, as a nation you managed to get a man to the moon with foot pounds per square inch so I'll leave the conversions in your capable hands (in case of residents of Liberia or Myamar ignore the bit about the moon).
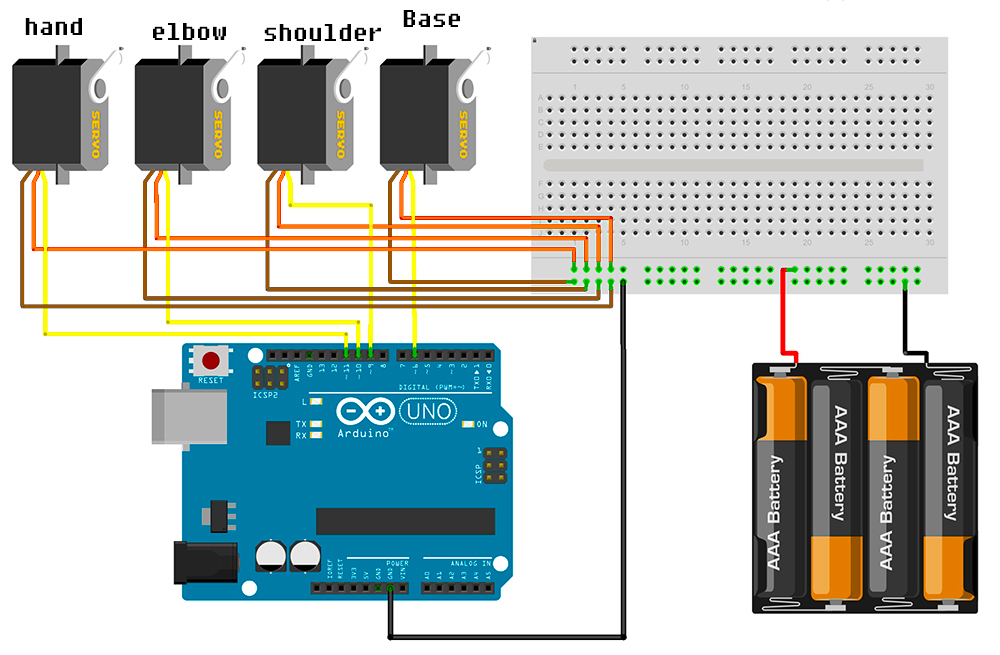
You'll also need 4 hobby servos. We tend to use the 9g resin gear ones. The metal gear ones with the same footprint are better but they're more expensive.
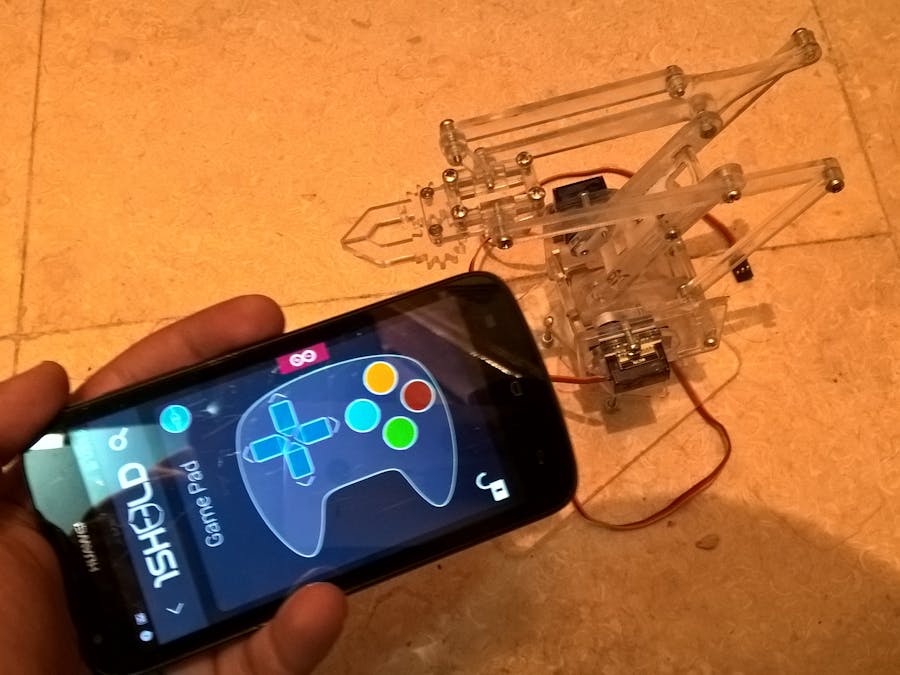
Adruino With 1sheeld
5. And lastly connect USB to laptop!
Software
1. Download and install arduino IDE:
https://www.arduino.cc/en/Main/Software
Installation instructions:
https://www.arduino.cc/en/Guide/HomePage
2. Download and install 1Sheeld library: http://1sheeld.com/downloads/
*note: follow guide for library installation in arduino tutorial linked above
3. Launch the arduino IDE and check the connection to uno board is established.
4. Paste Arm Code in the IDE.
5. Upload code to board by clicking arrow button.
don't forget to switch the 1sheeld to switch mode (unplugged wire icon) before uploading code
6. Switch the 1sheeld back to UART mode.
7. Download and install 1sheeld app to your smart device:


Comments