Originally posted in https://diyusthad.com/2020/05/wifi-controlled-relays-esp32-android.html
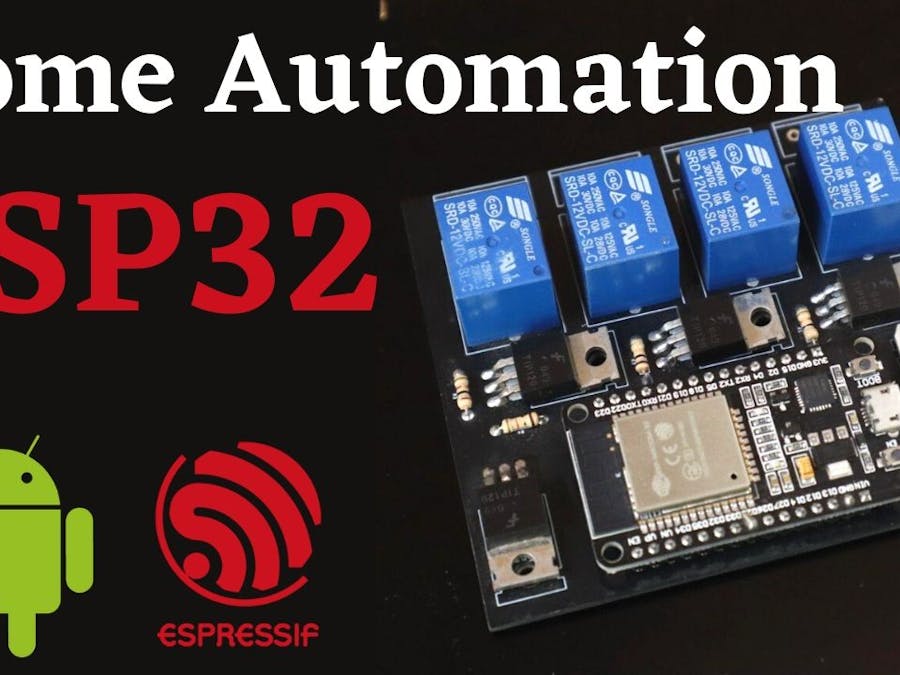
In this project, we are going to do a Home Automation setup using ESP32 Web server and controlling it through an Android application.
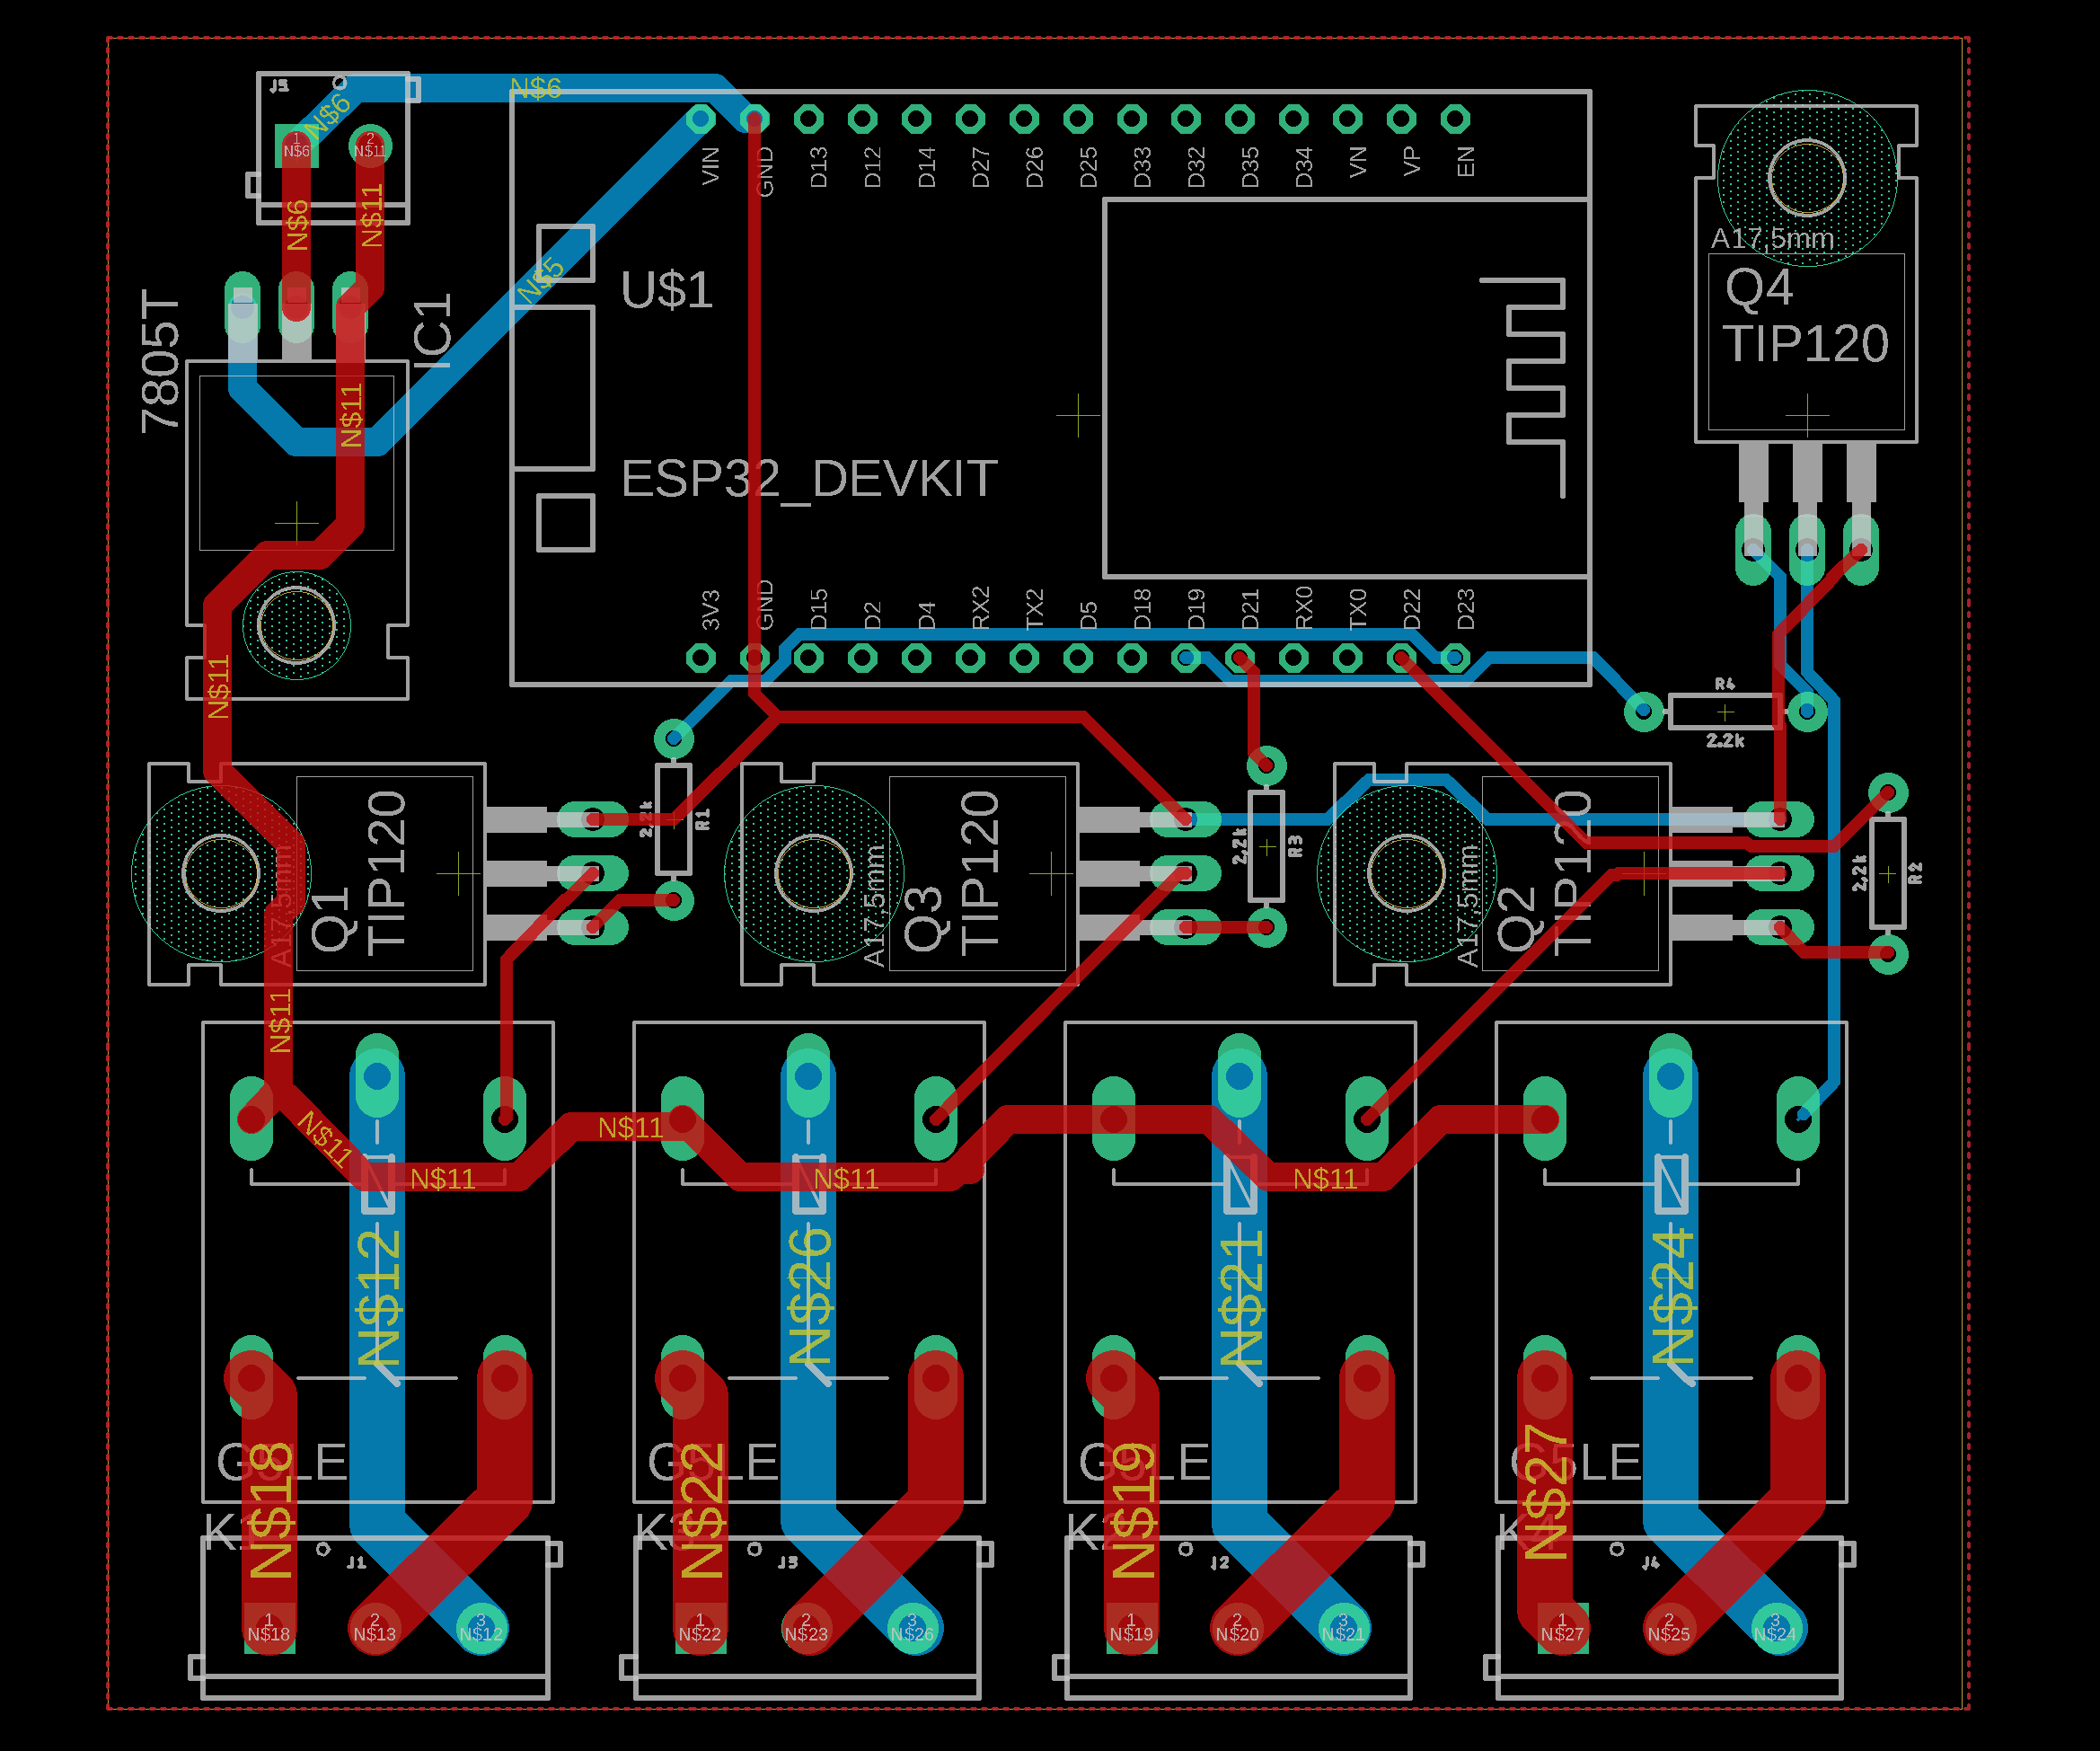
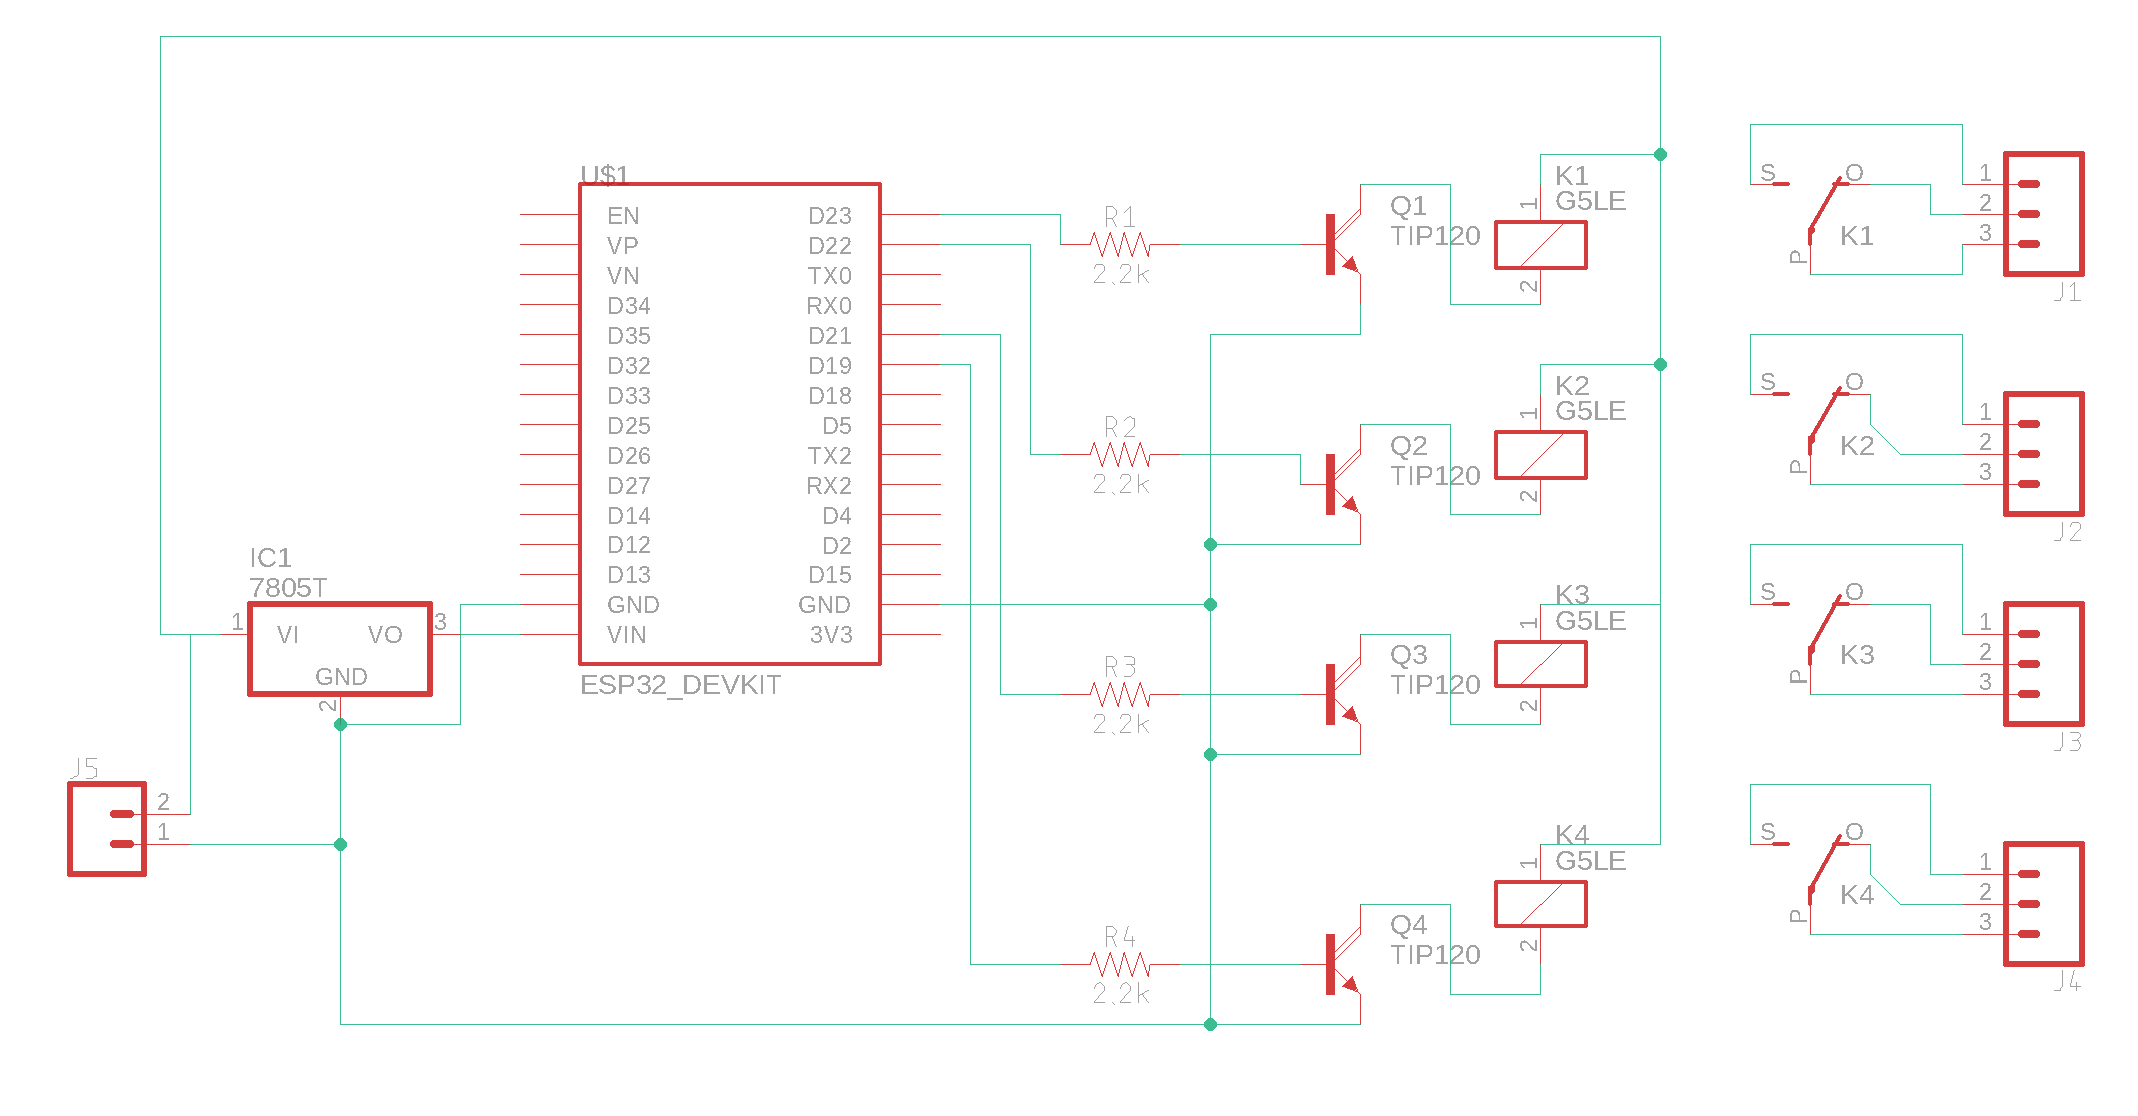
Check the video below to see it in action.Let's prototype this project on a PCB.
PCB Arrived !!!So we have completed the soldering
Click the Install button to install the HTTP Request Shortcuts app on your android phone.
Short note on this application
Place shortcuts (widgets) on your home screen to submit HTTP requests to all your favorite RESTful APIs, web services, and other URL resources. Great for home automation & IoT projects!
This app is open-source, find it on Github: https://github.com/Waboodoo/HTTP-Shortcuts. It’s also completely free and contains no ads, because who wants those anyway.
Configuring- After installation, open the application.
- Click on the + button in the bottom right corner.
- Then select Regular Shortcuts from the create new shortcut menu.
- Now write the Shortcut Name & Description.
- You can also change the icon by clicking on the icon at the top.
- Now click on the Basic Request Settings.
- From the Basic Request Settings choose,
- GET as the method.
- Type the webserver URL for turn ON/OFF the Relay as shown.
- Now click the back arrow.
- After entering all the details the final page will look like this.
- Now press the Tick button to save.
- Now we have successfully added Button for one relay.
- Like the same add buttons for all the relays.
- For adding shortcut in home screen, press and hold any button and select add to home screen button.
Tags: Home Automation, HTTP Request, Web server


Comments
Please log in or sign up to comment.