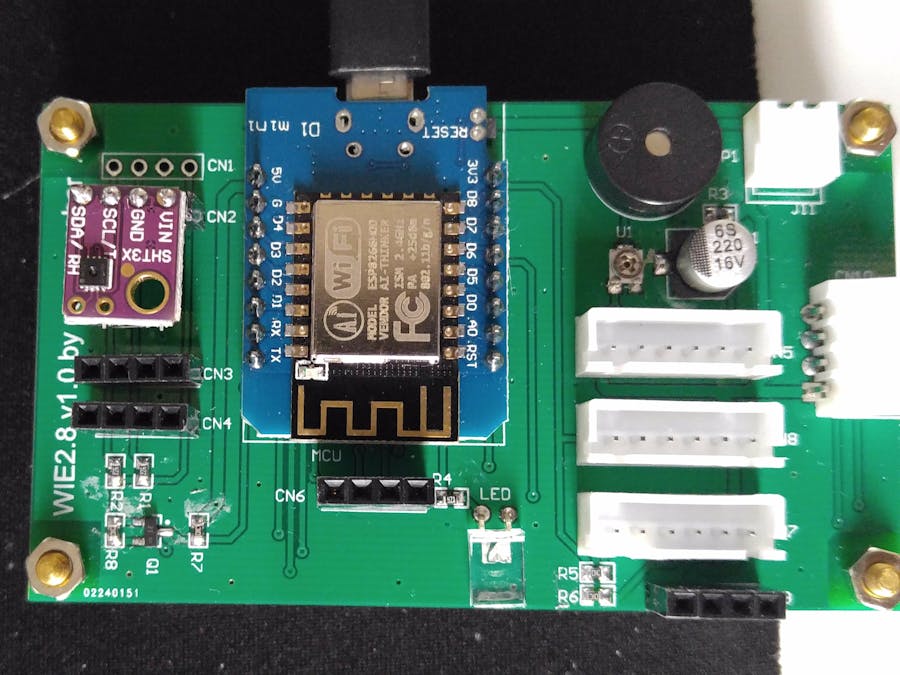
Connect up the SHT31 temperature and humidity sensor to the back of the Wireless HMI on one of the I2C ports.
Video demonstration here: https://youtu.be/qx-aFB3-7SA.
- Using the Nextion Editor, create a new project.
- Select the model and display orientation.
- Generate your fonts. Go to Tools -> Font Generator.
- First, generate a large font 48.
- Then Generate a smaller font 24.
- Add a background image of your choice, make sure it’s scaled to 320 x 240.
- Add Text boxes for displaying temperature and humidity. Call them “tempt” and “humt” respectively. Set them to right align.
- Add 2 more static texts for “%” and “c”. Use the smaller font and left align.
- Compile and Save the compiled TFT into sdcard. The location of the compiled TFT file is in File -> Open Build folder.
Add “http://arduino.esp8266.com/stable/package_esp8266com_index.json” into the Arduino Additional Boards Manager URLs in File -> Preference.
Install esp8266 boards in Arduino under Tools -> Board -> Boards Manager.
- Download SFE_BMP180 library as zip from https://github.com/LowPowerLab/SFE_BMP180.
- Choose Sketch-> Include Library -> Add .zip library and add the zip file just installed.
- Add other required libraries as below in Arduino. Sketch -> Include Library -> Managed Libraries.
Adafruit SHT31 Library
NeoNextion
WifiManager
GitHub: https://github.com/nanomesher/WeatherStationServer
The code is pretty self explanatory. Some point of interest here:
In the loop(), it constantly reads the temperature and humidity, format and converts to string and display on the Nextion display.
void loop() {
 server.handleClient();
 t = sht31.readTemperature();
 h = sht31.readHumidity();
 dtostrf(t,1,1,temp);
 localSetText(0,2,"tempt",temp);
 dtostrf(h,1,1,hum);
 localSetText(0,3,"humt",hum);
}
Below is code to set a text on the Nextion board.
void localSetText(int page, int componentid, char* componentname, char* displayText){
 NextionText text(nex, page, componentid, componentname);
 text.setText(displayText);
}


Comments
Please log in or sign up to comment.