Adding LEDs to an Industrial Piercing
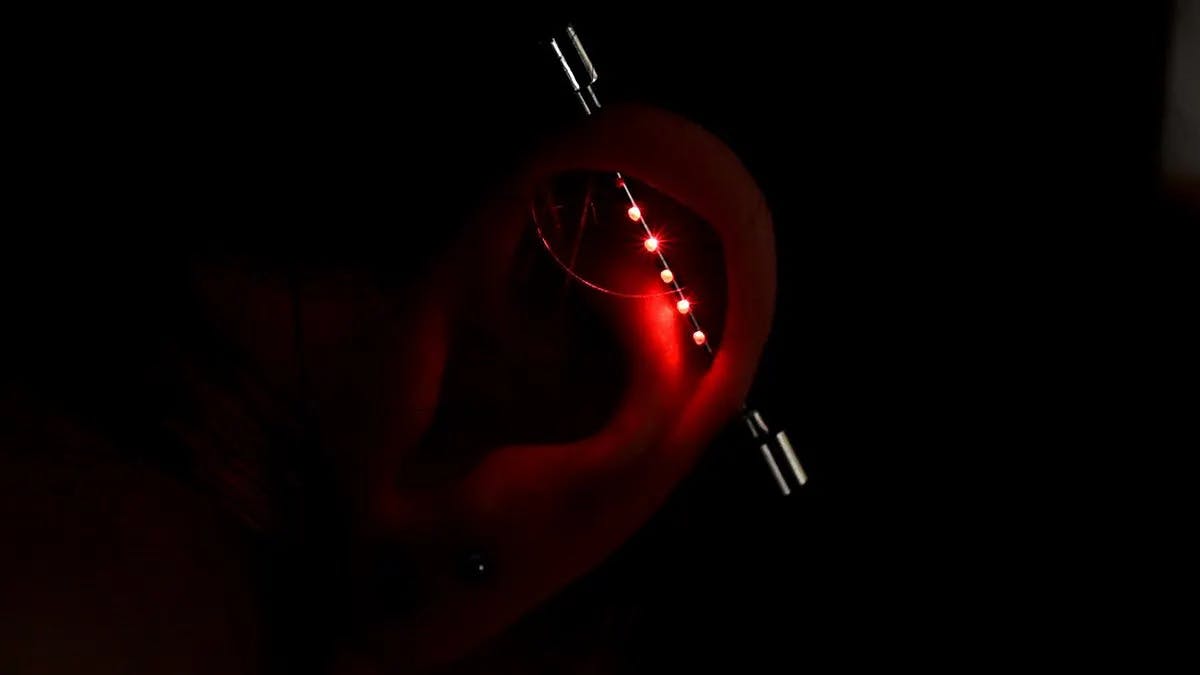
Tim Alex Jacobs of Mitxela used LEDs to make the coolest industrial piercing jewelry we’ve ever seen.

If you wanted to look edgy and cool in the early naughts, then you really couldn’t go wrong with an industrial piercing. If you aren’t familiar, an industrial is a type of barbell jewelry that extends across two holes pierced through the cartilage of the upper ear. 20 years ago, that was still a unique concept to show the world that you didn’t conform to conventional fashion. But nobody will give a second glance to an industrial today. To reintroduce some unique flair, Tim Alex Jacobs added some blinky LEDs to a piece of industrial jewelry for a friend.

Piercing needles comes in all sorts of sizes and it is possible to stretch piercings over time to massive diameters, but industrials tend to be narrow and stretching cartilage is difficult. In this case, Jacobs' friend wears 16 gauge jewelry and that is just 1.2mm. To light up the jewelry, Jacobs had to fit LEDs into that very narrow space. He also had to find a place for a battery and a microchip to control the LEDs.

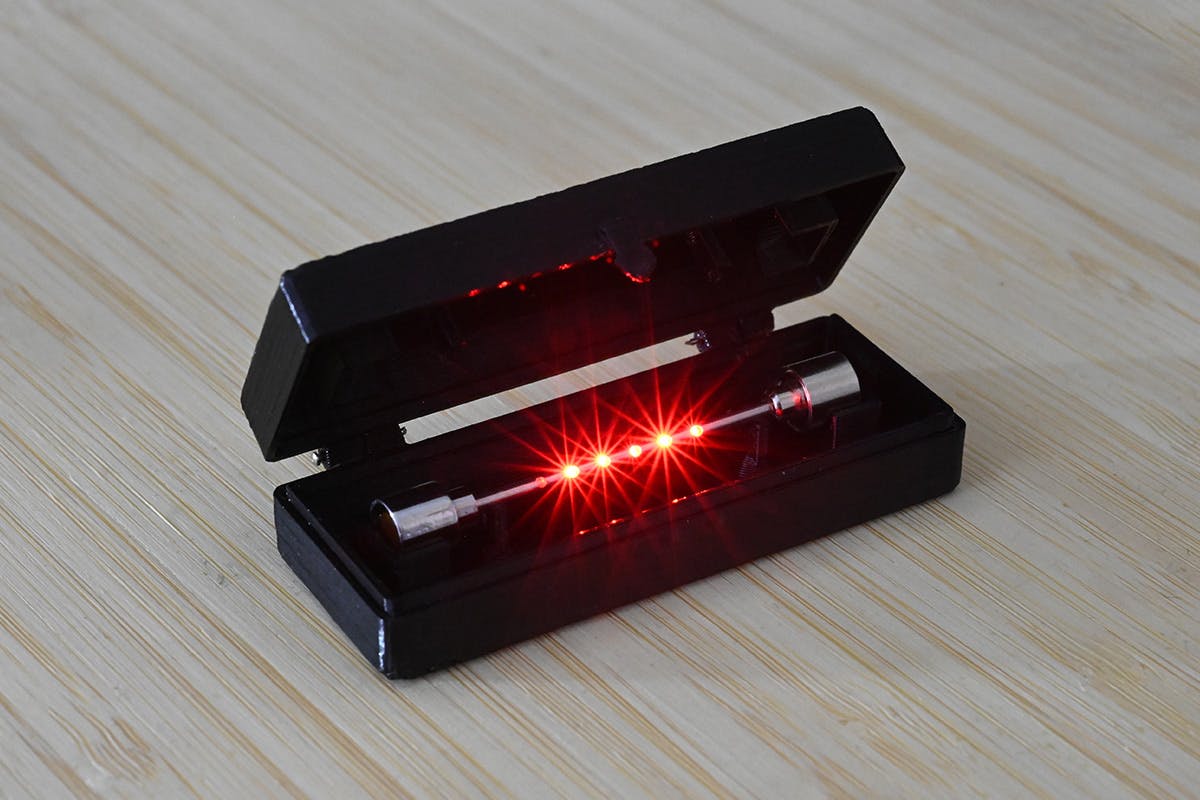
In order to simplify the fabrication, Jacobs started with a 16 gauge hollow piercing needle. He then cut off the tip and grip, leaving just a hollow cylinder of the proper diameter and length. Several holes drilled perpendicular to the needle’s axis act as windows for the LEDs. From there, Jacobs turned a pair of end caps on a lathe. Those press-fit onto the needle to hold the jewelry in the ear and are hollow with an interior diameter large enough to contain all of the electronic components except the LEDs themselves.
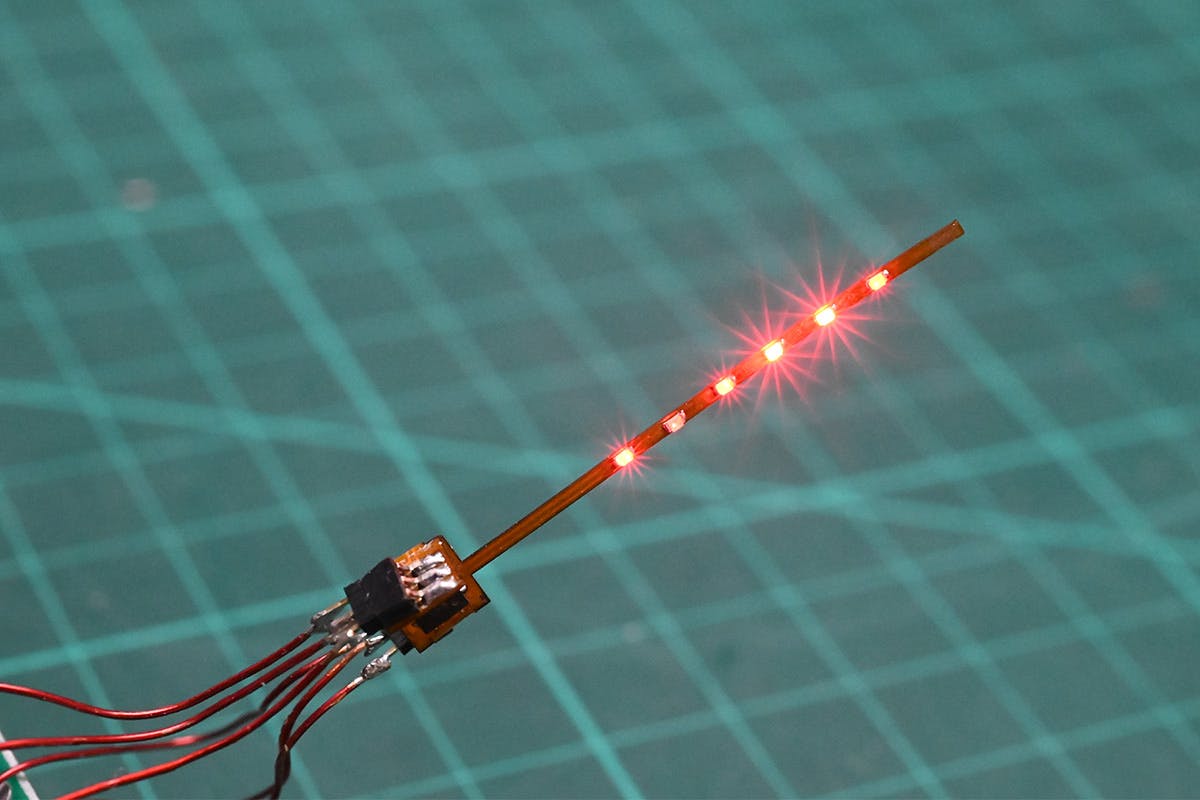
The LEDs are very small (0402) and solder onto a custom flexible PCB narrow enough to run through the length of the needle shaft. That PCB flares out at one end into a T shape, providing space to solder an itty bitty Microchip ATtiny44 microcontroller and a programming header. The PCB is flexible enough for the arms of the T to fold up, so he can fit inside the end cap. A small button battery goes inside the other end cap. The metal of the jewelry is the positive side of the circuit and the negative side goes through the PCB to a wire that contacts the battery. Finally, a bit of epoxy sealed the LED windows to keep the shaft smooth.
Different effects are possible, but Jacobs programmed the LEDs to pulsate at unique frequencies. That avoids repeating patterns to maintain visual interest.
Sadly, one of the LEDs died before Jacobs could present the jewelry to his friend. But even so, this industrial looks fantastic and he may rebuild it in the future to add RGB LEDs. Read more about the project on the Mitxela blog.
Writer for Hackster News. Proud husband and dog dad. Maker and serial hobbyist. Check out my YouTube channel: Serial Hobbyism


