Ayush Pande Provides Guidance on Turning a Raspberry Pi 5 Into a Proxmox Virtual Environment Host
With a maximum of 8GB of RAM, you're not going to be running too many VMs — but Proxmox on a Raspberry Pi can be educational, at least.

Ayush Pande has written a guide to building a basic Proxmox Virtual Environment home lab server on a tight budget — by hosting it on a Raspberry Pi 5 single-board computer (SBC), rather than the more traditional workstation or server hardware.
"Installing Proxmox on your old PC is a great way to build a home lab without shelling out money on new hardware. If you're short on cash, used server rigs and budget-friendly mini-PCs make for solid home lab systems," Pande writes. "But what about running on a cheap ARM system – like the Raspberry Pi? If you're willing to spend some extra time setting everything up, it’s possible to get Proxmox up and running on these credit card-sized boards."

First released in 2008, Proxmox Virtual Environment — typically referred to simply as Proxmox — is a powerful open-source virtualization platform for managing virtual machines and containers. With high-availability and clustering capabilities, Proxmox has become a popular way for users to spin up multiple virtual dedicated servers on as few as one physical server — but, Pande argues, there's plenty of educational potential for the Proxmox newcomer in installing the platform on the low-cost Raspberry Pi 5 single-board computer.
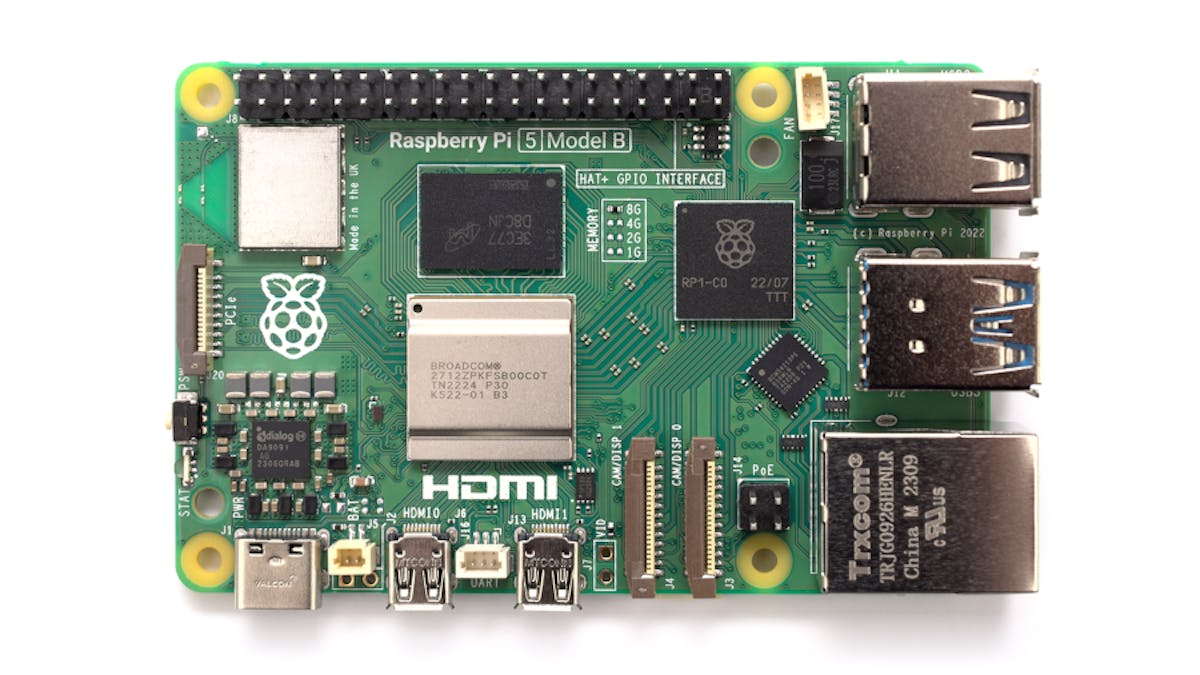
Launched in September last year, the Raspberry Pi 5 is the most powerful entry in the popular single-board computer family yet — offering four 2.4GHz Arm Cortex-A76 cores, a Broadcom Videocore-VII graphics processor, and up to 8GB of LPPDR4x RAM, delivering between a doubling and an order-of-magnitude performance gain over its predecessor the Raspberry Pi 4 Model B depending on workload. While that puts it still somewhere short of the typical Proxmox hardware target — an x86 workstation or server loaded with as much RAM as will fit — it's enough to get things up and running with one or two virtual machines, as a learning experience.
Pande's guide walks through setting the Raspberry Pi 5 up for Universal Extensible Firmware Interface (UEFI) boot, loading Proxmox from a USB drive, and fixing a default configuration issue which leaves virtual machines' consoles inaccessible. "Besides performance issues," Pande notes, "you'll also run into issues if you try to initialize non-ARM containers or virtual machines inside the server. So, I wouldn't recommend buying a Raspberry Pi if building a powerful home lab is your primary intent. But if you’ve got one of the newer [Raspberry Pi] boards lying around, you can use it to familiarize yourself with the Proxmox UI [User Interface]."
The full guide is available on XDA Developers, including links for the prerequisite downloads.
Freelance journalist, technical author, hacker, tinkerer, erstwhile sysadmin. For hire: freelance@halfacree.co.uk.