Get a Perfect Sear with This DIY Grill Thermometer Dashboard
Are you frustrated by the limited range of BLE grill thermometers? John Park designed a device you can build to solve that problem.

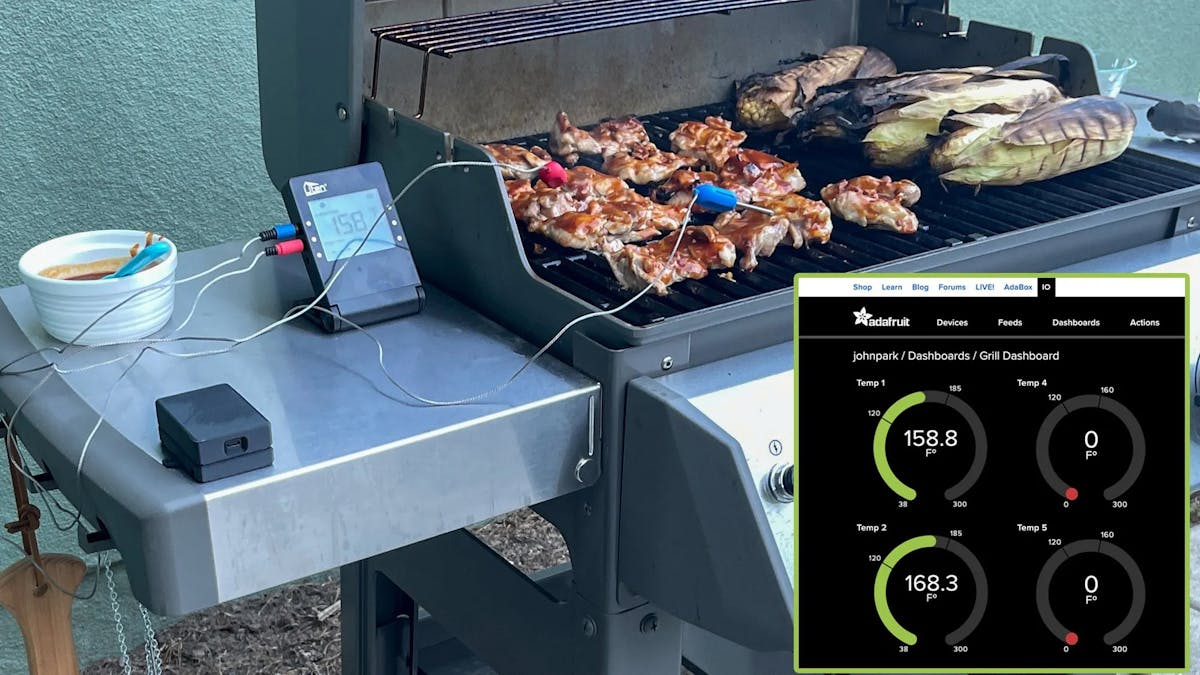
It is the perfect time of year to fire up the ol’ Weber, but grilling is a fine art and it takes a great deal of experience to cook everything properly. Thermometers can help a lot, as they eliminate most of the guess work. And today there are a lot of affordable Wi-Fi and Bluetooth-equipped thermometers on the market that increase convenience. If you want to make the most of those, John Park has a fantastic tutorial that will walk you through connecting a Bluetooth Low Energy BBQ thermometer to an Adafruit IO dashboard for remote monitoring.
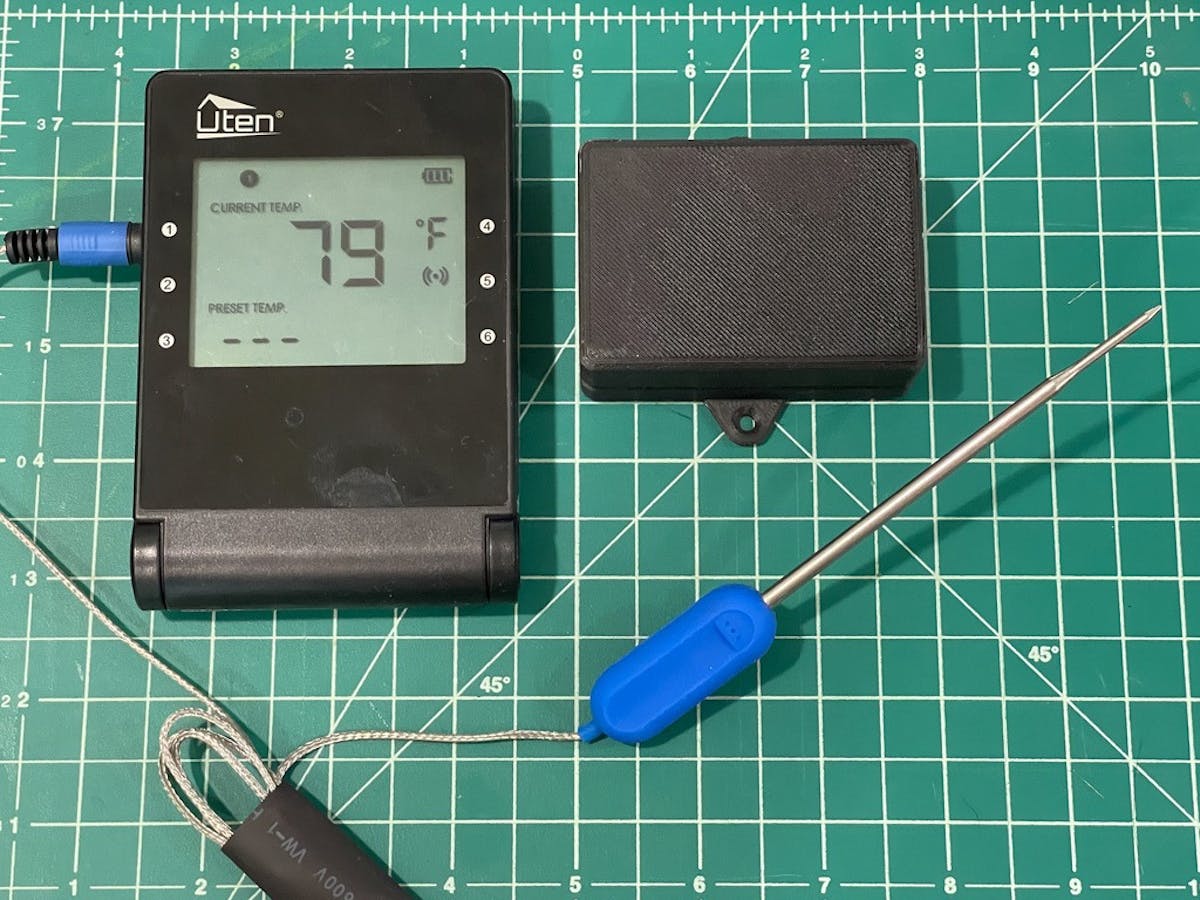
Park’s device works with grill thermometers that communicate using the iBBQ BLE service. Popular thermometer brands that use that service include InkBird and EasyBBQ. They’re designed to connect to the user’s smartphone and show temperature data from multiple probes in a handy app. But there is a problem: BLE has a pretty limited range. If you stray too far, the connection will drop and you won’t be able to check on the status of that pork shoulder you’re smoking. Park’s device solves this problem by receiving data from the thermometer via BLE, then passing that data to an Adafruit IO dashboard through Wi-Fi. You, the grill master, can then view that dashboard on a computer or smartphone located wherever is most convenient.

The key to that capability is an Adafruit ESP32-S3 Feather development board, which has both BLE and Wi-Fi adapters. An external Wi-Fi antenna helps to extend the range and a 1200mAh lithium battery should provide power long enough for even the lowest and slowest smokes. Those components fit inside a 3D-printed enclosure that the user can place anywhere within BLE range of the thermometer unit.
The CircuitPython code connects to the iBBQ BLE service to collect data, and also to Wi-Fi to send data to Adafruit IO using MQTT messages. Users can host their own MQTT broker locally or take advantage of the Adafruit IO MQTT broker. From there, displaying temperature data is as simple as adding feeds for each probe and then creating an Adafruit IO dashboard with gauges.
Because this uses Adafruit IO, you can even set up automations that are compatible with the service. For example, you could use IFTTT to send yourself an email when a specific probe crosses a set temperature probe. The sky is the limit and your family will thank you when they taste your unburned food.
Writer for Hackster News. Proud husband and dog dad. Maker and serial hobbyist. Check out my YouTube channel: Serial Hobbyism

