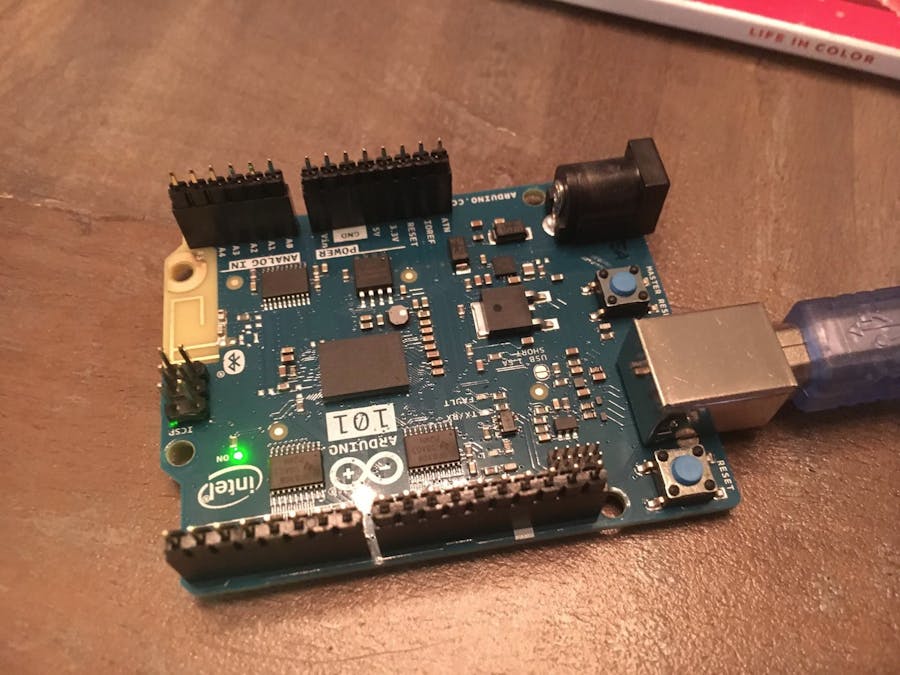
First you must ensure you have an installed and up to date version of the Arduino IDE. You can find that at their downloads page.
Next, you must install the Blynk Arduino library. This is what allows you to interface with the Blynk app. If you haven't already, download the Blynk app onto your phone as well.
Now, it is time to put together a "Hello, World!" style example.
First Steps:Now that you have the IDE setup, we can test control of the LED on pin 13 with the following code and Blynk configuration.
#include <BlynkSimpleCurieBLE.h>
#include <CurieBLE.h>
// You should get Auth Token in the Blynk App.
// Go to the Project Settings (nut icon).
char auth[] = "e4a4203192744db7b463c49daf0b0ac5";
BLEPeripheral  blePeripheral;
void setup() {
 blePeripheral.setLocalName("Blynk Hello");
 blePeripheral.setDeviceName("Blynk Hello");
 blePeripheral.setAppearance(384);
 Blynk.begin(blePeripheral, auth);
 blePeripheral.begin();
 // Setup the LED pin
 pinMode(13, OUTPUT);
}
BLYNK_WRITE(0) {
 int switchValue = param.asInt();
 // Turn off if 0
 if (switchValue == 0) {
  digitalWrite(13, LOW);
 }
 // Turn on if 1
 if (switchValue == 1) {
  digitalWrite(13, HIGH);
 }
}
void loop() {
 Blynk.run();
 blePeripheral.poll();
}
Copy the above code into the Arduino IDE, and try adding it to your Arduino. Now, we need to setup the Blynk app. First, you need to create a new board, and set it to connect to the Arduino 101 and use Bluetooth. Next add a button, connecting it to virtual pin 0 like the below screenshot.
Then, you will need to add the Bluetooth token to the project. You can arrange it any way you like, but here is my setup.
If you Arduino now has the code from above and is powered on, you should be able to connect to it over Bluetooth by tapping the Bluetooth icon on your board and clicking "Connect BLE Device".
Now, hit the "Run" icon at the top of your project and pressing and releasing the button should turn it on and off respectively.
Getting More AdvancedWe now know how to write data to the Arduino, but what if we want to read data instead? This is equally easy.
BLYNK_READ(V5)
{
 int dataToSend = 1;
 Blynk.virtualWrite(5, dataToSend);
}
The above code shows how you can setup your Arduino to send back data if a read request is sent to virtual pin 5. Here is a simple project that acts as a tally counter where you can log the number of button presses.
#include <BlynkSimpleCurieBLE.h>
#include <CurieBLE.h>
// You should get Auth Token in the Blynk App.
// Go to the Project Settings (nut icon).
char auth[] = "e4a4203192744db7b463c49daf0b0ac5";
BLEPeripheral  blePeripheral;
// Tally counter variable
int tally = 0;
void setup() {
 blePeripheral.setLocalName("Blynk Hello");
 blePeripheral.setDeviceName("Blynk Hello");
 blePeripheral.setAppearance(384);
 Blynk.begin(blePeripheral, auth);
 blePeripheral.begin();
 // Setup the LED pin
 pinMode(13, OUTPUT);
}
BLYNK_WRITE(0) {
 int switchValue = params.asInt();
 // switchValue will always be 1 or 0
 tally += switchValue;
}
// Send tally count back to pin 1
BLYNK_READ(V1)
{
 Blynk.virtualWrite(1, tally);
}
void loop() {
 Blynk.run();
 blePeripheral.poll();
}
To setup, load this onto your Arduino, and using the exact same Blynk app setup, add a "Value Display S" item to your board, and hook it up to virtual pin 1.
Now, with your Arduino powered on. Connect to it again, and run the Blynk program. The display should initially say 0, but whenever you press the button on your board, that value should increase by one.
Next StepsThis tutorial will eventually be longer, but one final remark is that the data sent to the Arduino and back to the Blynk app doesn't have to be an integer. It can be a string or a whole host of other data types. This means you can send entirely text based messages back, floating point values, or whatever other data your project needs.


_baVEVgguW1.jpg?auto=compress%2Cformat&w=48&h=48&fit=fill&bg=ffffff)


Comments
Please log in or sign up to comment.