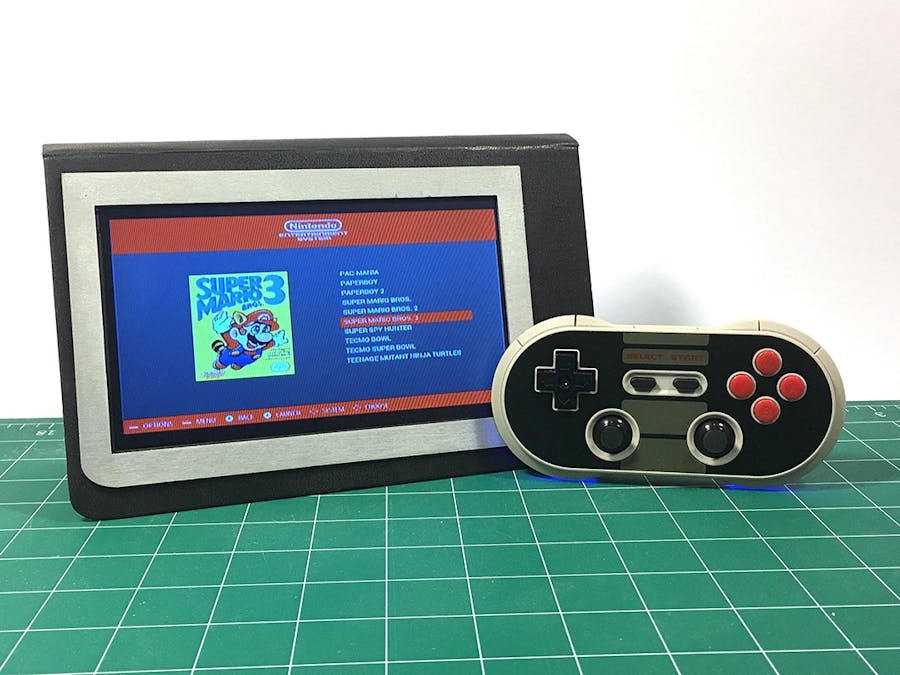
This project was driven by my desire to utilize the newest features offered by the Raspberry Pi Zero Wireless. I travel a lot, so I wanted a small, portable Raspberry Pi system. I have RetroPi loaded onto it, but it could be as versatile as you need it to be.
ComponentsThis project is is relatively simple, but has plenty of room for expansion.
- 2500mAh Lipo Battery
- PowerBoost 1000c
- Slide Switch
- Micro SD Card
- Optional Easy PWM Audio
- Optional - Bluetooth Controller
- Utility Knife or Sharp Xacto Knife
- Wire
- Soldering Iron
- Hot Glue/CA Glue
I followed this tutorial to bind the pages together and hollow out the parts of the moleskine to make room for my components.
Step 2: Wire ComponentsI placed all my components where I wanted them to go and then cut wires to length. Sorry I don't have a diagram, but here's what I did.
- Modify the screen to run on 5 volts. (This is going to depend on your screen, I can't walk you through it).
- Connect the powerboost GND to ENG to the switch.
- Run the powerboost 5v line to the screen and pin on the Raspberry Pi Zero.
- Run the powerboost GND line to the screen and pin on the Raspberry Pi Zero.
- Connect the lipo battery to the powerboost.
- Connect the component and GND lines from the screen to the Raspberry Pi Zero.
I installed RetroPi so I could play games while on work trips.
I'm waiting for the part to arrive, but I plan on adding PWM audio to the Raspberry Pi Zero. http://store.kitsch-bent.com/product/easy_pwm_audio
Optional Step: Terminal

.jpg?auto=compress%2Cformat&w=40&h=40&fit=min&dpr=2)


.jpg?auto=compress%2Cformat&w=60&h=60&fit=min&dpr=2)
Comments
Please log in or sign up to comment.