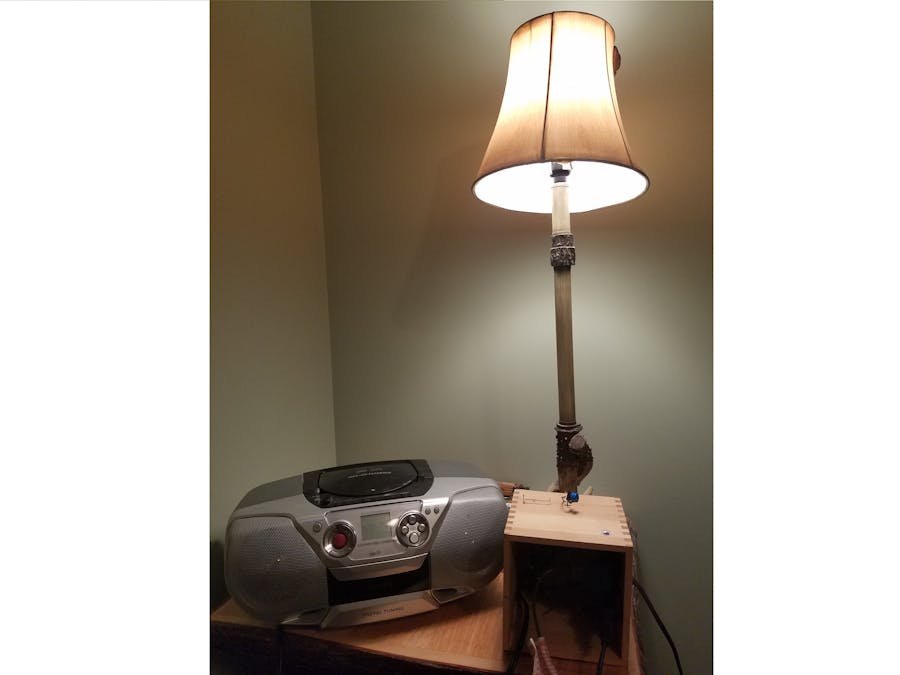
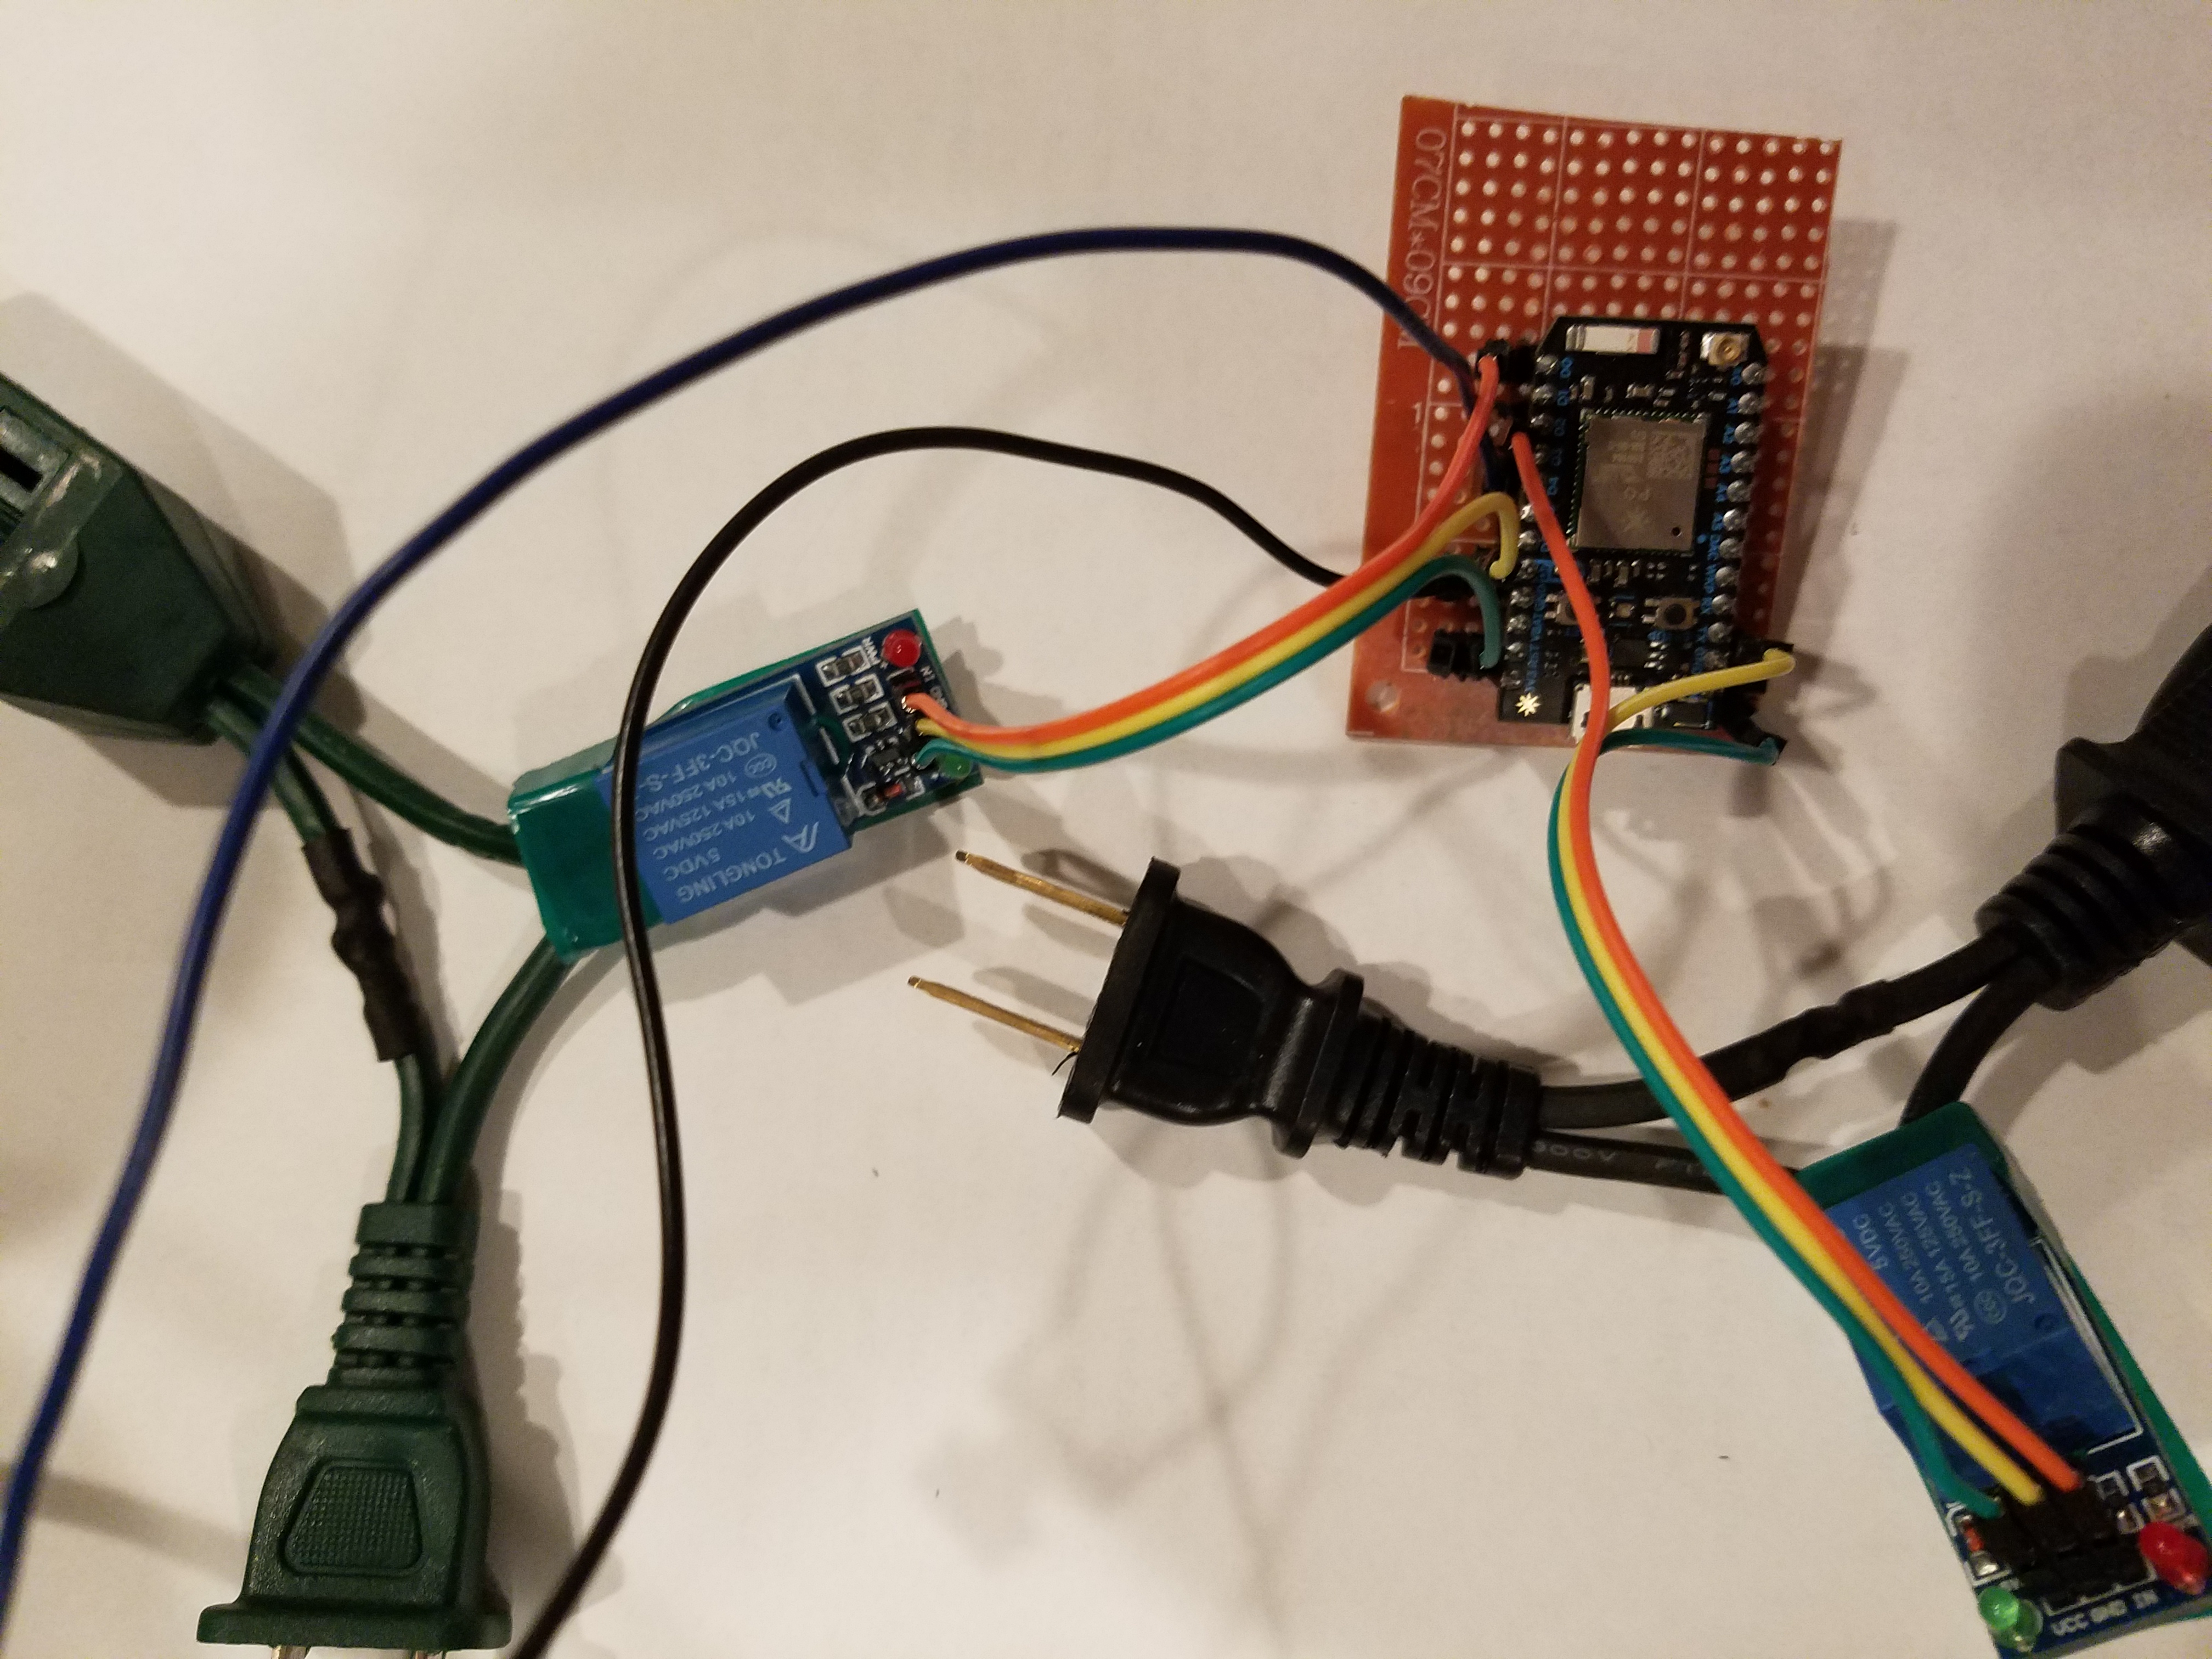
This project uses two 120V relays and a particle photon to create an internet enabled power strip that I use as an alarm clock.
Enclosure:The enclosure for this project is a wooden box that I had around the house. It is approximately 7"x7"x7". It ended up being larger than necessary and could be replaced with another box.'
Connecting Extension Cords to Relays:Both of my extension cords were longer than was necessary for the size of my enclosure. To remedy this, I cut the middle section of each cords, leaving about two inches on both the plug and outlet sides of the cord. I then spliced together the neutral side of the cord (thin prong) and tinned each each of the ends of the hot side (wide prong).
The ends of the cord are then inserted into the relay. I connected the plug end to common input and the outlet end to normally closed so that I could still use the cords if the photon was off.
Cut the female headers to 12 pins in length and solder them to the perf board seven rows apart. Solder one female header pin each to connect to D0, D2, D4, and one GND pin and 2 each to the other GND pin and VIN.
Solder two wires to terminals at opposite corners of the tactile button:
Drill four holes in the top of the box so that the button's wires can pass through and the button can be flush with the top of the box.
Drill two sets of two holes in the side of the box near the bottom of where each outlet will be placed.
Attach the extension cords using zip ties passed through the holes and around the cords:
I connected one of the modified extension cords to a CD-Player/FM Radio and the other to a lamp near my bed. I used IFTTT's time and date widget to trigger an event to turn on the lamp and then the radio 15 minutes later. Pressing the button turns them off. I also added button widgets via IFTTT to turn on the lamp and radio independently and to turn both off.


Comments
Please log in or sign up to comment.