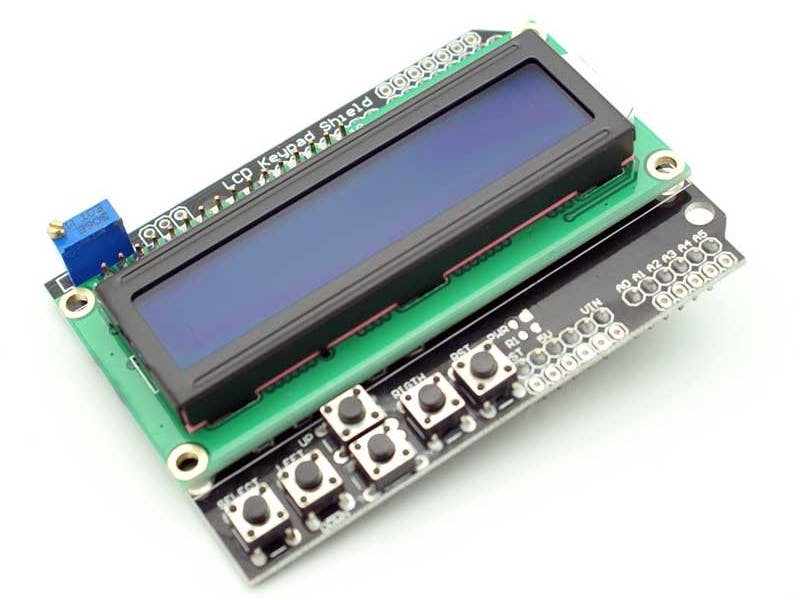
Welcome to my second guide!
In this short guide, I will show you how to get the OSSEP LCD and Keypad shield set up!
(This guide will be a less wordy and confusing than the guide I made.)
Step 1: Gather your materials
You will need to get these three items prepared
1. Arduino uno
2.The OSSEP LCD and keypad shield
3.OSSEP library (http://osepp.com/wp-content/uploads/2013/06/LCDKeypad.zip)
(download is at the bottom of the page, named OSEPP 16x2SHD-01 Example Software)
^^^don't use this link^^^
Step 2: attach the shield
Step 3: Set up the code and run it
First, attach the library to the arduino IDE. Go to Sketch>Librarys>add .zip files and select the zip file.
Now, plug in the arduino and run the code. ( you can download this if you scroll down or by accessing the .zip library)
This is what should happen -
The LCD screen should display the name of the button you are pressing. It also counts in seconds infinitely. (sorry for no video, the LCD was to bright and the words came out backwards like a mirror)
Congratulations!
final tips -
DON'T USE THESE PINS - 5, 6, 7, 8, 13, and A0. The LCD and keypad needs them to run
BE CAREFUL OF HOW YOU HOLD IT - only hold the arduino by its side or have it on a non conductive surface when using this shield. The results of touching the bottom are not bad but can mess up the LCD screen. if it does happen, reset the arduino and you should be fine.
for more info, visit
http://osepp.com/products/shield-arduino-compatible/16x2-lcd-display-keypad-shield/
If anyone has any questions, put them in the comments and I will try to answer them.
Thank you!


_ztBMuBhMHo.jpg?auto=compress%2Cformat&w=48&h=48&fit=fill&bg=ffffff)


Comments
Please log in or sign up to comment.