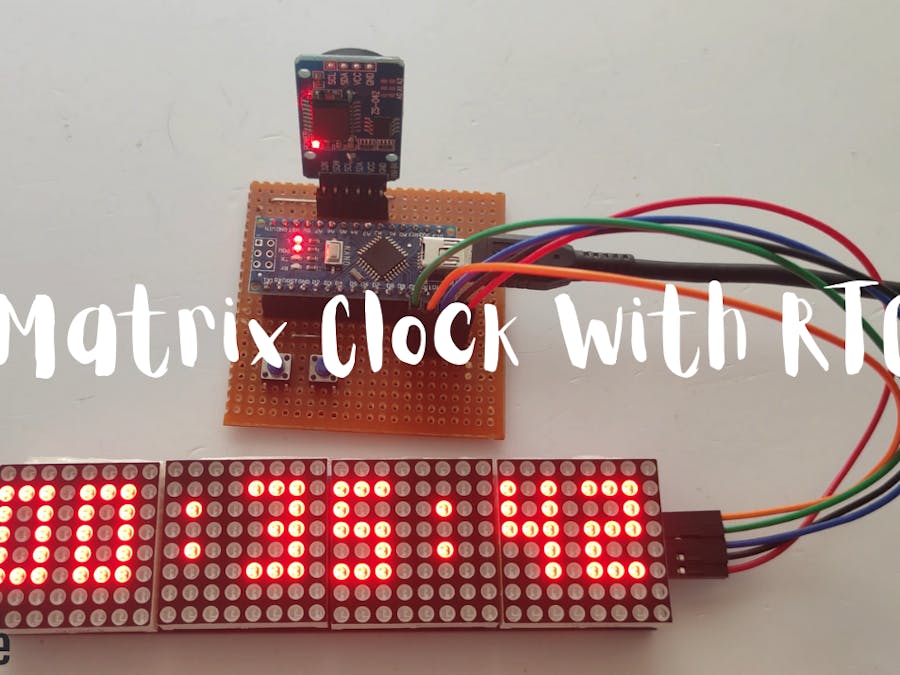
/*feel free to contact
 * sreeramaj53@gmail.com
 * www.youtube.com/ZenoModiff
 * last updated - time 02:41 PM - date 06 july 2021
 * Github Link :-- https://github.com/Zenomodiff/Max7219-Led-Matrix-Clock-With-DS3231-RTC-Module
 */

#include "DS3231.h"
#include "Adafruit_GFX.h"
#include "Max72xxPanel.h"

DS3231 rtc(SDA, SCL);

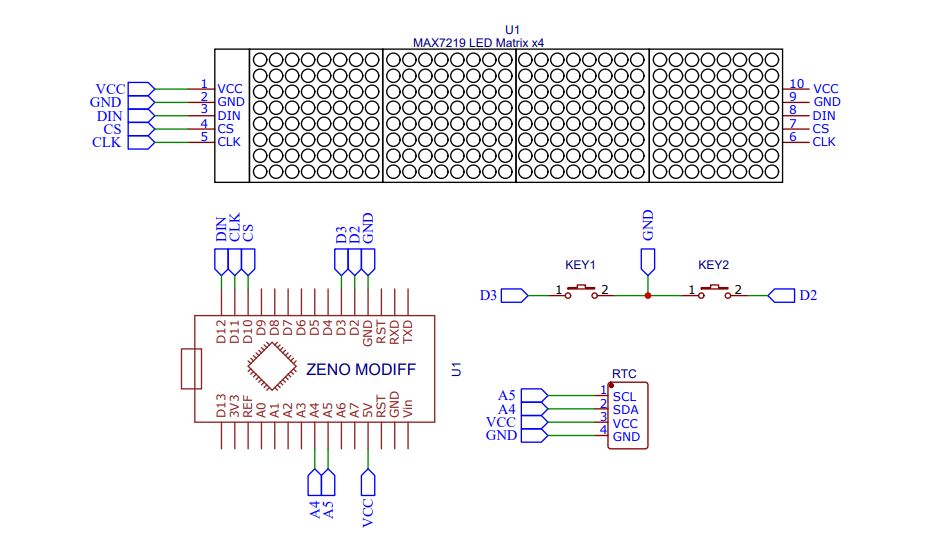
const byte LDR_PIN = A2;
const byte CS_PIN = A3;
const byte H_DISPLAYS = 4;
const byte V_DISPLAYS = 1;

Max72xxPanel matrix = Max72xxPanel(CS_PIN, H_DISPLAYS, V_DISPLAYS);

const byte WAIT = 30;
const byte SPACER = 1;
const byte FONT_WIDTH = 5 + SPACER;

void setup() {
  pinMode(LDR_PIN, INPUT_PULLUP);
  Serial.begin(9600);
  Serial.println(F(">> Arduino 32x8 LED Dot Matrix Clock!"));
  Serial.println(F(">> Use <dd/mm/yyyy hh:mm:ss> format to set clock's date and hour!"));
  rtc.begin();
  matrix.setPosition(0, 0, 0);
  matrix.setPosition(1, 1, 0);
  matrix.setPosition(2, 2, 0);
  matrix.setPosition(3, 3, 0);
  matrix.setRotation(0, 1);
  matrix.setRotation(1, 1);
  matrix.setRotation(2, 1);
  matrix.setRotation(3, 1);
}

void loop() {
  byte ledIntensity = ledIntensitySelect(analogRead(LDR_PIN));
  matrix.setIntensity(ledIntensity);
  String output = outputStrClock();

  for ( int i = 0 ; i < FONT_WIDTH * output.length() + matrix.width() - 1 - SPACER; i++ ) {
    matrix.fillScreen(LOW);
    output = outputStrClock();
    int letter = i / FONT_WIDTH;
    int x = (matrix.width() - 1) - i % FONT_WIDTH;
    int y = (matrix.height() - 8) / 2;
    while ( x + FONT_WIDTH - SPACER >= 0 && letter >= 0 ) {
      if ( letter < output.length() ) {
        matrix.drawChar(x, y, output[letter], HIGH, LOW, 1);
      }
      letter--;
      x -= FONT_WIDTH;
    }
    matrix.write();
    delay(WAIT);
  }

  if (Serial.available() > 0) {
    adjustClock(Serial.readString());
  }
}

void adjustClock(String data) {
  byte _day = data.substring(0,2).toInt();
  byte _month = data.substring(3,5).toInt();
  int _year = data.substring(6,10).toInt();
  byte _hour = data.substring(11,13).toInt();
  byte _min = data.substring(14,16).toInt();
  byte _sec = data.substring(17,19).toInt();
  rtc.setTime(_hour, _min, _sec);
  rtc.setDate(_day, _month, _year);
  Serial.println(F(">> Datetime successfully set!"));
}

String outputStrClock() {
  String _output;
  _output = rtc.getDateStr();
  _output.concat("  ");
  _output.concat(rtc.getTimeStr());
  _output.concat("  ");
  _output.concat(rtc.getTemp());
  _output.concat((char)247);
  _output.concat("C");
  return _output;
}

byte ledIntensitySelect(int light) {
  byte _value = 0;
  if (light >= 0 && light <= 127) {
    _value = 15;
  } else if (light >= 128 && light <= 319) {
    _value = 10;
  } else if (light >= 320 && light <= 512) {
    _value = 5;
  }
  return _value;
};


Comments
Please log in or sign up to comment.