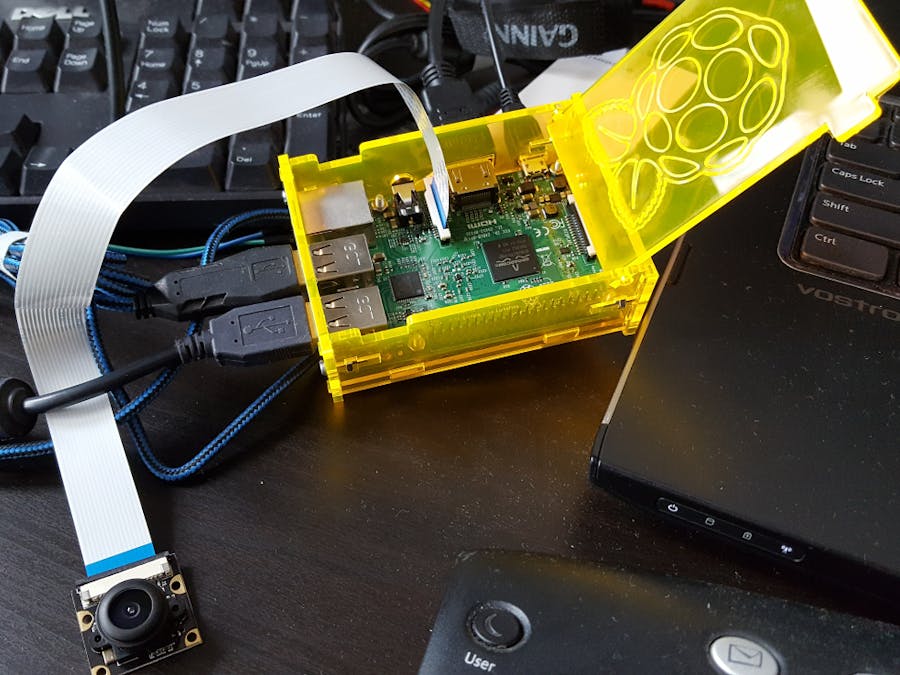
I bought a while ago a plexiglass (acrylic) housing for my Raspberry Pi. This one broke during assembling due to bad design. However the possibility of opening the lid was very useful. Some time ago I thought I need an new housing and I can do it better. The way of assembling I used is different. I use screws and nuts to tighten the sides together. It doesn't break the housing and is also easy to disassemble again and to reuse.
Of course I added the RPi logo on the lid, This wasn't there in the original version either.
I've made the design in SolidWorks. The drawings are in the project. For easy use I made a Dxf-file of the laser cutter file for easy import. And I added a file for Laserworks with all settings.
The materials to use can be any material as long as it is 3 mm thick else the inserts won't fit. All screws and nuts are M3. The ones on the side to keep the box together are M3x12, but 10 and 16 mm will fit also. The ones in the bottom are M3x12. With an extra nut, so the Rpi has some space from the bottom plate.
The lid can open and close very easily so you can access the part for experimenting.


Comments
Please log in or sign up to comment.