Well, the source for the daily survival in the world has its roots in the agricultural spheres. Thinking of an automation powered by cloud services can be the most probable way of dealing with issues pertaining to farming practices. One such problem is the monitoring of agricultural lands and protection from animals and other invaders. A practical and realistic solution can thus be put forth using the AWS Agro Automation System. The farmer/owner of the land can monitor the land from any part of the world now, thanks to IOT Suit of Amazon Web Services.
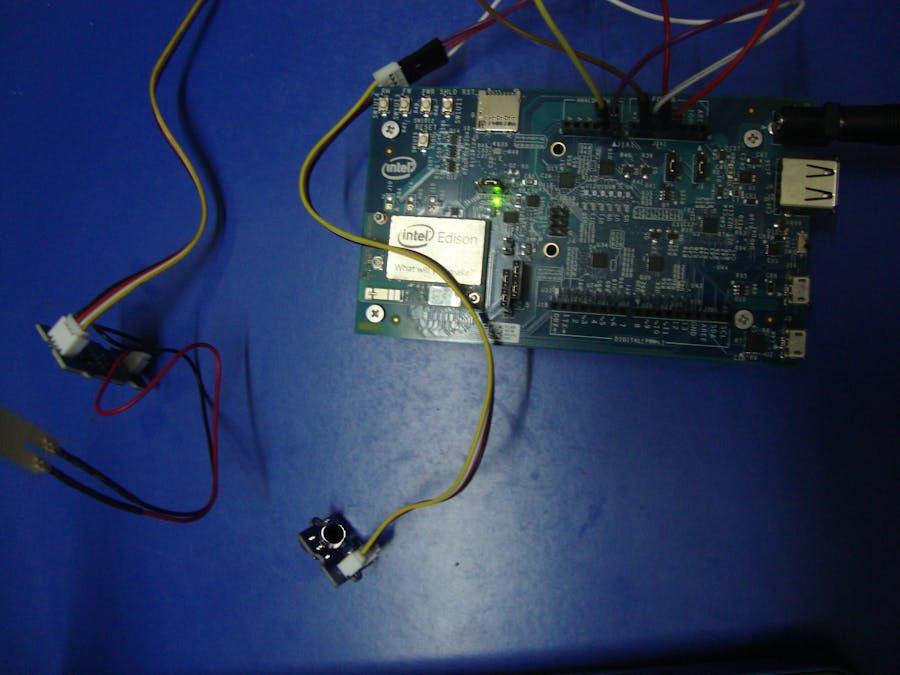
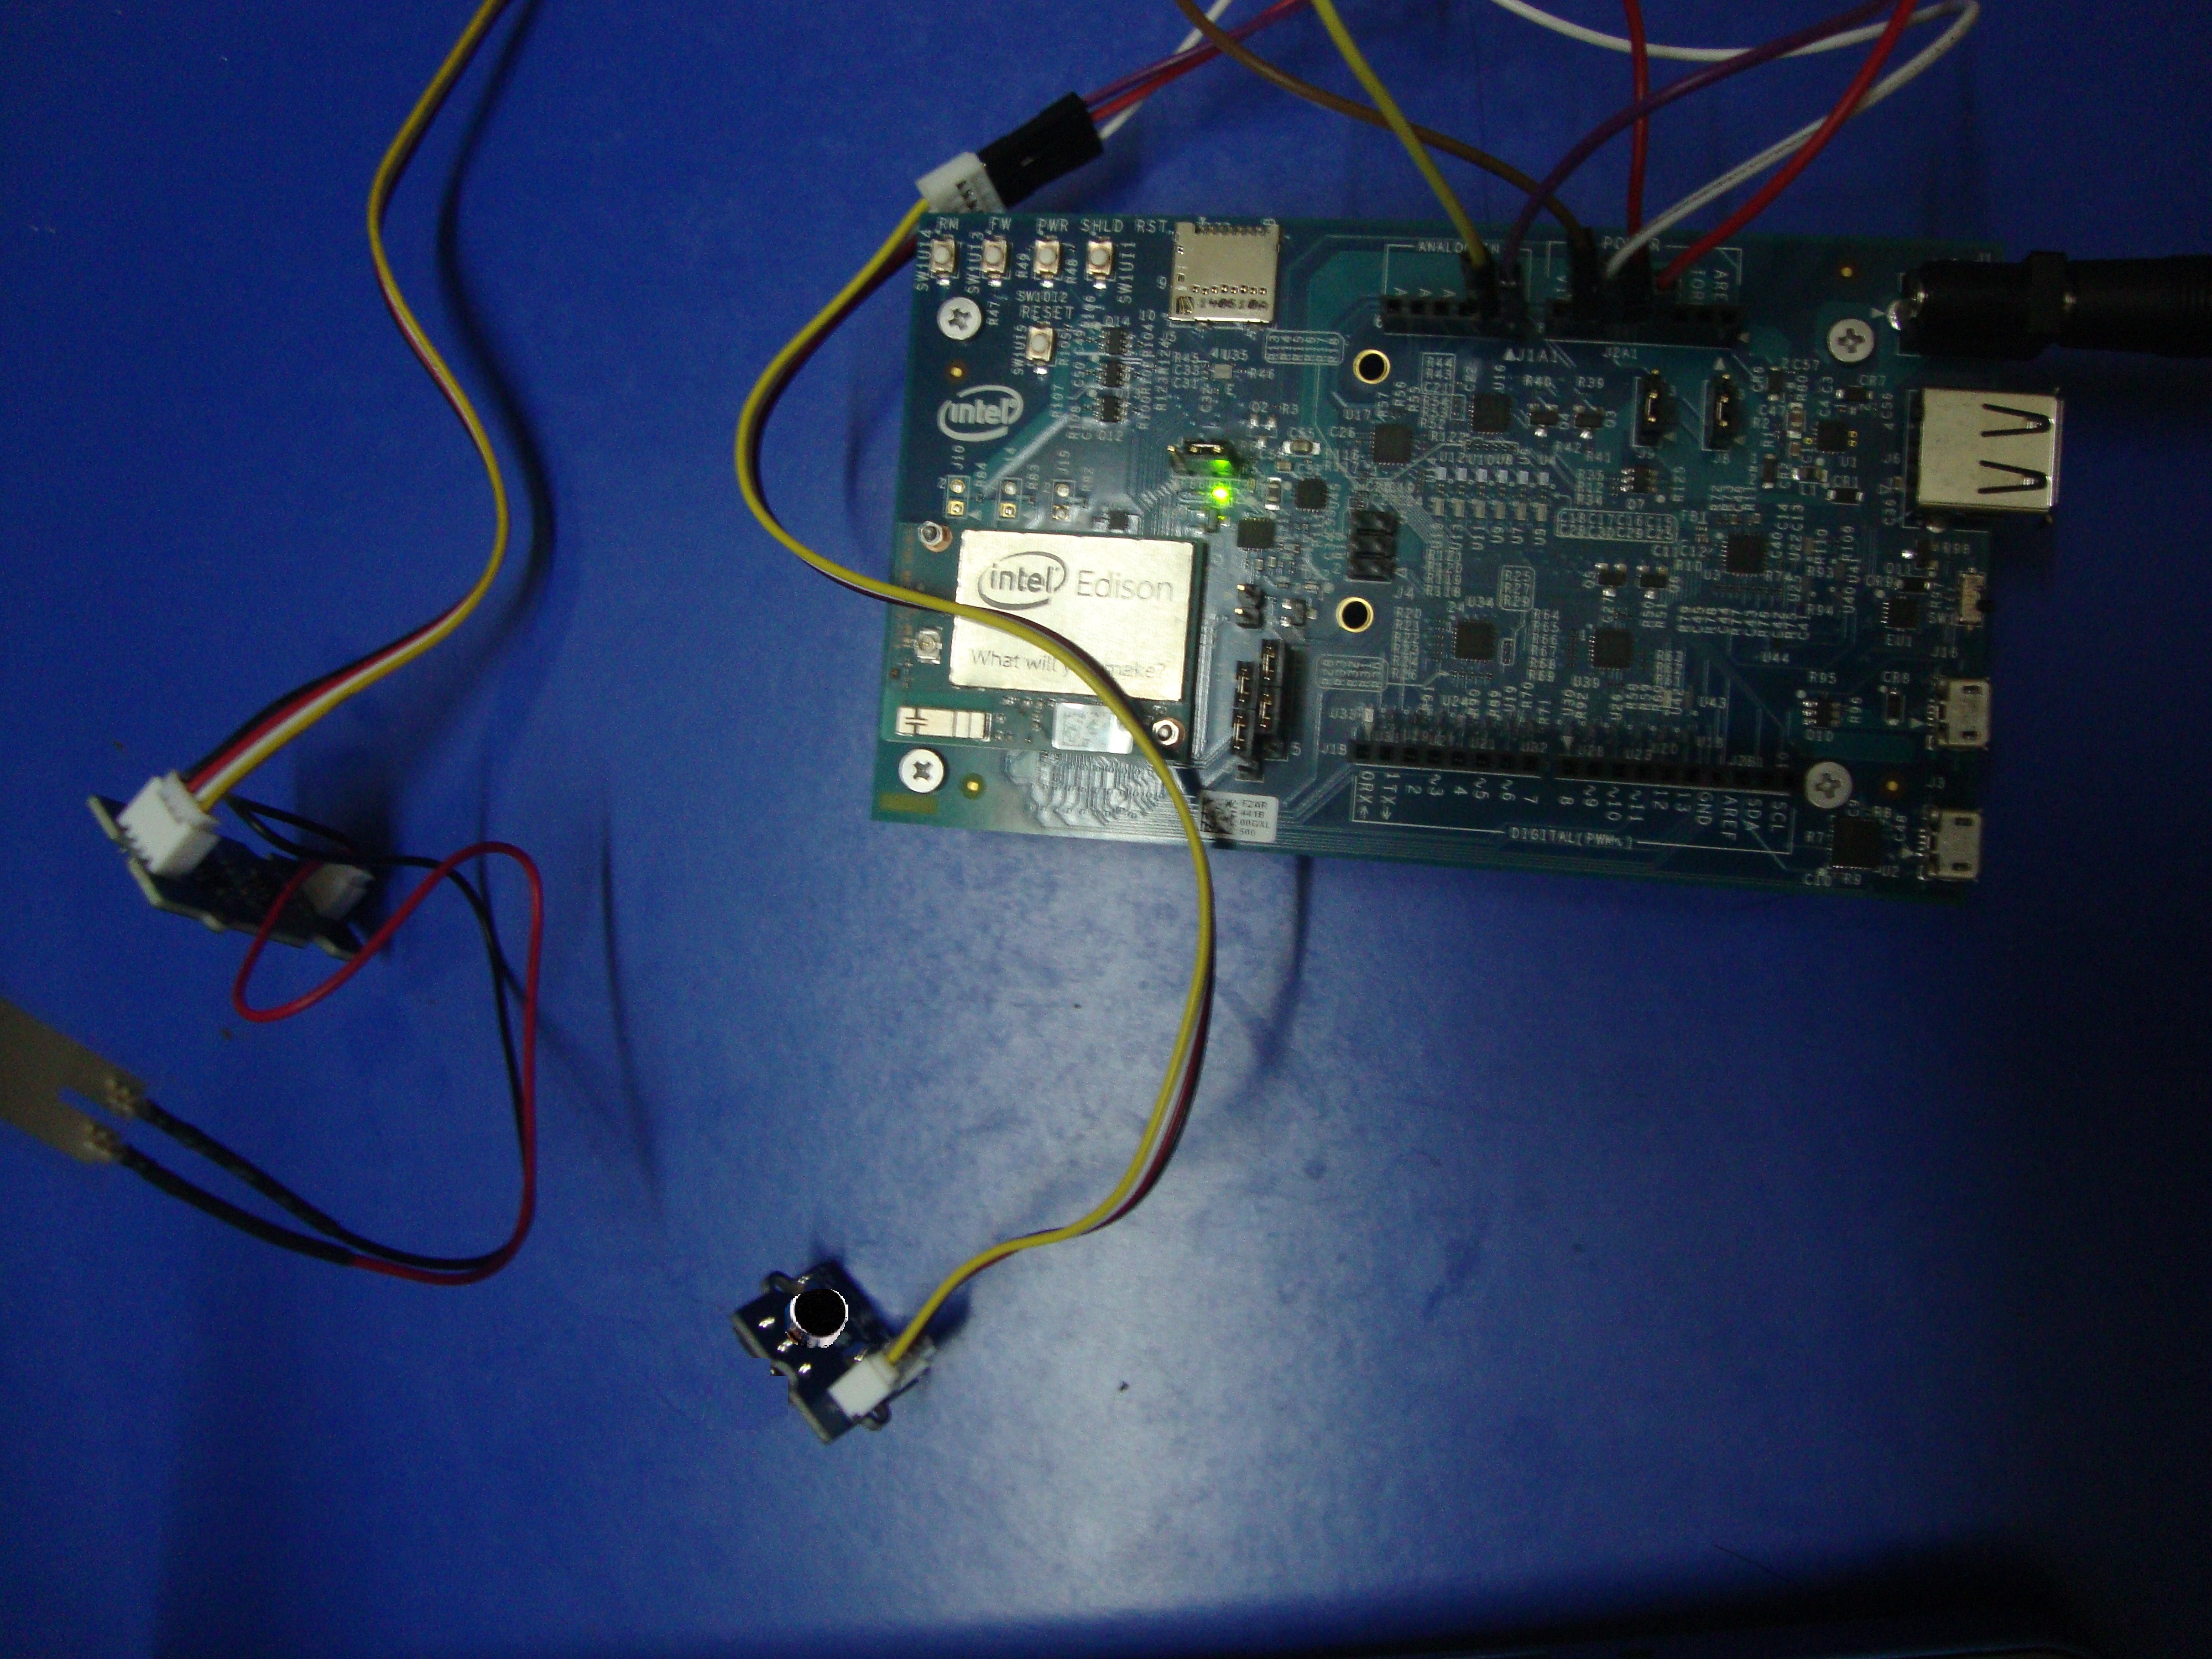
On deploying this AWS Agro Automation System, the kit that we would be using is the mighty Intel Edison which hosts a Wifi broadcom chip. The sensors connected to it will be the Grove piezo vibration sensor and Grove sound sensor. And the web service that would be co-coordinating the tasks is AWS IoT. When the farmer is away from the land, any animal invasion can be detected by the piezo vibration and sound sensors which can be automatically alerted to the farmer and this can be especially useful during night time. Lets get into the steps involved in the making of the system.
- Get the hardware stuff ready. Begin picking up your Intel Edison along with the USB cables and power adapter.
- Now, as simple as that, get your sensors ready!
- Grove piezo vibration sensor for measuring sound intensity
- Grove sound sensor for determining sound levels
- Simple hardware and great mechanism ! This project is one such example of the same.
- On getting started with Intel Edison, you cant find any other better explanation with reference to the following link :
- https://software.intel.com/en-us/iot/library/edison-getting-started
- Now, connect the sensors to the analog ports A0 and A1 as of code that I have used.
- On the most essential portion of this project, the Amazon web services require a simple yet careful detail facilitation to enable a web service enabled for your account. Do follow this link :
- https://aws.amazon.com/iot/getting-started/
- And in this perspective, we are going to use the Intel XDK IoT edition and ultimately we are going to end up developing a hybrid app. Wanna get started with it ? Then do click the link below and follow the instructions to install the app.
- https://software.intel.com/en-us/getting-started-with-the-intel-xdk-iot-edition
- At first, open the app and click the option 'Start a new project' and select the options as followed in the picture.
- Click 'Continue' and type the project name and click 'Create'.
- Design as per your specifications and in the main.js file under www menu on the left toolbar under 'Develop' tab, consider the following snippet in code that uses AWS.
const thingShadow = require('./thing');
//UPM dependencies
//Load Grove module
var groveSensor = require('jsupm_grove');
// Create the Piezo sensor object using AIO pin 0
var Piezo = new groveSensor.GrovePiezo(0);
// Create the Sounderature sensor object using AIO pin 1
var Sound = new groveSensor.GroveSound(1);
//Define your device name
var Device_Name = '***';
//define AWS IoT specifications as required
var args =
{
privateKey:'***',
clientCert:'***',
caCert:'***',
clientId:'icebreaker_edison',
region:'***',
reconnectPeriod:'***'
}
//create global state variable
var reported_state={ piezo: 0, Sound: 0};
//create global sensor value variables:
var read_piezo = 0;
var read_Sound = 0;
//launch sample app function
update_state(args);
function update_state(args)
{
//create a things Shadows object
const thingShadows = thingShadow(
{
keyPath: args.privateKey,
certPath: args.clientCert,
caPath: args.caCert,
clientId: args.clientId,
region: args.region,
reconnectPeriod: args.reconnectPeriod,
}
);
//When Thing Shadows connects to AWS server:
thingShadows
.on('connect', function() {
console.log('registering device: '+ Device_Name)
//register device
thingShadows.register(Device_Name);
//read sensor values and send to AWS IoT every 5 seconds
setInterval(function(){
read_sensor(send_state);
}, 3000);
});
// motitor for events in the stream and print to console:
thingShadows
.on('close', function() {
console.log('close');
});
thingShadows
.on('reconnect', function() {
console.log('reconnect');
});
thingShadows
.on('offline', function() {
console.log('offline');
});
thingShadows
.on('error', function(error) {
console.log('error', error);
});
thingShadows
.on('message', function(topic, payload) {
console.log('message', topic, payload.toString());
});
};
//define function for reading sensor
function read_sensor(cb){
read_piezo = Piezo.value();
read_Sound = Sound.value();
cb();
};
//define function for updating thing state:
function send_state(){
//define the payload with sensor values
reported_state ={ piezo: read_piezo, Sound: read_Sound};
//create state update payload JSON:
device_state={state: { reported: reported_state }};
//send update payload to aws:
thingShadows.update(Device_Name, device_state );
};
The zip file has been uploaded in my cloud drive and the link of the portal is as follows for your reference.
https://drive.google.com/file/d/0B_AXSbKK1GdIWHY0Sy1kYWhWdlk/view?usp=sharing
- Now that coding portion is over, lets try emulating the same. Click 'Emulate' tab.
- Provide the server id and port. Click 'Submit'.
- Finally build the application and download the file as per your specifications and considerations right from iPhone to Android.
Now, a farmer from any part of the world can monitor the agricultural land and protect the same from invasions facilitated by Amazon Web Services - IoT using AWS Agro Automation System.
Keep sharing and developing!


Comments
Please log in or sign up to comment.