If you are beginner, I recommend reading the following tutorials:
You may be familiar with the unlock pattern when you access your phone. Now this feature is available on Arduino. It prevents the unauthorized people from controlling/monitoring Arduino.
User can freely re-use the code in this project for other application. For the sake of simplicity, I takes the servo motor controlling as an example.
This idea originates from two project, which is written for PHPoC platform:
- https://www.hackster.io/iot_lover/web-based-pattern-unlock-for-iot-device-aeaf44.
- https://forum.phpoc.com/articles/tutorials/350-servo-motor-controlling-servo-motor-via-websocket-with-graphic-ui
I adapt them for Arduino.
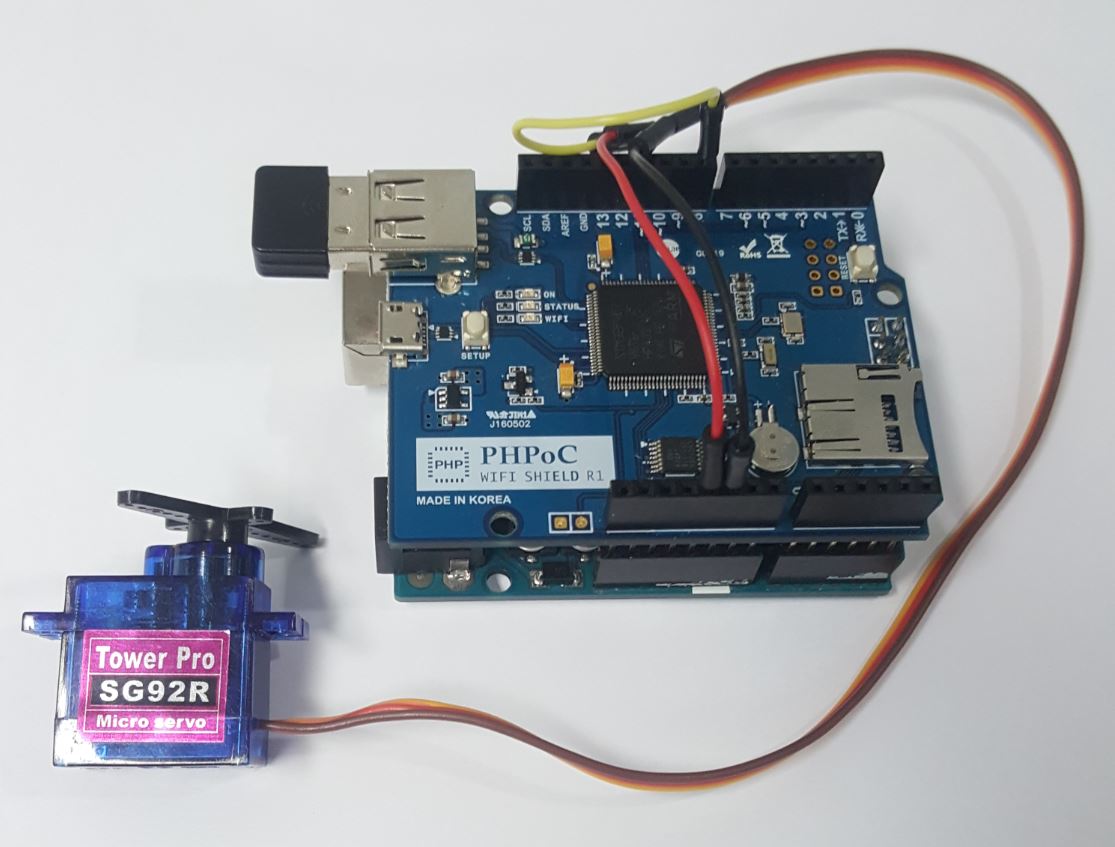
In this project, I used PHPoC WiFi Shield to connect Arduino to Internet because:
- PHPoC Shield supports websocket, which is convenient for this project.
- PHPoC Shield has a dedicated embedded web server, allowing to store the embedded web application on the shield.
PHPoC Shield has some built-in web applications that lets user uses embedded web application to control/monitoring Arduino without requiring any knowledge of web programming.
Also, PHPoC shield allows the users who can program web application to develop their own web application and store it on PHPoC Shield.
DemonstrationData FlowWeb browser <---> PHPoC WiFi Shield <---> Arduino
When user draw their pattern on web browser, the pattern is mapped to a string. This pattern string is sent to Arduino through WebSocket (via PHPoC Shield).
When Arduino receives the input pattern string, it will compare the received string with hard-coded pattern string in Arduino. If they are matched, Arduino sends the ACCEPTED code back to client (Web browser) and sets the authenticated variable to true. Otherwise, Arduino sends the DENIED code to client and set the authenticated variable to false.
When Arduino receives a control command from user, it will check the value of the authenticated variable first. If the value is true, It performs the task corresponding with command. If the value is false, It sends the DENIED code to client.
Pattern Mapping
Pattern will be mapped to a string. For example, in above image, pattern string is "1, 4, 8, 6, 3".
A timeout is set. After a period of time, if user does not have any activity, the authentication is expired, user needs to input pattern again to unlock Arduino.
Source code include two files:
- ArduinoUnlockExample.ino: is compiled and upload to Arduino via Arduino IDE
- unlock.php: this is web app code, it is uploaded to PHPoC shield via PHPoC Debugger.
- Set Wifi information for PHPoC shield (SSID and password)
- Upload new UI to PHPoC shield
- Write Arduino code
Setting Wifi Information for PHPoC Shield
Upload new Web UI to PHPoC Shield
- Download PHPoC source code unlock.php (on code section).
- Download two following image for controlling servo motor
- Upload it to PHPoC shield using PHPoC debugger according to this instruction (note that do NOT delete the existing file on PHPoC Shield)
Write Arduino Code
- Install PHPoC library for Arduino on Arduino IDE (see the instruction )
- See source code in code section.
- Compile and upload to Arduino via Arduino IDE
- Click serial button on Arduino IDE to see the IP address.
- Open web browser, type
http://replace_ip_address/unlock.php - Click connect button and test it.
If you are looking for an Arduino kit, see The Best Arduino Kit for Beginners
Function References

_ztBMuBhMHo.jpg?auto=compress%2Cformat&w=48&h=48&fit=fill&bg=ffffff)


Comments
Please log in or sign up to comment.