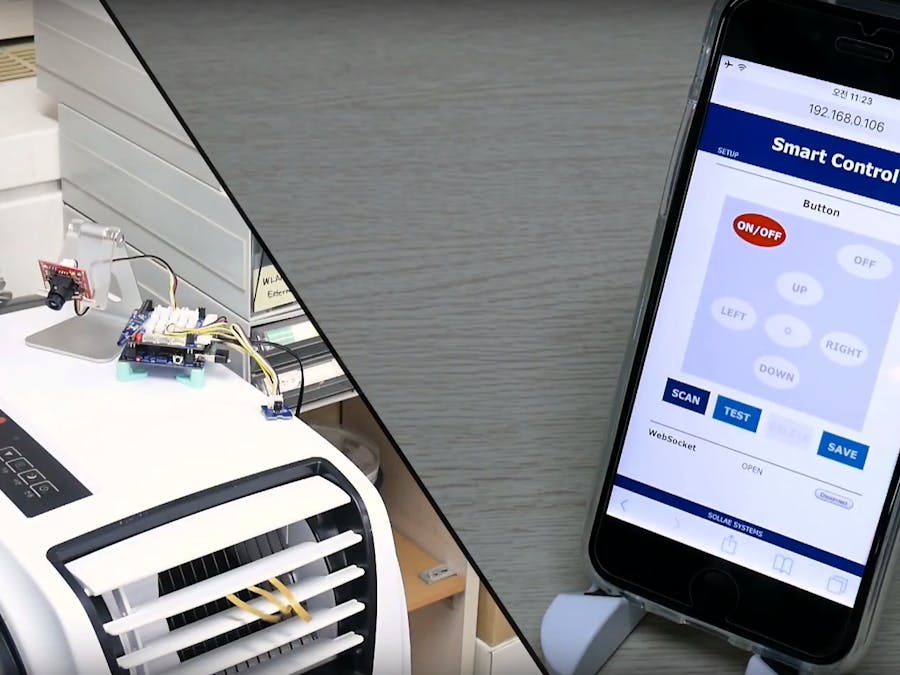
IR (Infrared Remote) controller is widely used to control appliances (such as TV, air-conditioner, projector, etc.). However, it has limitations controlling range due to the characteristics of infrared signal.
Imagine yourself having an air-conditioner or any IR-controlled appliance at your home/office. You might want to control them before arriving home/office, which you cannot do with only an IR controller. This project is to help show you how to control IR-controlled appliances!
DemonstrationHow It WorksBefore using, we need to do some settings. Therefore, the project is divided into two modes.
Setting mode: the device (PHPoC + IR receiver + IR emitter + camera) will scan IR signal. When the IR signal is captured through the IR receiver, its pattern is saved in flash memory along with a user-chosen button name.
Control mode: when the user accesses the interface of PHPoC via web browser and presses the assigned button, a command and button name is sent to PHPoC via WebSocket. When receiving the command and button name, PHPoC searches in flash memory to get IR pattern, and then emits the IR pattern via IR emitter to control the appliance.
A camera is added to check the status of the appliance.
Hardware Preparation- Stack PHPoC Grove Expansion Board on PHPoC Blue or Black.
- Connect the infrared receiver to HT0.
- Connect the infrared emitter to the HT2.
- Connect the jumper to HT1. (HT1-HT2 pin)
- Connect the camera to UART0.
- Connect 1KΩ resistor to PWR5 and HT2.
- Jumper connection to PWR pin 5V.
- Power to PHPoC (DC 5V)
- Refer to this page to see how to set network parameters and see the IP address of PHPoC.
1. Setting Mode
- Open the browser and connect to the IP address of PHPoC.
- Select SETUP menu.
- You can register each button manually when you enter that page. In the below example, I am going to show how to use the ON/OFF button.
- Click the SCAN button. The SCAN button blinks until the IR signal is captured.
- Direct your remote controller to the IR receiver and press the button you want to use on the remote controller. (In this case, ON/OFF button)
- If the IR signal is scanned, the SCAN button stops blinking and the TEST button is activated.
- Press the TEST button to make sure that the signal is captured correctly (due to noise). If it does not work, try scanning again.
- Choose any button to assign to the captured signal (in this example, ON/OFF button). After choosing a button, the SAVE button is activated.
- Click SAVE to save the signal form and the assigned button to flash memory.
Add any other buttons you want.
2. Control Mode
Control the appliance from anywhere.
As you can see, the assigned button is active now. You can control the appliance by pressing the button and see the status of the appliance via camera on a web page from anywhere.
Note: If you use a private IP address, you need to set "Port Forwarding" on your router or Wi-Fi access point.
Add more buttons to do other controlling functions.
Source Code and ExplanationThis project is the combination of the two following projects:
You can see how it is implemented via the above links. The UI (User Interface) has been changed.
If you have any questions, leave a comment below.


Comments
Please log in or sign up to comment.